
Run-in-Situ Zinc Profile Moulding Sleds (le traîneau) represent the mechanical precision behind classical Provençal cornices. Rather than gluing pre-cast plaster moldings, master plâtriers carved intricate classical profiles into sheet zinc backed by beveled hardwood sleds. Pushed along timber guide runners fixed to walls and ceilings, the sled shaves and packs fresh gypsum in continuous passes, extruding monumental, unbroken classical cornices with razor-sharp arrises directly onto the building structure.
At a Glance: Key Takeaways
- Zinc Profile Knife (Le Fer): 1.2mm-1.5mm sheet zinc cut to exact classical moulding profiles with beveled scraping edges.
- The Traîneau Wooden Sled: Rigid oak carriage supporting the zinc blade with dual guide runners (patins).
- Timber Runner Screeds (Règles de Guidage): Straight pine battens tacked to walls and ceilings establishing the sled's track.
- Progressive Layer Shaving: Running coarse gypsum undercoats followed by creamy finish skim coats.
- Hand-Mitred Inside Corners: Hand-carving the final 200mm of corner junctions using spatulas and gouges.
- Seamless Monolithic Continuity: Eliminating joint cracks common in modular pre-cast crown moldings.
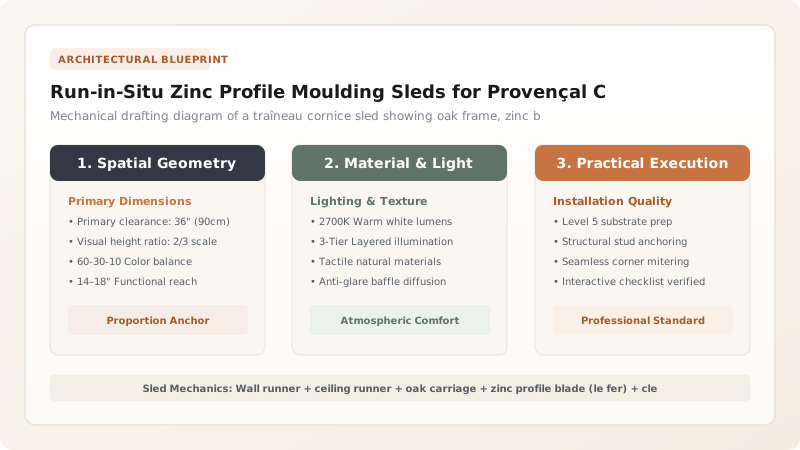
1. Fabricating the Zinc Knife (Le Fer de Traîneau)
The accuracy of the finished cornice depends entirely on the zinc profile blade. The master plâtrier drafts the full-scale moulding profile—combining classical elements like cyma reversa (doucine), cavetto (gorge), and fillets—onto heavy card stock.
This profile is glued onto a sheet of 1.2mm to 1.5mm architectural zinc. The mason cuts the profile using metal shears, then files the edges perfectly smooth with needle files. The rear edge of the zinc is filed with a 45° relief bevel, leaving a razor-sharp scraping edge that cuts wet plaster without tearing or dragging.
2. Constructing the Traîneau Oak Sled
The zinc blade cannot be pushed by hand; it would bend under the resistance of wet plaster. It is mounted onto a heavy wooden carriage called the traîneau, built from seasoned quarter-sawn oak or beech.
The sled consists of a vertical wall runner (joue), a horizontal ceiling runner (patin), and an angled bracing strut. The wooden profile is cut 3mm larger than the zinc knife, allowing the zinc blade to project slightly. This provides complete structural backing against bending while giving the metal blade clean clearance to scrape and burnish the setting plaster.
3. The Running Sequence: From Rough Core to Burnished Skin
Running a cornice requires seamless teamwork between two artisans. One craftsman mixes and packs mounds of fresh gypsum into the wall-ceiling angle ahead of the sled. The master mason pushes the traîneau steadily in long, continuous 3-meter strokes.
The first passes use plâtre gros (coarse gypsum) to build up the bulk of the profile. Once the core sets, the wooden runners are cleaned, and a creamy mix of plâtre fin (fine finishing plaster) is splashed along the track. The final sled passes shave off microscopic shavings, burnishing the setting gypsum into an ivory-smooth, razor-sharp classical profile.
Provençal Cornice Profiles & Running Parameters
Use this reference table to calculate exact physical dimensions, ratios, and specifications before purchasing:
| Cornice Typology | Profile Dimensions (mm) | Number of Sled Passes | Plaster Mix Progression | Typical Architectural Setting |
|---|---|---|---|---|
| Gorge Simple (Cavetto) | 120mm x 120mm | 4 - 6 Passes | Plâtre gros core -> Plâtre fin skim | Bedrooms, country mas corridors |
| Doucine Classique (Ogee) | 180mm x 220mm | 6 - 8 Passes | Reinforced hemp core -> Pure gypsum | Living salons, dining rooms |
| Corniche à Modillons | 250mm x 350mm | 8 - 12 Passes | Reed-keyed core -> Hand-placed modillions | Grand salon in Aixois townhouses |
| Cove Lighting Cornice | 200mm x 300mm (stepped) | 6 - 10 Passes | Fiberglass-reinforced core | Modern restoration / indirect lighting |
Ergonomic & Geometric Constraints
Every successful decoration project must account for physical and environmental constraints:
Heavy Physical Sled Resistance
Pushing a 300mm cornice sled through 10 kg of wet gypsum requires immense shoulder and core strength.
Wavy Historic Stone Walls
Ancient masons' walls are rarely flat or 90° square; timber runner guides must be shimmed extensively to compensate for wall bows.
Protocol for Laying Guides and Running a Plaster Cornice In-Situ
Execute this professional sequence to achieve flawless results without backtracking:
Plumb & Level Guide Snapping
Snap chalk lines along wall and ceiling using laser level, marking exact positions for wooden runner battens.
Runner Batten (Règles) Fixing
Tack straight 25mm x 50mm pine runners along chalk lines using plaster spots and drywall screws; verify dead straightness.
Core Muffle Shaving (Scratch Profile)
Tack 3mm temporary leather shim to zinc blade face; run coarse gypsum core; remove shim to create 3mm clearance for finish coat.
Plâtre Gros Core Application
Pack buttery coarse gypsum along ceiling angle; push traîneau steadily along wooden runners; remove excess slurry.
Plâtre Fin Finish Extrusion
Splash creamy superfine plaster over core; push sled in continuous uninterrupted sweep from corner to corner; burnish face.
Guide Removal & Corner Hand-Mitring
Unscrew wooden runners; patch screed holes; hand-carve intersecting cornice profiles in room corners using miter spatulas.
Common Mistakes & Countermeasures
Avoid these costly errors that compromise aesthetics, ergonomics, and budget:
Stopping the traîneau sled mid-stroke along the wall
Failing to use a 'muffle' (clearance shim) on the blade during rough core build-up
Project Execution Checklist
Track your physical progress. Checkboxes persist automatically on this device:
Frequently Asked Questions
How do plasterers ensure the sled does not wander off the wall runners?
The traîneau carriage is built with extended guide shoes (joues) that hug both the top face and outer side edge of the wooden batten, locking the sled into a rigid track that prevents yaw, roll, or pitch during the stroke.
Can run-in-situ cornices be executed around curved walls or bay windows?
Yes. For curved walls, plâtriers use a flexible wooden sled attached to a central pivoting trammel arm anchored at the room's radius point, sweeping the zinc blade in a perfect circular arc.


