
Luberon Gypsum Rock Calcination and Plaster Gauging Manual provides the material science foundation of Provençal plaster craft. Sourced from the geological evaporite deposits of the Luberon and Monts de Vaucluse, raw alabastrine gypsum rock is calcined in traditional wood-fired kilns at 130°C to 150°C. This low-temperature burn yields a coarse, multi-phase plaster containing both rapid-setting hemihydrate and slow-hydrating anhydrite crystals. When gauged with water by hand, this natural mineral mix delivers exceptional plasticity, high compressive strength, and zero shrinkage.
At a Glance: Key Takeaways
- Luberon Evaporite Gypsum: High-purity natural calcium sulfate dihydrate quarried across Vaucluse and the Luberon.
- Wood-Fired Kiln Calcination: Burning with local pine and oak brushwood at 130°C-150°C to produce heterogeneous hemihydrates.
- Multi-Phase Crystal Kinetics: Blending fast-setting beta-crystals with slow-hydrating micro-seeds for structural density.
- Sprinkling Gauging (Gâchage en Pluie): Sprinkling dry plaster over water without stirring to prevent air-bubble entrainment.
- Zero Drying Shrinkage: Gypsum expands slightly (+0.2%) upon setting, locking tight against reed laths and walls.
- Natural Thermal Insulation: Low thermal conductivity (k = 0.30 W/m·K) regulating Mediterranean summer heat.
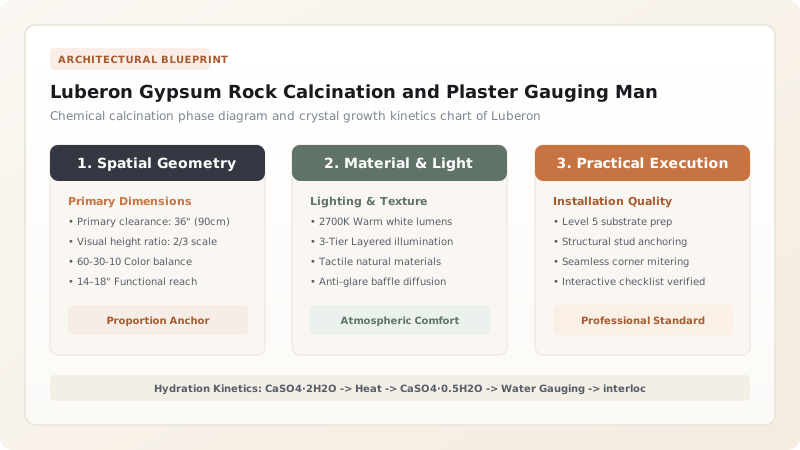
1. Geological Origins: The Evaporites of the Luberon
During the Oligocene epoch (approx. 30 million years ago), shallow inland seas covering southeastern France evaporated under tropical sun, depositing massive beds of crystalline gypsum (calcium sulfate dihydrate, CaSO4·2H2O) across the Luberon and Vaucluse basins.
Quarried in famous centers like Groseau and Isle-sur-la-Sorgue, Luberon gypsum is characterized by its compact, alabastrine crystalline structure containing subtle natural impurities of iron silicate and clay. These natural mineral inclusions give the fired plaster its distinctive creamy-ivory tone and superior tensile flexural toughness compared to purified modern synthetic gypsum.
2. Traditional Wood-Fired Kiln Calcination
Unlike modern gas-fired rotary kilns that cook gypsum powder uniformly, traditional Provençal kilns were stone vaults stacked with hand-hewn gypsum boulders. The kiln was fueled with aromatic Aleppo pine and scrub oak brushwood.
Burning for 24 to 36 hours at 130°C to 150°C, heat penetrated the boulders unevenly. The boulder cores became beta-hemihydrate (Plaster of Paris), while the outer crusts formed soluble anhydrite, and cool corners remained unburned dihydrate. When crushed between water-powered millstones, this heterogeneous mineral blend produced a 'living plaster' with a staged setting curve that allowed plâtriers to build thick coats without cracking.
3. Gauging the Plaster: The Art of Gâchage en Pluie
In Provençal masonry, stirring plaster like cement mortar is considered an amateur blunder. Stirring whips air bubbles into the paste and accelerates setting uncontrollably.
Master artisans practice gâchage en pluie (sprinkling like rain). Clean water is measured into a round wooden or zinc trough (gâche). The dry plaster powder is sprinkled gently by hand across the water surface until a mound emerges like an island. The plaster is allowed to rest undisturbed for 2 to 3 minutes to drink the water via capillary action. Only the working portion needed for immediate troweling is pulled from the edge of the mound, leaving the reservoir undisturbed.
Luberon Gypsum Plaster Gauging Ratios & Setting Times
Use this reference table to calculate exact physical dimensions, ratios, and specifications before purchasing:
| Plaster Typology | Water-to-Plaster Ratio (by Volume) | Resting Time (min) | Setting Window (min) | Typical Application |
|---|---|---|---|---|
| Plâtre Gros (Coarse) | 1 Part Water : 1.5 Parts Plaster | 2 Minutes | 15 - 20 Minutes | Initial 25mm coat over reed cannisset |
| Plâtre de Moulure (Cornice) | 1 Part Water : 1.2 Parts Plaster | 3 Minutes | 25 - 35 Minutes | Running perimeter cornices with sleds |
| Plâtre Fin (Superfine Skim) | 1 Part Water : 1.0 Part Plaster | 4 Minutes | 30 - 45 Minutes | Final smooth ceiling skim & feathering |
| Plâtre Retardé (Glue Added) | 1 Part Water + 0.5% Gelatin : 1.3 Plaster | 3 Minutes | 60 - 90 Minutes | Complex hand-carved floral rosettes |
Chemical & Workshop Constraints
Every successful decoration project must account for physical and environmental constraints:
Extreme Water Purity Sensitivity
Trace sulfur, iron, or chlorine in well water drastically alters gypsum setting time; use only tested potable water.
Rapid Exothermic Heat Spikes
During setting, large batches generate substantial heat (up to 45°C), which can dehydrate surface edges in drafty rooms.
Protocol for Gauging and Working Traditional Luberon Plaster
Execute this professional sequence to achieve flawless results without backtracking:
Water Measurement & Trough Preparation
Fill clean zinc plaster trough (gâche) with 10 liters of pure potable water at room temperature (18°C-20°C).
Sprinkling en Pluie (Rain Sifting)
Sift coarse Luberon gypsum through open fingers over water surface in steady circular motion; never dump in clumps.
Capillary Saturation Rest (La Buvée)
Allow plaster island to stand undisturbed for 3 minutes until dry powder at apex absorbs water and darkens.
Edge Kneading & Portioning
Draw a small trowel-full from the edge of the mound; work paste against trough cheek for 10 seconds to activate plastic creaminess.
Trowel Application to Reed Substrate
Apply paste immediately to ceiling reeds with broad steel trowel; press firmly to force plaster keys through reed gaps.
Trough Cleaning Between Batches
Scrape trough completely clean of set plaster residue before adding water for the next batch to prevent premature setting.
Common Mistakes & Countermeasures
Avoid these costly errors that compromise aesthetics, ergonomics, and budget:
Violently whipping or beating the plaster mix with an electric paddle drill
Adding fresh water to re-temper plaster that has already begun to stiffen in the trough
Project Execution Checklist
Track your physical progress. Checkboxes persist automatically on this device:
Frequently Asked Questions
Why does gypsum expand slightly when it sets, unlike cement which shrinks?
During hydration, calcium sulfate hemihydrate dissolves and recrystallizes into interlocking, needle-shaped dihydrate prisms (gypsum crystals). As these microscopic needles grow outward into three-dimensional space, their steric physical interference pushes the volume outward by approximately 0.2% to 0.3%, ensuring zero shrinkage cracks.
What is 'plâtre mort' and how do artisans avoid it?
'Plâtre mort' (dead plaster) occurs when plaster is stirred or worked after the initial crystal needles have begun to lock together. Breaking these fragile needles destroys the crystalline bond, leaving a chalky paste that never hardens. Artisans avoid it by working swiftly and never touching setting plaster on the wall.


