
Construct an over-door leaded glass transom sash by building a 1-3/4" thick solid hardwood frame (oak or poplar) with mortise-and-tenon corner joinery. Mill a 1/2-inch wide × 1/2-inch deep glass pocket rebate, bed the leaded panel on 1/8" silicone cushioning tape, and secure with removable 3/8" beaded wood stops.
At a Glance: Key Takeaways
- 1-3/4" Solid Hardwood Thickness: Matches standard interior door thickness for seamless flush architectural alignment.
- 1/2" × 1/2" Glass Pocket Rebate: Accommodates 3/8" lead came flange thickness plus silicone cushioning expansion gap.
- Removable Beaded Wood Stops: Fastened with brass brad nails or screws to allow glass removal for cleaning or repair.
- Transom Bar Support Lintel: Heavy 2x4 or 4x4 structural wood transom bar separates swinging door vibration from the glass.
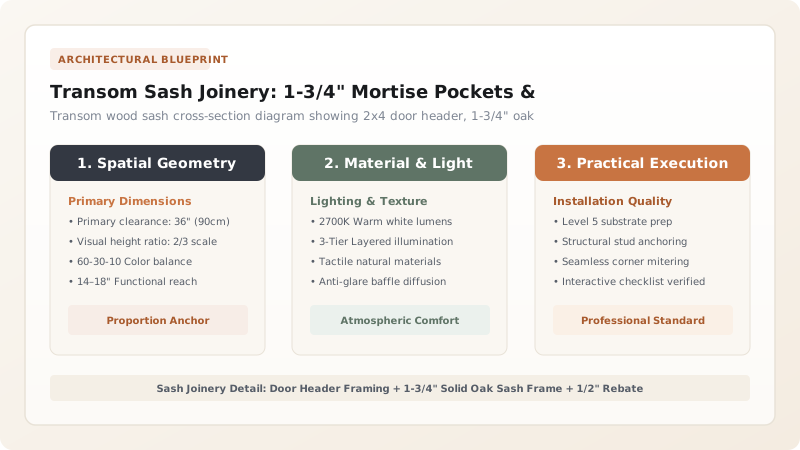
1. Woodworking Joinery: Mortise-and-Tenon vs Pocket Screws
The overhead transom sash frame must support a heavy 15kg to 25kg leaded glass panel while resisting the structural racking forces of the surrounding door opening. Cheap pocket-hole joinery will sag and twist at the corners over time.
Master millworkers construct transom sashes using Haunched Mortise-and-Tenon or Double-Dowel Joinery in 1-3/4" solid kiln-dried white oak, mahogany, or poplar. The rigid frame maintains a dead-square glass pocket, preventing corner pinching. For classical door surrounds, coordinate with Neoclassical pediment and pilaster trim.

2. The Structural Transom Bar: Isolating Door Slamming Shock
The horizontal timber dividing the lower swinging door from the upper transom sash is known as the Transom Bar (*Lintel*). If this bar is too thin (e.g. 3/4" board), door closure shocks will transfer directly into the leaded glass, cracking solder joints.
The transom bar must be a minimum of 1-1/2" to 2-1/2" thick solid lumber, anchored securely into the left and right wall studs. Incorporating 1/8" closed-cell EPDM foam tape inside the glass rebate cushions the leaded panel matrix against acoustic and kinetic vibration.
Transom Sash Construction Standards
Use this reference table to calculate exact physical dimensions, ratios, and specifications before purchasing:
| Sash Component | Minimum Dimension Spec | Wood Joinery Method | Architectural Role |
|---|---|---|---|
| Sash Stile & Rail Frame | 1-3/4" Thick × 2-1/4" Wide | Haunched Mortise & Tenon | Carries glass load and matches door thickness |
| Glass Rebate Pocket | 1/2" Deep × 1/2" Wide | CNC-Routed Rabbet | Encapsulates lead came border and cushion tape |
| Removable Glazing Stop | 3/8" × 3/8" Beaded Moulding | Brass Pin Nails (Removable) | Secures glass firmly without messy exterior putty |
| Transom Separator Bar | 1-1/2" Thick Solid Hardwood | Mortised into Door Jambs | Isolates swinging door slam vibrations |
Glass Size Tight Binding Constraints
Every successful decoration project must account for physical and environmental constraints:
Cutting Leaded Glass Exact Size of Wood Pocket Causing Glass Crushing
Wood framing expands and contracts with summer humidity; if the leaded panel is cut tight to the wood pocket, wood swelling crushes glass edges; size the leaded glass panel exactly 1/4" (6mm) smaller than the wood sash opening in both width and height.
How to Mill and Install an Over-Door Transom Sash
Execute this professional sequence to achieve flawless results without backtracking:
Mill 1-3/4" Solid Hardwood Stпер and Rails
Plane solid white oak or poplar to 1-3/4" thickness; cut mortise-and-tenon corner joints.
Rout 1/2" × 1/2" Glass Pocket Rabbet
Rout a continuous 1/2" deep × 1/2" wide rebate along the inside perimeter of the assembled sash.
Drill 1/2" Rebar Anchor Holes
Drill horizontal 1/4" holes in side stiles to receive the structural rebar ends extending from the glass.
Apply 1/8" Silicone Cushioning Tape
Line the wood rebate with closed-cell silicone foam tape to cushion the lead came border.
Drop Leaded Glass Panel into Pocket
Set glass panel into pocket, inserting rebar ends into drilled holes, and check for uniform 3mm perimeter gap.
Fasten Removable Beaded Wood Stops
Pin 3/8" beaded wood stops with 18-gauge brad nails, sealing edges with fine acrylic painter's caulk.
Common Mistakes & Countermeasures
Avoid these costly errors that compromise aesthetics, ergonomics, and budget:
Gluing Wood Glazing Stops Permanently with Wood Glue
Project Execution Checklist
Track your physical progress. Checkboxes persist automatically on this device:
Frequently Asked Questions
Can an over-door transom sash be hinged to open for ventilation (operable transom)?
Yes! Install traditional brass transom hopper hinges at the bottom and a brass transom catch/chain or pole-operated transom operator arm at the top to allow the sash to tilt inward for natural airflow.


