
Reinforce leaded glass transoms wider than 30 inches (760mm) by installing 1/4-inch galvanized round steel rebar (or 1/2"×1/8" flat brass-reinforced steel bar) horizontally across the rear face. Fasten the bar to the lead matrix by soldering 16-gauge copper tie wires at joint intersections, anchoring bar ends 1/2" into the wood sash.
At a Glance: Key Takeaways
- The 30-Inch Threshold Rule: Panels exceeding 30" width or 36" height require mechanical rebar bracing against sag.
- 16-Gauge Tinned Copper Tie Wires: Embedded in lead came joints during soldering and twisted around the rebar.
- Anchored Sash Pockets: Rebar ends extend 1/2 inch into mortise holes drilled into the surrounding wood sash frame.
- Concealed Layout Alignment: Position horizontal rebars behind prominent lead came lines to render bracing invisible.
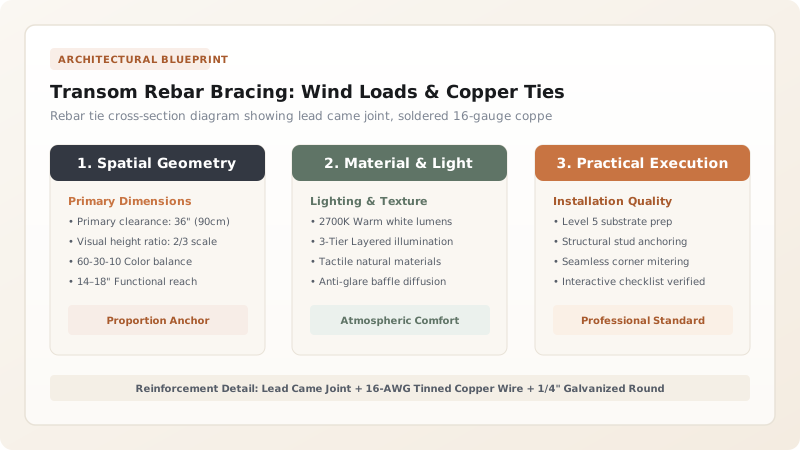
1. Deflection Physics: Gravitational Creep & Air Piston Pressure
Interior doors act like giant air pistons: closing a heavy bedroom door forces a rapid rush of air upward against the overhead transom, generating up to 15 to 25 lbs of dynamic cyclic air pressure.
Because lead exhibits Metal Creep (plastic deformation under low continuous stress), unreinforced leaded glass transoms will bow outward by up to 25mm (1 inch) within 3 years. Incorporating Rigid Steel Rebars anchored into the wooden sash absorbs this pressure, maintaining 100% planar glass flatness for centuries.

2. Rebar Spacing Formulas & Sash Pocket Joinery
Rebars should be spaced horizontally every 18 to 24 inches (450mm to 600mm) vertically across the panel height. To prevent thermal expansion stress from cracking glass, the rebar ends must seat into 12mm deep drilled pocket holes in the wood sash frame, buffered with silicone.
Learn how to integrate the wooden sash into door framing in over-door transom sash pocket installation.
Stained Glass Reinforcement Systems Comparison
Use this reference table to calculate exact physical dimensions, ratios, and specifications before purchasing:
| Reinforcement Method | Rigidity Strength | Visual Obtrusiveness | Best Panel Application |
|---|---|---|---|
| 1/4" Round Galvanized Steel Rebar (Optimal) | Very High (Supports heavy doors) | Low (Aligned behind horizontal lead came) | Large architectural transoms >30" wide |
| Internal Steel-Core Came | Moderate (Built inside lead) | 100% Invisible | Narrow transoms (24" - 30" wide) |
| 1/2" × 1/8" Flat Brass Saddle Bar | Maximum | Moderate (Requires black patina) | Historic church windows & entry doors |
| No Rebar Reinforcement (DIY Error) | FAILS: Sags and bows | Clean initially | PANELS WILL COLLAPSE under gravity |
Galvanic Corrosion Rust Staining Constraints
Every successful decoration project must account for physical and environmental constraints:
Raw Steel Rebars Rusting and Bleeding Orange Stains Across Leaded Glass
Raw unplated steel oxidizes when exposed to moisture and flux residues, staining lead and glass; strictly use 'Hot-Dip Galvanized' or 'Tinned Solid Brass' rebars, and apply black patina lacquer over finished ties.
How to Install Rebar Reinforcement on Leaded Glass
Execute this professional sequence to achieve flawless results without backtracking:
Solder 16-AWG Copper Tie Wires into Joint
During panel soldering, solder a 4-inch length of tinned copper wire into the lead came joint intersection.
Cut Galvanized Steel Rebar to Length
Cut 1/4" round rebar so ends extend 1/2" beyond the glass panel on both sides to enter sash pockets.
Position Rebar Across Panel Back
Lay rebar across the lead cames aligned with the soldered copper tie locations.
Twist Copper Wires Tightly Over Rebar
Twist copper wire ends around the rebar using lineman's pliers, clamping the bar firmly against the lead.
Solder Copper Wire Twist to Rebar
Flow 60/40 solder over the copper twist to lock the mechanical clamp permanently.
Apply Black Patina Solution
Brush black patina over the rebar and copper ties to blend with the dark lead came matrix.
Common Mistakes & Countermeasures
Avoid these costly errors that compromise aesthetics, ergonomics, and budget:
Soldering Steel Rebar Directly to Lead Came Without Copper Wire
Project Execution Checklist
Track your physical progress. Checkboxes persist automatically on this device:
Frequently Asked Questions
Can reinforcement rebars be placed on the front face of a transom?
No. Rebars are always installed on the interior / rear face of the panel (facing the less prominent room) and aligned horizontally behind major lead design lines to make them virtually invisible from primary sightlines.


