
Incorporate custom leaded art glass transoms above interior doorways by assembling hand-cut art glass inside traditional 3/16-inch lead H-cames. Solder joints with 60/40 tin-lead solder, reinforce spans over 30 inches with concealed copper-tied round steel rebars, and bed panels in 1-3/4" solid hardwood sash frames.
At a Glance: Key Takeaways
- Traditional Lead H-Came Construction: Channels hold glass securely while allowing slight seasonal expansion.
- 60/40 Tin-Lead Solder Joints: Melts at 370°F (188°C) to form strong, shiny metallic joint bonds.
- Concealed Steel Rebar Wind Bracing: Round 1/4" steel rebar tied with soldered copper wires prevents panel bowing.
- Linseed Oil Cement Putty Waterproofing: Whiting and boiled linseed oil putty forced into came channels locks glass rigidly.
- Daylight Borrowing Function: Bounces natural daylight from exterior windows into windowless interior hallways.
In-Depth Guides in this Directory
Explore specialized subtopic blueprints, technical dimensions, and execution checklists:
Lead H-Came vs Copper Foil: Transom Rigidity & Solder Math
Master stained glass structural engineering: lead H-came cross-sections vs Tiffany copper foil, 60/40 solder alloy mechanics, came stretching work-hardening, and wind deflection.
Transom Rebar Bracing: Wind Loads & Copper Ties
Master stained glass structural rebar reinforcement: calculating deflection spans (>30 inches), copper tie wire soldering, concealed flat bar placement, and preventing panel bulging.
Transom Sash Joinery: 1-3/4" Mortise Pockets & Stops
Master over-door transom sash wood joinery: 1-3/4" solid hardwood sash frames, 1/2" mortise glass pockets, removable wood stop mouldings, and door header framing.
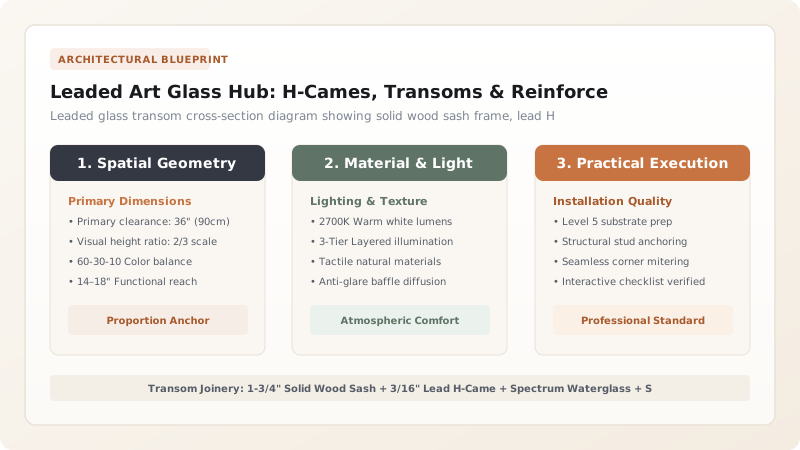
1. Architectural Heritage: The Interior Daylight Transom
In 19th-century Victorian, Edwardian, and Craftsman architecture, Over-Door Leaded Glass Transoms served a vital functional role: bouncing natural daylight deep into dark central corridors while maintaining acoustic room privacy.
Modern residential design has revived this heritage. Handcrafted panels utilizing Clear Textured Glasses (such as Waterglass, Baroque, and Flemish glass) diffuse light into dancing refractive patterns across ceilings. To understand lead came engineering, review lead H-came vs copper foil structural rigidity, and explore Crittall steel partitions for modern steel interpretations.

2. Structural Rebar Reinforcement & Sash Pocket Joinery
Because lead is a soft, malleable metal, leaded panels spanning wider than 30 inches (760mm) will sag and bulge outward over time under gravity and air pressure differentials.
Professional glass workrooms solder Concealed 1/4" Round Steel Rebars across the rear of the panel, secured with copper wire ties soldered directly to lead joints. The finished panel is then bedded into a 1-3/4" solid hardwood sash frame with 1/2" mortise stops.
Lead Came vs Copper Foil Glass Construction
Use this reference table to calculate exact physical dimensions, ratios, and specifications before purchasing:
| Assembly Technique | Metal Framework | Structural Rigidity | Best Architectural Fit |
|---|---|---|---|
| Traditional Lead H-Came (Optimal) | 3/16" - 3/8" Lead Channels | High (Rigid H-beam structural strength) | Architectural transom windows & door lites |
| Copper Foil Method (Tiffany) | Thin adhesive copper tape | Low (Flexible / Requires heavy support) | Intricate organic floral lampshades & suncatchers |
| Zinc Came Framework | Solid extruded zinc channels | Maximum (Very stiff) | Large geometric exterior church windows |
| Faux Overlay Lead Strip (Craft) | Adhesive stick-on lead foil on single glass | Zero structural value | FAILS: Peels and curls in sunlight |
Door Slamming Vibration Fatigue Constraints
Every successful decoration project must account for physical and environmental constraints:
Heavy Interior Doors Slamming Causing Leaded Transom Glass to Rattle and Crack
Repeated door slams transfer shock waves into the overhead transom frame; bed the leaded glass sash on 1/8" closed-cell EPDM foam gaskets inside the door jamb, and install magnetic door latches with soft-close buffers.
How to Build and Install a Leaded Glass Transom
Execute this professional sequence to achieve flawless results without backtracking:
Draft 1:1 Full-Scale Cartoon Pattern
Draw exact glass pattern on heavy layout paper, numbering every glass piece.
Cut Textured Art Glass with Oil Cutter
Score and break clear textured glasses (Waterglass/Flemish) using a carbide glass cutter.
Assemble Inside Lead H-Cames
Stretch lead cames, cut with came shears, and fit glass into channels on layout board with horseshoe nails.
Solder All Intersections with 60/40 Solder
Brush oleic acid flux on joints and melt 60/40 solder into smooth, convex domes at every intersection.
Cement with Linseed Oil Putty
Scrub black linseed oil cement under came flanges with a stiff brush; polish with whiting powder.
Install into Wood Sash Above Door
Pin leaded panel into wood sash frame with 1/2" quarter-round stops and silicone cushioning.
Common Mistakes & Countermeasures
Avoid these costly errors that compromise aesthetics, ergonomics, and budget:
Skipping the Linseed Oil Cementing (Puttying) Step
Project Execution Checklist
Track your physical progress. Checkboxes persist automatically on this device:
Frequently Asked Questions
Can leaded glass transoms be incorporated into double-glazed insulated units (IGUs)?
Yes! Modern building codes allow custom leaded art glass panels to be encapsulated inside a triple-glazed sealed unit (sandwiched between two sheets of clear tempered glass) for maximum thermal and acoustic insulation.


