
Asanoha and Kikkou Geometric Kumiko Latticework represent the highest tier of sacred mathematical expression in Japanese architectural woodwork. Formed within an equilateral triangular or hexagonal base grid (jigami), the Asanoha (hemp leaf) pattern divides each triangular cell into six radiating rhomboid sub-facets using three internal wooden infill pieces (tsumiko). The Kikkou (tortoise shell) pattern constructs interlocking hexagons. Assembled without adhesives, these patterns create complex optical illusions that shift under moving raking light.
At a Glance: Key Takeaways
- Equilateral Triangular Grid (Mitsu-Kude): 60° and 120° intersecting laths forming the foundational framework.
- Asanoha Tri-Partite Infill: Three angled wooden pieces (hagi, chouchou) dividing triangular cells into hexagonal stars.
- Kikkou Honeycomb Geometry: Interlocking hexagonal cells symbolizing resilience and 10,000-year longevity.
- Dual End-Bevel Angles: Precision cutting of 30° and 60° compound miters on miniature 12mm wooden infill leaves.
- Dynamic Optical Parallax: Faceted slat thickness casting shifting geometric shadows as solar altitude changes.
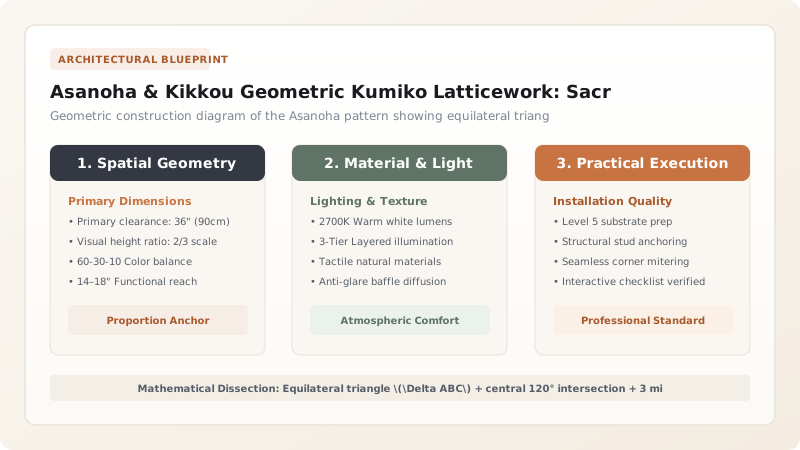
1. Mathematical Dissection of the Equilateral Triangle (Mitsu-Kude)
The geometric starting point for the Asanoha pattern is the Mitsu-Kude (three-way joint). Three sets of continuous wooden slats intersect at exact 60° angles, forming a uniform array of equilateral triangles.
Where the three slats cross at a single node, each slat is notched with a specialized one-third lap joint (mitsu-kude-tsugi): one slat is notched from the top, one from the bottom, and the intermediate slat is slotted through its center. This locks the three slats together in a rigid, planar, self-bracing structural truss.
2. Anatomy of the Asanoha Infill (Tsumiko)
Inside each equilateral triangular cell, the artisan inserts three micro-dimensioned pieces of wood:
- The Central Spine (Hagi): Extends from one apex of the triangle to the exact midpoint of the opposite base, dividing the triangle into two 30°-60°-90° right triangles.
- The Wing Leaves (Chouchou): Two shorter pieces branching off the central spine at 30° angles, terminating in the remaining two corners of the cell.
When neighboring triangular cells are similarly filled, the collective pattern resolves optically into a soaring six-pointed star (hexagram) resembling the stylized leaf of the hemp plant.
3. The Kikkou Hexagonal Variation
The Kikkou (tortoise shell) pattern replaces straight triangular lines with interlocking regular hexagons. To construct Kikkou, the carpenter skips alternating diagonal notches in the jigami, creating a honeycomb matrix.
Inside each hexagonal cell, craftsmen can leave the interior open for maximum light transmission, or insert internal stars (Kikkou-Asanoha), creating multi-layered optical depth. Because the tortoise was revered in Shinto mythology as a messenger of the sea deity, Kikkou screens were traditionally placed in reception rooms (zashiki) to bless guests with health and prosperity.
Asanoha & Kikkou Piece Sizing & Cutting Angular Specifications
Use this reference table to calculate exact physical dimensions, ratios, and specifications before purchasing:
| Pattern Element | Piece Length (Typ.) | Slat Thickness (mm) | End Miter Angle | Function in Lattice |
|---|---|---|---|---|
| Jigami Triangle Rail | Continuous 600mm | 1.8mm - 2.2mm | 60° / 120° Notches | Structural perimeter of cell |
| Asanoha Spine (Hagi) | 28.5mm | 1.4mm - 1.6mm | 90° Base / 30° Top | Primary internal altitude axis |
| Asanoha Wing (Chouchou) | 16.4mm | 1.4mm - 1.6mm | 30° Scarf / 60° Corner | Creates hexagonal star points |
| Kikkou Honeycomb Bar | 22.0mm | 1.8mm - 2.0mm | 60° Y-Junction Half-Lap | Forms hexagonal cell perimeter |
Precision & Optical Constraints
Every successful decoration project must account for physical and environmental constraints:
Scale of Infill Pieces
A standard 1-meter Asanoha panel contains over 1,500 individual infill leaves measuring less than 20mm each.
Visual Grain Consistency
Sourcing 1,500 pieces of wood with identical golden hue and grain orientation requires harvesting from a single Hinoki log.
Protocol for Cutting and Fitting Asanoha Infill Leaves
Execute this professional sequence to achieve flawless results without backtracking:
Infill Slat Thinning
Plane infill stock 0.4mm thinner than the jigami frame (typically 1.4mm) to create subtle visual depth and shadows.
Central Spine Notching
Clamp central spine pieces in a 30° wooden guide block; chisel tiny side notches to receive the wing leaf tenons.
Wing Leaf Miter Shaving
Shave both ends of wing pieces on an adjustable angle plane-guide (kezuri-dai) to razor-sharp 30° and 60° knife points.
Test Insertion & Tension Adjustment
Insert spine into triangular cell apex; verify that spine stays in place purely by friction without bending the jigami rail.
Wing Leaf Snapping
Press first wing leaf into side notch, then flex second wing leaf into place; the pieces lock together under mutual elastic tension.
Final Inspection under Raking Light
Examine completed panel under oblique light to verify all infill joints meet with zero visible gaps or fiber crushing.
Common Mistakes & Countermeasures
Avoid these costly errors that compromise aesthetics, ergonomics, and budget:
Cutting infill pieces 0.2mm too long to ensure a 'tight' fit
Using machine sanders to adjust infill miter angles
Project Execution Checklist
Track your physical progress. Checkboxes persist automatically on this device:
Frequently Asked Questions
Why is the hemp leaf (Asanoha) pattern so widespread in Japanese design?
In historical Japan, the hemp plant was revered for its extraordinary vigor, growing straight and tall in any soil without pesticides. The Asanoha pattern was traditionally used on baby kimonos and home screens to wish children strong, resilient, and virtuous growth.
How are broken Kumiko infill leaves repaired?
Because Kumiko is assembled without glue, a skilled joiner can carefully flex and extract a damaged leaf using brass tweezers, shave an exact replica from matching seasoned Hinoki stock, and snap the new piece into place invisibly.


