
Trim interior coffer compartments by installing 3-1/2" to 5-1/4" architectural crown molding (typically 52/38-degree spring angle) around the top inside perimeter of every coffer box. Cut four inside compound miters per compartment, nailing into solid backing blocks behind the beam cheeks. Establish an 8" to 12" flat drywall reveal around the outer perimeter walls to absorb wall bow and out-of-square room corners.
At a Glance: Key Takeaways
- Four Inside Miters per Coffer Box: A 9-compartment ceiling requires cutting and fitting 36 precision inside crown miters.
- Spring Angle Calibration (52/38 vs 45/45): Setting compound miter saw angles to the exact spring angle of the chosen crown profile.
- Continuous Corner Backing Blocks: Triangular softwood blocks glued behind the crown to provide solid 100% nailing support.
- The Perimeter Reveal Buffer: A flat drywall band separating outer beams from walls, preventing awkward diagonal taper cuts.
- Bed Molding Base Trims: Small 1-1/4" cyma reversa bed moldings applied along the bottom beam edges for classical architectural enrichment.
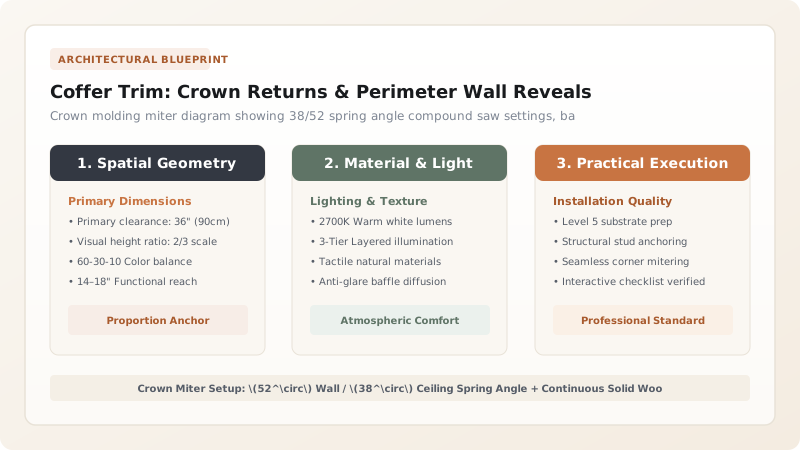
1. Miter Mathematics: Compound Saw Settings & Spring Angle Alignment
Trimming a 12-compartment coffered ceiling requires cutting 48 inside corner miters. If a carpenter's saw is off by even 0.5 degrees, gaps will open on every joint.
Most architectural crown moldings have a 52/38 Spring Angle (52 degrees against the vertical beam cheek, 38 degrees against the horizontal ceiling). When cutting crown flat on a compound miter saw table, the saw must be calibrated precisely to:
- Miter Angle: \(31.62^\circ\)
- Bevel Angle: \(33.86^\circ\)
Master carpenters cut from left to right in continuous loops, pinning joints with Cyanoacrylate Adhesive (CA Glue) and Micro-Pins for hairline seams that never gap under seasonal humidity swings. Learn how this fits into coffered ceiling systems and study box beam framing.

2. Wall Interface Strategy: The Perimeter Reveal Buffer & Backing Blocks
Rarely is a room perfectly rectangular. If outer box beams are mounted flush against drywall walls that bow by 3/4 inch, the beams will appear crooked and warped.
Architects specify a Perimeter Reveal Band (Flat Margin of 8 to 14 inches) between the outer beams and the perimeter wall. The crown molding along the room wall runs independently of the coffer beams. Any wall bowing is absorbed invisibly in this flat reveal band, keeping the inner coffer grid 100% geometrically square. Explore lighting in integrated coffer lighting and compare with hammerbeam timber roof trusses.
Crown Molding Spring Angle Specifications
Use this reference table to calculate exact physical dimensions, ratios, and specifications before purchasing:
| Crown Profile Type | Spring Angle (Wall/Ceiling) | Miter Saw Setting (Miter / Bevel) | Visual Projection |
|---|---|---|---|
| Classical 52/38 Crown (Optimal) | 52° Wall / 38° Ceiling | 31.62° Miter / 33.86° Bevel | Balanced vertical projection (Ideal for deep coffers) |
| Traditional 45/45 Crown | 45° Wall / 45° Ceiling | 35.26° Miter / 30.00° Bevel | Equal projection down wall and out onto ceiling |
| Contemporary Cove Molding | 60° Wall / 30° Ceiling | 28.00° Miter / 37.00° Bevel | Tall vertical drop with minimal ceiling projection |
| Flat Shiplap Bead Molding | Flat 90° (Zero spring) | 45.00° Miter / 0.00° Bevel | Modern Craftsman / Transitional aesthetic |
Crown Miter Opening Under Winter Dry Air
Every successful decoration project must account for physical and environmental constraints:
Inside Crown Miters Pulling Apart in Winter Indoor Heating Seasons
MDF and wood crown moldings shrink in dry winter air (<25% RH), opening unsightly 1/8" black triangular gaps at inside corners; always bond mating miter faces with high-viscosity cyanoacrylate (CA) glue and 23-gauge micro-pins, never relying on caulking alone to hold miter seams.
How to Miter and Install Crown Molding in Coffer Boxes
Execute this professional sequence to achieve flawless results without backtracking:
Cut Triangular Softwood Backing Blocks on Table Saw
Rip 2×4 lumber at 38° angle; cut into 3" blocks; nail into upper corner of beam cheeks every 16" for solid backing.
Calibrate Compound Miter Saw with Digital Angle Gauge
Verify 31.62° miter and 33.86° bevel on scrap crown molding; confirm tight test corner before cutting long runs.
Measure Coffer Box Dimensions with Laser Distance Meter
Measure top corner distance inside each compartment; add 1/16" for a snug spring-fit.
Cut Four Mitered Pieces for Compartment 1
Cut crown with compound settings; label back of pieces (North, East, South, West) for precise sequence.
Apply CA Glue and Activator to Mating Miter Corners
Apply cyanoacrylate adhesive to one miter face; spray aerosol activator on opposing face; clamp together with hand pressure.
Pin Crown into Backing Blocks with 18-Gauge Brad Nails
Drive 2" 18-gauge brads through the lower flat into the beam cheek and through top edge into backing blocks.
Burnish Miter Ridges and Apply Flexible Elastomeric Caulk
Rub outside edge of miter with screwdriver shank to close microscopic fiber gaps; seal ceiling seam with flexible acrylic caulk.
Common Mistakes & Countermeasures
Avoid these costly errors that compromise aesthetics, ergonomics, and budget:
Nailing Crown Molding Only into Drywall Ceilings
Project Execution Checklist
Track your physical progress. Checkboxes persist automatically on this device:
Frequently Asked Questions
Should the inside of the coffer compartments be painted the same color as the beams?
For a subtle classical look, paint the beams, crown, and ceiling panels in matching monochrome satin white. To create dramatic architectural depth, paint the recessed ceiling panels 1 to 2 shades darker (e.g., warm griege or soft charcoal) or apply wallpaper, allowing the white beams to stand out in relief.


