
Fabricate deep-profile box beam grids by anchoring 2×4 or 2×6 softwood framing ladders to structural ceiling joists using 3-1/2" structural screws. Mill three-sided hollow beam wrappers from 3/4" cabinet-grade hardwood or MDF with precision 45-degree lock miter corner joints, slide the beam shells over the ladders, fasten with adhesive and finish nails, and reinforce cross-intersections with internal hardwood splines.
At a Glance: Key Takeaways
- Internal 2× Timber Ladders: Structural softwood skeletons providing solid 1-1/2" nailing flanges every 12 inches along the ceiling.
- Lock Miter Corner Joinery: Precision router-cut interlocking miters that eliminate end-grain exposure and seasonal glue joint popping.
- Half-Lap Beam Intersection Splines: Interlocking cross-halving joints where longitudinal and transverse beams intersect seamlessly.
- Laser-Leveled Datum Plane: Rotary laser leveling deployed to shim all framing ladders dead level regardless of sagging ceiling drywall.
- Concealed Wiring Raceways: Hollow beam cavities provide built-in chases for running romex, speaker cables, and low-voltage LED drivers.
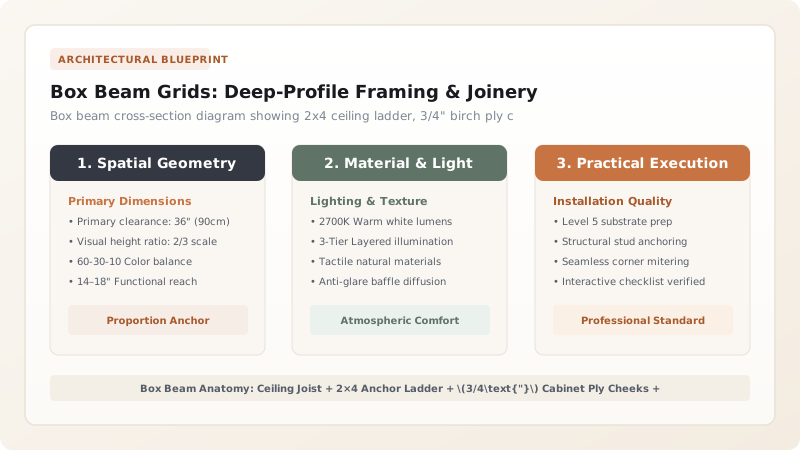
1. Rough Carpentry: Framing Ladders & Establishing the Laser Datum
Most residential drywall ceilings sag or dip by 1/2 to 3/4 inch across a 20-foot room. If carpenters fasten box beams directly to uneven drywall, the entire grid will wave and undulate.
The solution is an Independent Leveled Framing Ladder Network. Carpenters set a 360-degree rotary green laser level 10 inches below the ceiling. The 2×4 framing ladders are hung using Adjustable Plywood Gusset Hangers, shimmed dead level to the laser line before any finished millwork touches the room. Explore how this integrates into the coffered ceiling hub.

2. Finish Millwork: Lock Miter Fabrication & 4-Way Cross Intersections
Standard butt joints show ugly end grain and crack over time. The gold standard of box beam carpentry is the Shaper-Cut Lock Miter.
The lock miter tongue-and-groove profile interlocks at 45 degrees, creating a seam that looks like solid carved timber. At 4-way beam intersections, carpenters run the primary structural beam continuously through, then Cope or Lap the Secondary Cross Beams into the main trunk using Internal Birch Plywood Biscuits and Pocket Screws. Master crown profiles in interior crown returns and lighting in integrated coffer lighting.
Box Beam Corner Joinery Methods
Use this reference table to calculate exact physical dimensions, ratios, and specifications before purchasing:
| Joinery Technique | Glue Surface Area | Clamping Ease | Long-Term Seam Integrity |
|---|---|---|---|
| Lock Miter Joint (Optimal) | Very High (>300% of material thickness) | Self-aligning (Slides together square) | 5 / 5 (Never opens or telegraphs seam) |
| Splined 45° Miter | High (Reinforced with 1/4" hardwood spline) | Moderate (Requires band clamps) | 4 / 5 (Strong but requires careful setup) |
| Rabbet and Dado Joint | Moderate | Easy (Steps into corner) | 3 / 5 (Shows 1/16" edge seam on bottom) |
| Simple Face-Butt Joint (Avoid) | Low (End-grain to face-grain) | Easy (Face nailed) | 1 / 5 (Separates and cracks within 1 season) |
Longitudinal Beam Sagging Between Joists
Every successful decoration project must account for physical and environmental constraints:
Box Beams Running Parallel to Ceiling Joists Lacking Overhead Support Sagging in Center
When beams run parallel between joists spaced 16" or 24" on-center, screws driven into drywall alone will rip out under beam weight; carpenters must climb into the attic or remove narrow drywall strips to install 2×6 solid wood blocking every 32 inches between ceiling joists before hanging ladders.
How to Fabricate and Install Deep-Profile Box Beams
Execute this professional sequence to achieve flawless results without backtracking:
Map Ceiling Joists and Install Solid 2×6 Bridging
Locate joists; install 2×6 solid wood blocking every 32" between joists where beams run parallel to framing.
Build 2×4 Framing Ladders with Pocket Screws
Construct ladders with 2×4 side stringers and cross-blocks spaced 16" on-center; pre-drill counter-bore holes for structural lags.
Level Framing Ladders Using Rotary Green Laser
Fasten ladders to joists with 3-1/2" structural screws; shim with hardwood shims until bottom edge aligns with laser plane.
Rout Lock Miter Profiles on 3/4" Hardwood Cheeks
Run side cheeks and bottom soffits through shaper table fitted with micro-adjustable lock miter cutter head.
Assemble U-Beam Shells on Long Assembly Benches
Apply polyurethane glue; fold lock miters together; clamp with corner clamping blocks every 24" until cured.
Install Continuous Main Beams Over Framing Ladders
Hoist continuous main beam shells; slide over leveled ladders; pin through cheeks with 16-gauge nails and construction adhesive.
Fit Cross-Beams with Coping and Internal Pocket Screws
Cut transverse cross beams to exact length; pocket-screw into main beam flanks, joining bottoms with floating biscuits.
Common Mistakes & Countermeasures
Avoid these costly errors that compromise aesthetics, ergonomics, and budget:
Installing Box Beams Directly to Un-Leveled Ceilings
Project Execution Checklist
Track your physical progress. Checkboxes persist automatically on this device:
Frequently Asked Questions
What thickness of plywood or hardwood should be used for box beam cheeks?
Always use 3/4-inch (18mm or 19mm) cabinet-grade plywood or solid hardwood. Thinner 1/2-inch material lacks the stiffness required for crisp lock miter joints and will bow inward when clamped.


