
Inlaid White Marble Geometric Tesserae Grids represents the refined intermediate decorative style bridging plain cocciopesto pavements and full polychrome mosaics. In Roman domestic architecture, rather than covering the entire floor with expensive tesserae, master mosaicists embedded individual hand-knapped cubes of pure white Palombino limestone or Luna marble directly into the soft, uncarbonated pink cocciopesto matrix. Arranged in precise geometric grids—including diagonal lozenges, meanders, 8-pointed star rosettes, and swastikas—the white stones provide dazzling graphic contrast against the warm terracotta ground.
At a Glance: Key Takeaways
- Palombino White Limestone Tesserae: Dense, fine-grained white marly limestone knapped into 8mm–12mm cubes.
- Geometric Lozenge & Meander Layouts: Snapping chalk coordinates for diamond stars, swastika meanders, and grids.
- Direct Setting into Green Cocciopesto: Pressing stones into soft, freshly compacted hydraulic mortar.
- Wooden Beater Board Tamping: Tapping tesserae dead flush with the surrounding mortar plane without lip-edge protrusions.
- Contrasting Pink-and-White Palette: Striking optical resonance between white limestone cubes and the red-pink ground.
- High Foot-Trafic Abrasion Resistance: Pure calcitic stones polishing smooth under centuries of leather sandal wear.
1. Petrography: Palombino Limestone and Marble Sourcing
The white stone cubes used in Roman opus signinum were not cut with mechanical saws; they were hand-knapped by specialized stone-cutters (tessellarii). While crystalline Carrara (Luna) marble was used in luxury villas, Roman builders favored Palombino limestone.
Quarried in central Italy, Palombino is an ultra-dense, micro-crystalline marly limestone with zero visible grain and pure milk-white coloration. Masons split the stone using an iron hardie (tagliolo) mounted in a wooden tree stump and a double-edged mosaicist's hammer (martellina). A sharp tap cleaves the stone along natural cleavage planes into crisp 8mm to 12mm cubes with slightly tapered bases that key mechanically into wet mortar.
2. Geometric Layout: Chalk Lines and Compass Scribing
Timing is critical when installing an inlaid opus signinum floor. The tesserae must be embedded while the hydraulic cocciopesto bed is freshly rammed and plastic, but before the initial hydraulic set stiffens the matrix (typically a 2- to 4-hour working window).
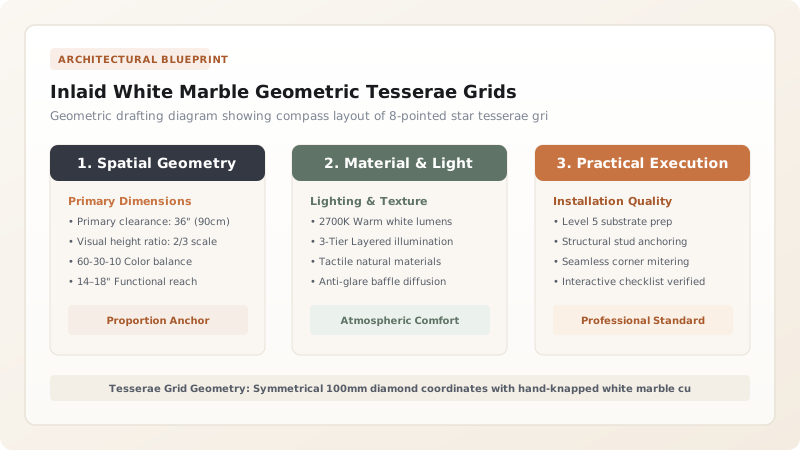
The master mosaicist snaps geometric guide lines into the wet pink surface using taut strings dusted with red hematite or charcoal. Scribing with bronze dividers, the artisan establishes geometric coordinates: grid tessellations (cruces), diagonal diamond lattices, and labyrinthine Greek key meanders. Individual white tesserae are pressed into the mortar along the scribed lines, maintaining precise 30mm to 50mm spacings between stones.
3. Surface Leveling: The Art of the Beater Board
If stones are simply pressed into mortar with fingers, individual tesserae sit at uneven heights, leaving sharp edges that stub toes and catch brooms. Roman artisans achieved glass flatness through beating (battitura).
A flat, heavy oak beater board (tavola da battere) is placed over the embedded stones. The mason pounds the board systematically with a wooden mallet, driving the white cubes down until their top faces are dead flush with the pink cocciopesto plane. The pounding action forces excess pink lime-terracotta slurry up around the sides of the tesserae, filling all voids and locking the cubes in an unbreakable hydraulic vice.
Roman Inlaid Tesserae Pattern Standards
Use this reference table to calculate exact physical dimensions, ratios, and specifications before purchasing:
| Geometric Motif | Latin Description | Tesserae Spacing | Stone Material | Architectural Setting |
|---|---|---|---|---|
| Dispersed Flecks (Punteggiato) | Randomly scattered single cubes | 50mm - 80mm random | White Palombino limestone | Service corridors & secondary cubicula |
| Diamond Lozenge Grid | Intersecting diagonal lines | 100mm diamond spacing | White Luna marble cubes | Main atrium & dining rooms (triclinia) |
| Eight-Pointed Star | Crux quadrata with diagonal points | Centered in 400mm bays | White marble + black basalt accents | Focal centers of reception rooms |
| Greek Key Meander Border | Continuous labyrinthine fretwork | Continuous touching cubes | Alternating black and white cubes | Room perimeter boundary frieze |
Precision & Timing Constraints
Every successful decoration project must account for physical and environmental constraints:
Knapping Speed & Volume
A large 40 m² reception room requires over 10,000 hand-knapped stone cubes, requiring days of stone-cutting preparation.
Tamping Flatness Uniformity
An inexperienced mason who strikes the beater board unevenly will drive cubes too deep, drowning them beneath pink mortar.
Protocol for Knapping, Scribing, and Embedding Marble Tesserae
Execute this professional sequence to achieve flawless results without backtracking:
Palombino Marble Knapping
Split white limestone slabs into 10mm strips; knap into 10x10x10mm cubes using a steel tagliolo hardie and martellina hammer.
Fresh Cocciopesto Ramming
Ram the 35mm nucleus cocciopesto layer until firm and plastic; level surface with straightedge; check dampness.
Chalk Grid Scribing
Snap geometric diamond and star grid lines into the wet pink surface using taut hemp strings dusted with charcoal.
Direct Tesserae Setting
Press white marble cubes into the mortar along the scribed lines with thumb pressure; align stone grain for maximum light reflection.
Oak Beater Board Tamping
Place heavy oak board over embedded cubes; pound with wooden mallet until white cubes sit dead level with the pink mortar plane.
Slurry Sponge Washing
Wipe surface immediately with damp sea sponge to clean pink mortar haze from the white marble faces; leave to cure under damp burlap.
Common Mistakes & Countermeasures
Avoid these costly errors that compromise aesthetics, ergonomics, and budget:
Waiting too long to embed tesserae after the cocciopesto has begun its hydraulic stiffening
Using machine-tumbled round marble pebbles instead of hand-knapped square tesserae
Project Execution Checklist
Track your physical progress. Checkboxes persist automatically on this device:
Frequently Asked Questions
How did Roman mosaicists keep straight lines when embedding thousands of stones by hand?
Mosaicists snapped taut string lines coated in crushed red chalk (rubrica) across the wet mortar, leaving a temporary red line. For complex curves or intricate meanders, they drew 1:1 scale templates onto the damp mortar with bronze styluses, using bronze ruler bars as guides to align the stones with millimeter precision.
Can missing white tesserae in an antique Roman floor be replaced?
Yes. Conservators locate original quarry sources (such as Palombino limestone from Lazio), hand-knap matching cubes with a martellina hammer, clean the historic stone pocket with micro-chisels, and bed the new cube in fresh hydraulic lime-brick dust mortar, tapping it flush with a wooden block.


