
Calculate picture frame moulding box widths using the formula: Subtract all 4-inch border margins from the total wall width, then divide by the number of desired boxes. Maintain 4 inches of margin from baseboards, crown moulding, corners, and between boxes.
At a Glance: Key Takeaways
- Margin Standard: 3.5 to 4.5 inches between all boxes and wall perimeters.
- Miter Cuts: Exact 45-degree corner angles cut on a compound miter saw.
- Trim Profile: 1.5 to 2.25-inch poly or primed pine panel moulding.
- Brad Nailing: Fasten with 1.5-inch 18-gauge brad nails and construction adhesive.
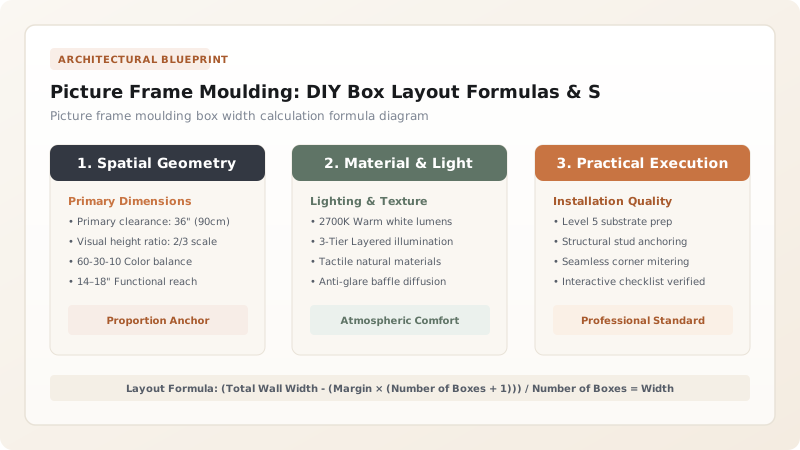
1. The Step-by-Step Box Width Calculation Formula
The secret to flawless picture frame moulding is absolute mathematical symmetry. All horizontal and vertical margins (stiles and rails) must remain identical across the entire wall.
Example Calculation for a 140-Inch Wall with 3 Boxes and 4-Inch Margins:
- 4 Margins × 4 inches = 16 inches of total margin space.
- 140 inches (Wall Width) - 16 inches = 124 inches of usable box space.
- 124 inches ÷ 3 boxes = 41.33 inches per box width.

Picture Frame Trim Material Comparison
Use this reference table to calculate exact physical dimensions, ratios, and specifications before purchasing:
| Trim Material | Ease of Cutting | Moisture Resistance | Cost Rating |
|---|---|---|---|
| Primed Finger-Joint Pine | High (Crisp clean cuts) | Moderate (Wood expands) | $$ (Standard) |
| Polyurethane / Extruded Polystyrene | Highest (Cuts like butter) | 100% Waterproof (Zero rot) | $ (Budget friendly) |
| Solid Poplar / Hardwood | Moderate (Harder to nail) | High (Very crisp profile) | $$$ (Luxury finish) |
| MDF Pre-Moulded Trim | High (No grain tear) | Poor in bathrooms (Swells) | $ (Economical) |
Electrical Outlet Obstruction Constraints
Every successful decoration project must account for physical and environmental constraints:
Moulding Box Running Across Electrical Outlet
An electrical outlet landing halfway across a moulding line looks amateurish; shift box margins by 1-2 inches so outlets sit completely inside or completely outside the box border.
How to Build and Install Picture Frame Boxes
Execute this professional sequence to achieve flawless results without backtracking:
Draw Layout with Laser Level
Project green laser to mark all 4-inch perimeter margins.
Cut 45-Degree Miters
Cut moulding pieces to length on a miter saw at exact 45-degree angles.
Glue Corners with CA Glue
Assemble 4-piece boxes on the floor using 2P-10 CA glue and activator.
Nail to Drywall
Press assembled square to wall laser line and pin with 18-gauge brad nails.
Common Mistakes & Countermeasures
Avoid these costly errors that compromise aesthetics, ergonomics, and budget:
Assembling Boxes Directly on the Wall Piece by Piece
Project Execution Checklist
Track your physical progress. Checkboxes persist automatically on this device:
Frequently Asked Questions
What size trim should I use for picture frame moulding?
A 1.5-inch to 2.0-inch wide panel moulding profile with a 0.5-inch projection is ideal for standard 8 to 9-foot ceilings. For 10+ foot ceilings, scale up to 2.5 to 3.0-inch wide moulding.


