
Route millwork LED channels by cutting a 1/2" deep × 5/8" wide dado groove into 3/4" cabinet bottoms, preserving at least 1/4" (6mm) of solid wood web thickness. Press-fit an anodized 6063-T5 aluminum channel to provide 1.2 sq inches of heat sink surface area per linear foot, keeping diode junction temperatures below 65°C for a 50,000-hour lifespan.
At a Glance: Key Takeaways
- 1/4-Inch Minimum Structural Web: Preserving 1/4" wood above the dado ensures the shelf supports 50+ lbs of heavy dishware.
- 6063-T5 Extruded Aluminum Heat Sink: Thermal conductivity (\(k = 200\text{ W/mK}\)) pulls heat away from delicate LED diodes.
- Diode Junction Temperature (\(T_j < 65^{\circ}\text{C}\)): Preventing thermal degradation preserves color temperature (CCT) stability and lumen output.
- Flanged Extrusion Wings (1/16" Lip): Conceals minor router tear-out along veneer edges for a flawless finish.
- Carbide Spiral Down-Cut Router Bits: Leaves glass-smooth edges on pre-finished birch and walnut cabinet interiors.
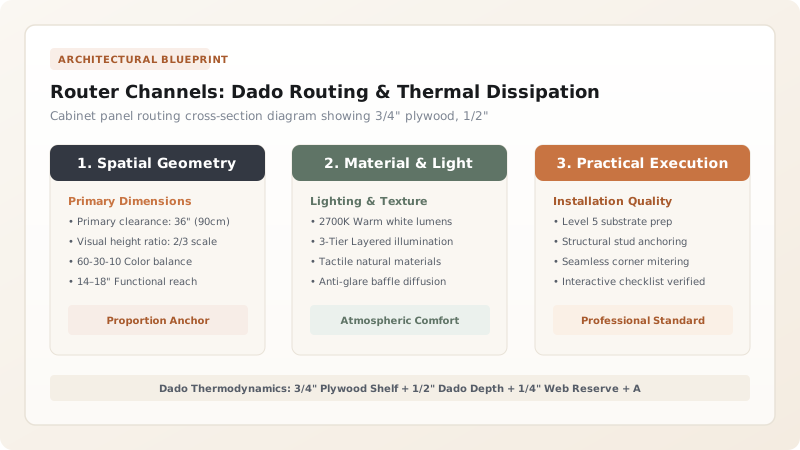
1. Joinery Engineering: 1/2" Dado Depth & Structural Shelf Integrity
Cutting a dado channel into cabinet millwork weakens the bottom shelf if done incorrectly. For standard 3/4-inch (19mm) Cabinet Grade Plywood, the maximum allowable routing depth is 1/2-inch (12.7mm).
This leaves a solid 1/4-inch (6.3mm) wood web above the channel, maintaining structural rigidity to support stacks of heavy ceramic dinnerware without shelf sagging. Learn wiring layouts in driver load calculations and wiring.

2. Thermodynamics: Aluminum Heat Sinking & Diode Lifespan
LEDs do not emit heat forward in the light beam, but generate intense heat at the silicon base (the P-N Junction). Sticking bare LED tape directly to raw wood traps heat, causing diodes to turn brown and fail within 12 months.
Mounting inside an Anodized 6063-T5 Aluminum Channel conducts heat away into the cabinet air mass, maintaining Junction Temperatures below \(65^{\circ}\text{C}\) for 50,000+ operating hours. Explore color accuracy in 95+ CRI color rendering.
LED Mounting Substrates vs Thermal Lifespan
Use this reference table to calculate exact physical dimensions, ratios, and specifications before purchasing:
| Mounting Substrate | Thermal Conductivity (k) | Operating Junction Temp (Tj) | Expected LED Lifespan |
|---|---|---|---|
| Extruded Aluminum Channel in Dado (Optimal) | 200 W/m·K (Rapid dissipation) | 52°C to 58°C (Safe cool range) | 50,000+ Hours (L70 rating) |
| Surface-Mounted Aluminum Channel | 200 W/m·K (Open air cooling) | 48°C to 54°C | 50,000+ Hours |
| Adhered Directly to Raw Wood Shelf | 0.15 W/m·K (Thermal insulator) | 85°C to 95°C (Extreme overheating) | 12,000 to 15,000 Hours (Rapid drop) |
| Adhered to Plastic Melamine (Avoid) | 0.20 W/m·K (Traps heat) | 90°C to 105°C (Diode browning) | FAILS: Adhesive melts and peels |
Veneer Splinter Tear-Out Routing Constraints
Every successful decoration project must account for physical and environmental constraints:
Router Up-Cut Bits Splintering Hardwood Veneer Along Dado Edges
Standard router bits pull up on wood fibers, chipping thin face veneers on luxury walnut/oak cabinets; always use a Solid Carbide Spiral Down-Cut Bit running at 18,000 RPM with an auxiliary guide fence, scoring the veneer cut line with a marking knife prior to routing.
How to Rout Dado Channels and Install Aluminum Heat Sinks
Execute this professional sequence to achieve flawless results without backtracking:
Layout Dado Line 2 Inches from Cabinet Front
Mark parallel reference lines 2 inches behind front face on the underside of all upper cabinets.
Clamp Straightedge Guide Fence to Cabinet
Secure rigid aluminum guide fence parallel to layout line, factoring in router sub-base offset.
Set Plunge Router Depth to 1/2 Inch (12.7mm)
Install 5/8" spiral down-cut bit; zero depth gauge on wood face and lock plunge stop at 1/2".
Make Dado Pass in Single Continuous Motion
Pusher router smoothly along guide fence at 18,000 RPM; vacuum wood chips immediately from groove.
Dry-Fit Flanged Extrusion in Channel
Press aluminum extrusion into dado; verify flanges sit 100% flush with wood surface.
Secure Channel with Countersunk Screws
Drive #4 flathead screws through pre-drilled holes in channel floor into wood backing every 18 inches.
Common Mistakes & Countermeasures
Avoid these costly errors that compromise aesthetics, ergonomics, and budget:
Routing Too Deep (>5/8") in 3/4" Plywood
Project Execution Checklist
Track your physical progress. Checkboxes persist automatically on this device:
Frequently Asked Questions
Can dado channels be routed into existing already-installed kitchen cabinets?
Yes! Use a compact palm router equipped with an offset sub-base and an edge guide. The router can reach within 2 inches of corner walls, allowing clean retrofitting without removing cabinets.


