
Build professional under-cabinet millwork lighting by routing a 1/2" deep × 5/8" wide dado groove into the underside of upper cabinet boxes (positioned 2" back from front edge). Press in a flanged aluminum extrusion heat sink, adhere 24V 95+ CRI LED strip tape (3000K), and route low-voltage cabling to a remote dimmable driver loaded to 80% maximum capacity.
At a Glance: Key Takeaways
- Flush Routed Dado Channels: 1/2" deep × 5/8" wide router grooves conceal fixtures completely from standing eye lines.
- Front-Edge Placement (2" Offset): Directs light toward countertop center rather than reflecting off rear tile backsplashes.
- Aluminum Extrusion Thermal Sink: Dissipates LED junction heat, extending strip lifespan from 15,000 to 50,000+ hours.
- Remote Driver Hubs: Locating 24V class 2 drivers in accessible pantry or basement gang boxes eliminates cabinet hum.
- 95+ CRI Color Rendering (R9 > 80): Accurately renders culinary produce and deep veining in marble countertops without greenish tint.
In-Depth Guides in this Directory
Explore specialized subtopic blueprints, technical dimensions, and execution checklists:
Router Channels: Dado Routing & Thermal Dissipation Math
Master millwork LED channel routing: dado groove dimensions (1/2"x5/8"), cabinet panel structural integrity, aluminum heat sink surface area, and diode lifespan thermodynamics.
Driver Loads: 80% Derating & Remote Low-Voltage Wiring
Master LED power driver electrical engineering: calculating wattage loads, 80% NEC continuous load derating, voltage drop on 18/2 AWG wire runs, and remote junction box placement.
CRI 95+: Culinary Color Rendering & Stone Countertop Optics
Master kitchen LED color rendering metrics: CRI (Ra > 95), R9 saturated red values (>80), TM-30-18 color fidelity (Rf > 92), and rendering natural marble and fresh culinary produce.
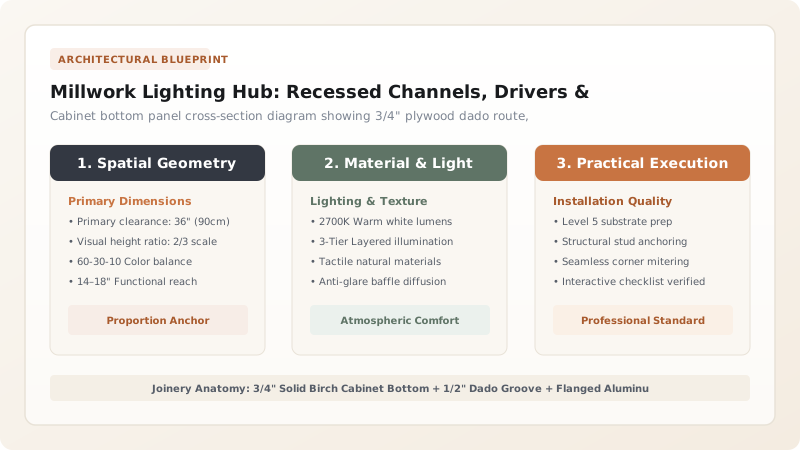
1. Cabinet Joinery: Routed Dado Grooves & Heat Dissipation
Surface-mounted puck lights and sticky tape lights produce blinding glare and uneven light cones. Master cabinetmakers rout a continuous dado channel flush into the 3/4-inch cabinet bottom shelf.
The channel is fitted with an Anodized Aluminum Flanged Profile that pulls heat away from diodes while shielding standing eyes from glare. Master router sizing in recessed router channel depths and heat dissipation and explore kitchen lighting standards.

2. Remote Driver Load Engineering & 95+ CRI Color Rendering
To prevent cabinet vibration and humming, 24V power supplies are placed in remote utility spaces.
Calculate wattage using driver load calculations and 80% derating. Ensure food and stone countertops look natural with 95+ CRI culinary color rendering.
Under-Cabinet Lighting Technologies Comparison
Use this reference table to calculate exact physical dimensions, ratios, and specifications before purchasing:
| Lighting System | Glare Control | Countertop Uniformity | Cabinet Aesthetic Integration |
|---|---|---|---|
| Continuous Recessed Channel (Optimal) | 100% Concealed (Zero glare) | Continuous smooth wash | 100% Flush architectural joinery |
| Surface-Mounted Slim Aluminum Track | Moderate (1/2" metal lip visible) | Continuous wash | Visible retrofit track |
| Individual LED Puck Lights (Legacy) | High direct glare cones | Harsh scallop shadows | Cluttered spaced discs |
| Bare Adhesive LED Strip (Avoid) | Severe glare / Diode burnouts | Hotspots / Un-diffused | FAILS: Peels off wood substrate |
Polished Countertop Diode Reflection Constraints
Every successful decoration project must account for physical and environmental constraints:
Glossy Polished Granite / Quartz Countertops Mirroring Exposed LED Diodes
High-gloss polished quartz acts like a mirror, reflecting individual LED dots directly into user eyes; strictly use deep recessed channels (minimum 12mm depth) with satin opal polycarbonate diffusers, or install 24V COB continuous tape positioned 2 inches behind the front cabinet lip.
How to Build and Wire Integrated Under-Cabinet LED Lighting
Execute this professional sequence to achieve flawless results without backtracking:
Rout Dado Groove in Cabinet Bottom Shelf
Using plunge router and edge guide, cut 1/2" deep × 5/8" wide groove 2 inches back from cabinet front face.
Drill Concealed Wire Pass-Through Holes
Drill 5/16" angled hole through cabinet end partition to route low-voltage 18/2 AWG wire to driver.
Friction-Fit Flanged Aluminum Profile
Press flanged extrusion into groove; secure with countersunk stainless screws or silicone adhesive.
Adhere 24V 95+ CRI LED Tape
Clean channel with alcohol; adhere high-density LED tape (minimum 4W/ft, 3000K, R9>80).
Snap In Continuous Opal Diffuser Lens
Cut diffuser to full continuous cabinet run length; snap into aluminum channel to seal assembly.
Connect to Remote Class 2 Dimmable Driver
Home-run 18/2 AWG wiring to remote 24V driver mounted in pantry; connect to 0-10V or TRIAC wall dimmer.
Common Mistakes & Countermeasures
Avoid these costly errors that compromise aesthetics, ergonomics, and budget:
Mounting Under-Cabinet Channels Against the Rear Backsplash Wall
Project Execution Checklist
Track your physical progress. Checkboxes persist automatically on this device:
Frequently Asked Questions
What Kelvin color temperature is best for kitchen under-cabinet lighting?
3000K Warm White is the gold standard for kitchens. It provides clean, crisp visibility for food prep while maintaining inviting warmth that complements natural wood cabinets and warm stone countertops without looking clinical.


