
Mexican Talavera bisques are hand-molded and sun-dried before wood firing, causing non-linear volumetric shrinkage between 8% and 12%. This results in dimensional tolerances of ±2mm to ±4mm across face widths and ±2mm to ±3mm in thickness. To neutralize these variations without visually crooked lines, installations mandate 6mm to 8mm wide sanded grout joints, dynamic back-buttering, and optical stringline referencing.
At a Glance: Key Takeaways
- Kiln Shrinkage Dynamics: 8-12% volumetric contraction from wet pugged clay to finished fired jahuete bisque.
- Face Dimensional Tolerances: Nominal 105x105mm tiles typically measure between 102mm and 108mm across opposing edges.
- Cushion Edge Profile: Hand-cut wooden mold edges create soft, pillowed perimeters that deflect light smoothly.
- Sanded Grout Sizing (6-8mm): Wide joints absorb cumulative layout drift and prevent corner pinching under thermal expansion.
- No Mechanical Grid Spacers: Tile setters rely on chalked reference grids and flexible rubber wedges rather than rigid plastic spacers.
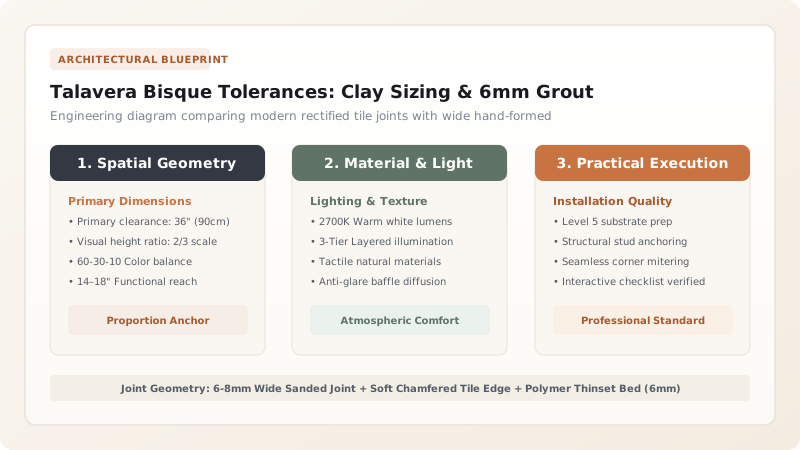
1. Clay Processing, Hand Molding & Differential Kiln Shrinkage
Unlike industrially pressed dry-dust porcelain, Mexican Talavera tile bodies are formed using the Plastic Wet Mud Method:
Where \(S_{\text{dry}}\) is ambient drying shrinkage (typically 5-7%) and \(S_{\text{fire}}\) is kiln vitrification shrinkage (3-5%):
- The Mud Press: The blended clay slurry is poured onto flat sandy ground to dewater, then hand-kneaded into dense balls. Artisans press the mud into wooden box frames (marcos de madera) and cut excess clay using a taut piano wire.
- Differential Sun Curing: Unfired tiles (adobes) dry on slatted wooden racks in shaded drying rooms for 3 to 4 months. Tiles near the exterior ventilation windows lose moisture faster than interior tiles, inducing natural warpage (arqueo) and planar crown.
- Wood-Fired Kiln Gradients: Traditional vaulted brick kilns (hornos de leña) fueled by pine logs produce internal temperature variations from 850°C at the flue to 1,050°C near the firebox, causing identical clay batches to shrink at different rates. Review complete historical context in our Talavera overview.
2. Sizing Tolerances & On-Site Batch Sorting Protocols
Before mixing mortar, the tile setter must perform systematic batch grading:
- Caliber Sorting: Open five cartons simultaneously. Group tiles into three size categories: Caliber A (102-104mm), Caliber B (104-106mm), and Caliber C (106-108mm).
- Zonal Assignment: Use Caliber B (median size) for the main visible field. Reserve Caliber A and C tiles for perimeter cuts, stair riser ends, or border trims where size transitions are absorbed by perimeter silicone joints.
- Thickness Accommodation: Tile thickness varies from 8mm to 13mm. The installer cannot use a notched trowel alone; every tile must be dynamically back-buttered, adjusting the bed thickness beneath each individual piece to maintain a level top surface plane. Learn glaze safeguards in majolica glaze protection.
3. The 6-8mm Sanded Joint: Mechanical Buffer & Aesthetic Framing
The wide grout joint is both an engineering necessity and the signature aesthetic of authentic Talavera:
- Why Tight Joints Fail: If set with 2mm joints, the natural ±3mm variance causes tile edges to collide. The resulting stress concentrations lead to glaze chipping (spalling) under seasonal thermal expansion.
- Sanded Grout Aggregate: Grout joints wider than 3mm must contain graded silica sand (0.1 to 0.5mm). The sand grains bridge the wide gap, preventing shrinkage cracks and providing structural compressive support between tiles.
- The Optical Grid Method: Instead of trusting individual tile edges, snap chalk reference grid lines on the wall every 300mm or 400mm (representing 3 or 4 tiles plus joints). Set tiles within each grid box, centering the pieces by eye to ensure overall wall alignment remains perfectly plumb and true.
Talavera Bisque Dimensional Tolerances & Joint Guidelines
Use this reference table to calculate exact physical dimensions, ratios, and specifications before purchasing:
| Nominal Tile Size | Actual Size Range | Thickness Range | Recommended Joint Width | Grout Spec | Spacers Recommended |
|---|---|---|---|---|---|
| 50 x 50 mm (2" x 2") | 47 - 53 mm | 7 - 10 mm | 4 - 6 mm | Polymer Sanded | Manual Rubber Wedges |
| 105 x 105 mm (4" x 4") | 102 - 108 mm | 8 - 13 mm | 6 - 8 mm | ANSI A118.7 High-Performance Sanded | Eye-Alignment + Grid Lines |
| 150 x 150 mm (6" x 6") | 146 - 154 mm | 10 - 15 mm | 6 - 10 mm | Polymer-Modified Sanded Grout | Rubber Horseshoe Shims |
| Handmade Trim (Half-Round) | Lengths: 100-110mm | Varies | 5 - 8 mm | Color-Matched Sanded Grout | Tape & String Support |
Bisque Tolerance & Joint Constraints
Every successful decoration project must account for physical and environmental constraints:
No Rigid Cross Spacers
Rigid hard plastic 'plus' spacers (+ or T spacers) force tiles into unnatural geometric grids, causing severe diagonal run-out and crooked joints.
High Water Absorption
Dry clay bisques suck water out of thinset mortar rapidly; failing to use high-water-retention polymer thinset results in mortar dry-out and hollow tiles.
Surface Convexity Tooling
Tiles have convex (crowned) faces; grout floats must be held at 45 degrees, and cleanup sponges must be wrung nearly dry to avoid washing grout below tile edges.
Efflorescence from Clay Salts
Unwashed natural clays can contain soluble sulfates; use demineralized mixing water and efflorescence-resistant polymer grouts.
Bisque Sorting, Grid Snapping & Setting Execution
Execute this professional sequence to achieve flawless results without backtracking:
Multi-Box Unpacking
Open at least 5 cartons of tiles and sort by caliber (width) and thickness into separate staging crates.
Wall Grid Layout
Snap horizontal and vertical chalk grid lines at 320mm increments (corresponding to 3 tiles at 105mm + three 6mm joints).
Thinset Mixing
Mix ANSI A118.4 polymer-modified thinset with potable water, let slake for 10 minutes, and re-stir. Never add extra water after slaking.
Combing & Back-Buttering
Apply thinset to the wall with an 8x10mm trowel. Back-butter the reverse of each bisque with a 2-3mm flat bed, compensating for individual tile thickness.
Grid-Bound Tile Setting
Position tiles within each 3-tile chalk grid, maintaining uniform 6-8mm joint gaps by eye or with flexible wedge shims.
Planar Mallet Tapping
Place a flat wooden beating block across 4 tiles simultaneously and tap lightly with a white rubber mallet to level high spots.
Raking Joints
Before the thinset sets hard, rake excess mortar out of the joints to a depth of at least 4mm to ensure full depth for the sanded grout.
Common Mistakes & Countermeasures
Avoid these costly errors that compromise aesthetics, ergonomics, and budget:
Forcing handmade tiles into plastic 2mm cross-spacers
Setting dry, porous bisques with cheap non-modified dry-set mortar
Wiping grout with an overly saturated, dripping sponge
Project Execution Checklist
Track your physical progress. Checkboxes persist automatically on this device:
Frequently Asked Questions
Can I sand or grind the edges of Talavera tiles to make them all the same size?
No. Grinding edges destroys the hand-molded cushion profile, exposes porous terracotta core, and chips the brittle tin glaze. The variations are the defining artistic characteristic and should be accommodated by wide joints.
What is the best grout color for Mexican Talavera installations?
Traditional installations use natural grey, bone, or warm ivory sanded grout. Pure bright white grout can visually overpower delicate hand-painted motifs, while dark black grout risks staining the micro-crazing of pale glazes.
How do you handle outside corners with thick, irregular bisques?
Use authentic handcrafted Talavera trim pieces (quarter-rounds, beads, and bullnoses) or miter tiles on a diamond wet saw at a 45-degree back-bevel, leaving a 2mm flat un-mitred edge to avoid fragile knife-edges.


