
Juraku Clay Plaster and Chopped Straw Temper represents the pinnacle of Japanese interior earth finishes. Originating from ancient lakebed deposits around Jurakudai in Kyoto, authentic Juraku soil (Juraku-tsuchi) is prized for its ultra-fine alluvial particle distribution and delicate iron-ochre pigmentation. Plasterers blend this noble earth with mountain sand, seaweed adhesive (tsunori), and fine chopped rice straw (susa). The cellulose straw fibers disperse tensile stresses across the wall plane, preventing micro-fissuring while catching grazing ambient light to produce a subtle, warm optical shimmer.
At a Glance: Key Takeaways
- Kyoto Juraku-Tsuchi Soil: Siliceous alluvial clay formed from decomposed granite with exceptional plastic workability.
- Susa Straw Temper: Rice or barley straw chopped into 5mm–10mm fragments acting as natural tensile micro-rebar.
- Tsunori Seaweed Size: Boiled red algae (funori) mucilage providing lubricity and delaying rapid evaporation.
- Zero Chemical Additives: Formulated strictly with non-toxic, breathable mineral and botanical constituents.
- Single-Pass Sweep Troweling: Finishing the surface in one continuous fluid motion without back-troweling.
- Micro-Hygroscopic Buffering: Passively absorbing and releasing up to 150g/m² of moisture during seasonal humidity swings.
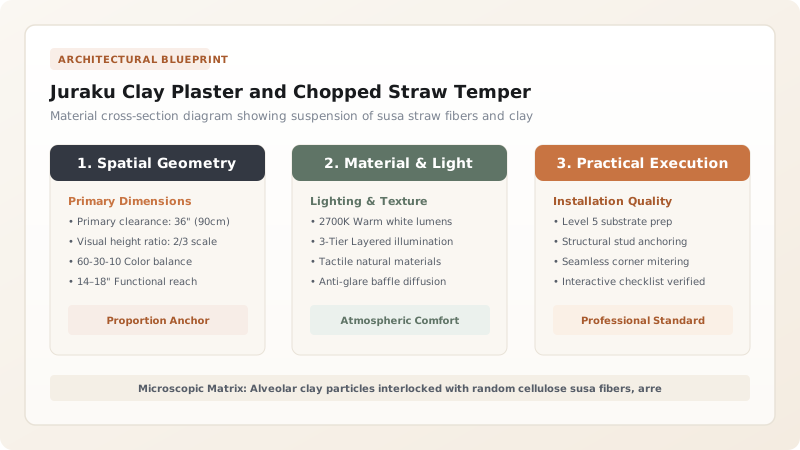
1. Petrography: The Noble Soil of Jurakudai
Not all clay can produce an authentic Japanese tearoom wall. Standard brick clay contains coarse quartz grit and high iron oxide that turns brick-red when dry. Juraku-tsuchi is an extraordinary geologic deposit found only in a narrow zone around the Nishijin district of Kyoto, where Toyotomi Hideyoshi built his Jurakudai palace in 1587.
Deposited millions of years ago when the Kyoto basin was an ancient lake, the clay consists of ultra-fine decomposed granite and feldspar platelets. Its natural color is an incomparable warm golden-buff to muted greenish-gray (sabiiro). Because it is naturally low in active clay swelling minerals like montmorillonite, it exhibits minimal shrinkage upon drying.
2. Botanical Reinforcement: Susa Straw and Funori Seaweed
Raw clay shrinks and cracks as water evaporates. To counteract this, the sakan master blends two essential organic components into the Juraku soil:
- Susa (Chopped Rice Straw): Stems of golden rice straw are chopped into microscopic lengths (5mm to 12mm) and thoroughly teased apart into individual cellulose filaments. These fibers act as millions of multi-directional tensile anchors that bridge drying stresses.
- Tsunori / Funori (Seaweed Mucilage): Dried red algae (Gloiopeltis tenax) is boiled in water to extract a slippery polysaccharide slime. Mixed into the gauging water, it reduces friction beneath the trowel, controls water suction into the substrate, and binds fine dust particles.
3. Trowel Technique: The Unforgiving Single Sweep
Unlike Western plasterers who work with wide rectangular hawks and trowels, repeatedly burnishing a wall to bring up a shine, the Japanese sakan works with an ultra-thin, flexible high-carbon steel trowel (hira-gote).
Juraku plaster must be applied in a single continuous coat measuring only 1.5mm to 2.5mm thick. Crucially, the plasterer must never 'back-trowel' or rub over a finished section. Back-troweling draws fine water and colloidal clay to the surface, creating shiny, dark splotches that ruin the velvety matte finish. The entire wall must be troweled in one unbroken, rhythmic session from ceiling to floor.
Traditional Sakan Earth Plaster Formulations
Use this reference table to calculate exact physical dimensions, ratios, and specifications before purchasing:
| Plaster Type | Primary Soil Source | Aggregate / Sand Ratio | Straw Temper (Susa) | Aesthetic Texture |
|---|---|---|---|---|
| Hon-Juraku | Kyoto Nishijin lakebed silt | 1 part clay : 2 parts mountain sand | Fine chopped rice straw (3%) | Warm velvety ochre; delicate wabi shimmer |
| Asagi-tsuchi | Kyoto Kamo river alluvial silt | 1 part clay : 2.5 parts river sand | White hemp fibers (kizusa) | Cool pale blue-gray; serene morning light |
| Otsu-kabe | Yellow ocher clay + slaked lime | 1 part clay : 1 lime : 2 sand | Boiled hemp fiber | Harder eggshell sheen; entrance hallways |
| Arakabe | Common farm paddy alluvial clay | Raw clay with minimal sand | Long uncut coarse straw (10%) | Rough, heavily cracked brown base coat |
Supply & Craft Constraints
Every successful decoration project must account for physical and environmental constraints:
Quarry Depletion in Kyoto
Historic Jurakudai clay veins have been largely covered by modern urban Kyoto; authentic certified soil is rare and expensive.
Extreme Environmental Sensitivity
Drafty conditions or direct sunlight while drying will cause the thin coat to desiccate prematurely and powdery flaking.
Protocol for Gauging and Troweling a Juraku Finish Coat
Execute this professional sequence to achieve flawless results without backtracking:
Substrate Moisture Priming
Lightly mist the dry nakanuri brown coat with water to equalize suction; ensure surface is damp but free of water sheen.
Dry Sieve Blending
Sift dry Juraku clay through a 60-mesh screen; blend thoroughly with dry graded mountain sand (0.2mm - 0.5mm grain size).
Seaweed Broth Preparation
Boil 100g dried funori seaweed flakes in 5 liters of clean well water for 45 minutes; strain through cheesecloth to extract pure mucilage.
Slurry Whipping & Straw Addition
Add seaweed broth to clay-sand mix; whip with wooden paddle to creamy consistency; fold in golden susa straw fibers gently.
Top-to-Bottom Application
Transfer paste to wooden hawk; spread onto wall at 2mm thickness using 210mm carbon steel hira-gote held at 15° angle.
Final Stroke Setting
Smooth wall in uniform vertical downward strokes; wipe trowel blade clean between passes; leave to cure under shaded, gentle ventilation.
Common Mistakes & Countermeasures
Avoid these costly errors that compromise aesthetics, ergonomics, and budget:
Over-troweling the wet surface to fix minor irregularities
Using tap water with high chlorine content to gauge Juraku clay
Project Execution Checklist
Track your physical progress. Checkboxes persist automatically on this device:
Frequently Asked Questions
How long does a traditional Juraku clay wall last?
In the protected, unheated interior of a Japanese tearoom, a well-executed Juraku wall lasts for centuries without deteriorating. In historic chashitsu like the Tai-an, 400-year-old earthen walls remain intact, their color gently deepening into a warm amber-tea patina through centuries of incense and charcoal smoke.
Can damaged Juraku walls be repaired locally?
Small scratches cannot be simply patched with fresh plaster, as the new clay will leave a noticeable halo. Traditional restoration involves either wetting and gently re-floating the local area with a micro-trowel, or stripping the 2mm finish coat down to the nakanuri base and re-troweling the entire wall bay in a single pass.


