
Animal protein Scotch glue (hide glue) and hammer veneering represent the centuries-old method of bonding intricate marquetry to solid wood carcases. Prepared from rendered bovine collagen and applied hot at 60°C over a substrate textured with a toothing plane, the veneer is smoothed with a heavy brass veneer hammer in sweeping strokes to expel excess glue, creating an instantaneous atmospheric vacuum bond.
At a Glance: Key Takeaways
- Hot Animal Hide Glue (192 Bloom): Pure collagen protein dissolved in water, providing high initial tack, zero creep, and complete thermal reversibility.
- Substrate Toothing Planes: High-pitch (75°–80°) planes with serrated irons creating hundreds of micro-grooves that provide mechanical tooth.
- Brass Veneer Hammer Squeegee: Heavy tool with a blunt radiused brass blade used to press and squeegee out excess glue.
- Atmospheric Vacuum Pressure: As hot glue cools and gels, it contracts, pulling the veneer down with immense atmospheric suction.
- Reversibility & Repairability: Unlike epoxy or PVA, animal glue can be softened at any time with steam and heat to repair loose veneer blisters.
- Heated Caul Clamping: Finished panels clamped under pre-heated zinc platens to ensure dead-flat curing over 24 hours.
1. Protein Chemistry: The Unique Behavior of Animal Collagen Glue
Modern synthetic adhesives (PVA yellow glue, polyurethane, epoxy) cure by chemical cross-linking or water evaporation. Once set, they form a permanent plastic barrier that creeps under load and ruins antique furniture. Authentic marquetry relies on animal protein hide glue (Scotch glue).
Dry collagen pellets (typically 192-gram Bloom strength) are soaked in cold water and heated in a thermostatically controlled double boiler to exactly \(60^\circ\text{C}\) (\(140^\circ\text{F}\)):
- Gel Transition: Hot hide glue flows like warm honey. As it cools below \(35^\circ\text{C}\), it undergoes an instantaneous physical phase change into a rubbery gel with high green strength.
- Tensile Molecular Contraction: As moisture evaporates over 24 hours, the collagen molecules cross-link and shrink volumetrically by \(12\%\), actively pulling the veneer and carcase together with hundreds of pounds of tensile force.
2. Substrate Preparation: The Toothing Plane
Applying thin veneer over a glass-smooth hand-planed carcase is a critical mistake: the smooth surface lacks mechanical bite. Master joiners prepare carcases with a Toothing Plane.
The toothing plane holds its blade nearly vertical at an angle of \(75^\circ\text{ to }80^\circ\). The face of the iron is scored with fine parallel grooves (\(20\text{ to }30\text{ teeth per inch}\)). When dragged cross-grain across the carcase, it scores an even bed of tiny parallel furrows. This doubles the surface bonding area and creates thousands of micro-grooves that mechanically lock the gelatinous glue matrix.
3. The Veneer Hammer: Squeegeeing & Vacuum Suction
Unlike massive modern hydraulic presses, traditional marquetry is laid by hand using a Veneer Hammer. The tool has a heavy head with a blunt, polished brass blade measuring \(75\text{ to }100\text{ mm}\) wide.
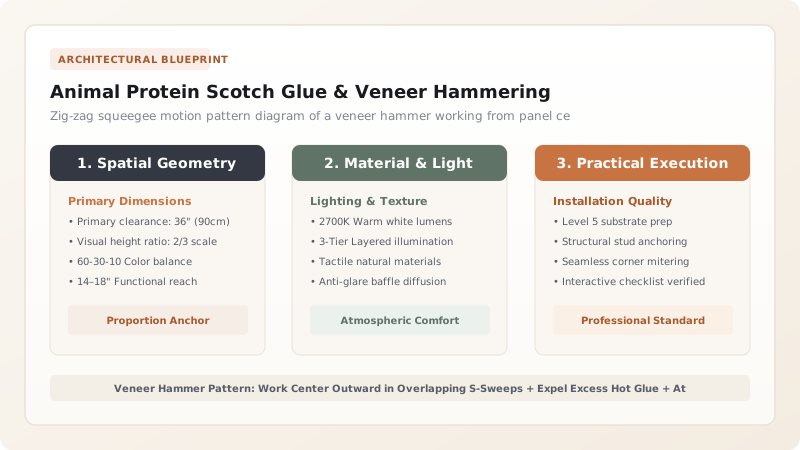
Hot glue is flooded over both the toothed carcase and the back of the marquetry sheet. The craftsman positions the panel, moistens the top face with hot water to prevent curling, and works the hammer in overlapping zig-zag strokes from the center outward to the edges:
- The heavy blade exerts intense localized pressure (over \(150\text{ kPa}\) directly under the narrow brass contact line).
- It squeegees out all excess glue and air pockets, pushing them out through perimeter edges.
- As the glue gels behind the blade, an atmospheric vacuum is created, clamping the marquetry flat without external clamps.
Hide Glue & Veneer Hammering Parameters
Use this reference table to calculate exact physical dimensions, ratios, and specifications before purchasing:
| Technical Step | Recommended Parameter | Critical Operational Range | Significance in Execution |
|---|---|---|---|
| Hide Glue Bloom Strength | 192-gram Bloom (Standard cabinet glue) | 164 to 251 Bloom range | Balances working open-time with high tensile bond |
| Pot Temperature | 60°C (140°F) in water bath | Strictly 55°C to 63°C | Temperatures > 65°C destroy protein chains, weakening glue |
| Toothing Plane Bedding | 75° to 80° bedding angle | 25 to 30 teeth per inch | Creates mechanical furrow keys without tearing grain |
| Veneer Hammer Blade | Blunt polished brass / bronze edge | Zero sharp burrs or nicks | Squeegees glue without scratching fine exotic veneers |
| Working Room Temperature | 22°C to 26°C (Warm workspace) | Minimum 20°C | Cold drafts cause premature glue gelling before hammering |
| Curing Clamping | Pre-heated zinc cauls (40°C) + screws | Clamped under cauls 24 hours | Ensures dead-flat curing with zero veneer blisters |
Adhesion & Environmental Constraints
Every successful decoration project must account for physical and environmental constraints:
Premature Gelling Window
Once spread on cold wood, hot hide glue gels in under 90 seconds; the carcase should be gently pre-warmed with an electric heat gun or iron before applying glue.
Kraft Face Paper Removal
The brown kraft paper holding the jigsaw puzzle must be washed off only after the glue has cured for 24 hours, using damp sponges with warm water.
Blister Detection
After curing, running the fingertips lightly over the panel will reveal any unbonded spots (blisters), which emit a hollow clicking sound when tapped with a fingernail.
Toothing & Hammer Veneering Protocol
Execute this professional sequence to achieve flawless results without backtracking:
Substrate Toothing
Plane the solid oak or pine carcase with a 75-degree toothing plane in diagonal cross-hatch passes to create micro-furrows.
Hide Glue Heating
Heat soaked 192-bloom hide glue in a double boiler to 60°C, adjusting water until it flows in a continuous silky ribbon from the brush.
Substrate & Veneer Flooding
Brush hot glue generously over the toothed carcase, laying the pre-assembled marquetry sheet face-up into the glue bed.
Top Face Lubrication
Quickly sponge the top kraft paper with hot water or thin glue sizing to expand the top face and lubricate the veneer hammer.
Center-Outward Hammering
Glide the brass veneer hammer with firm body weight in overlapping S-sweeps from center to perimeter, squeegeeing out excess glue.
Heated Caul Clamping
Place warmed zinc or aluminum plates over the panel, clamping tightly with heavy hand screws for 24 hours to cure.
Common Mistakes & Countermeasures
Avoid these costly errors that compromise aesthetics, ergonomics, and budget:
Allowing hide glue to boil or overheat past 70°C
Hammering from the perimeter edges inward toward the center
Attempting to repair a veneer blister with modern superglue (cyanoacrylate)
Project Execution Checklist
Track your physical progress. Checkboxes persist automatically on this device:
Frequently Asked Questions
How do you repair a hollow blister on an antique marquetry panel?
Make a tiny scalpel slit parallel to the wood grain over the blister. Inject a drop of warm water or liquid hide glue using a dental syringe. Place a piece of wax paper over the blister and press with a warm household iron (set to wool) for 30 seconds. The heat re-activates the historic animal glue, and pressing with a wooden block bonds it flat.
Why is brass used for veneer hammer heads instead of steel?
Brass is softer than steel and can be polished to a mirror-smooth rounded radius. Unlike steel, brass will never scratch or gouge delicate exotic veneers, and it will not react with acidic oak tannins to create black iron stains.
Can hammer veneering be used on curved surfaces like bombé commodes?
Yes! Hammer veneering is exceptionally suited for compound serpentine and bombé curves because the flexible hand hammer follows three-dimensional undulations far better than rigid flat press platens.


