
Layout a Rumford firebox by determining the finished opening width \(W_f\) and establishing a shallow depth \(D\) of 12" to 14". Calculate the back wall width using the formula \(W_b = W_f - (2 \times D)\), and angle the side covings outward at exactly 135 degrees (45 degrees from the face plane) using ASTM C64 refractory firebrick laid with 1/16" air-setting mortar joints.
At a Glance: Key Takeaways
- The Back Wall Width Formula: \(W_b = W_f - 2D\) ensures that 135° covings meet the face plane at the exact structural opening jambs.
- ASTM C64 High-Alumina Firebricks: Dense refractory bricks resisting 2,000°F cycling without spalling or structural micro-cracking.
- 1/16-Inch Thin-Joint Mortar: High-temperature air-setting sodium silicate mortar preventing joint erosion under direct log contact.
- Forward Radiant Projection Vectors: Eliminates opposing-wall heat reabsorption, bathing the entire room perimeter in radiant warmth.
- Ash Dump and Outside Air Grate: Cast iron floor trapdoor positioned just in front of the vertical back wall for effortless ash clearing.
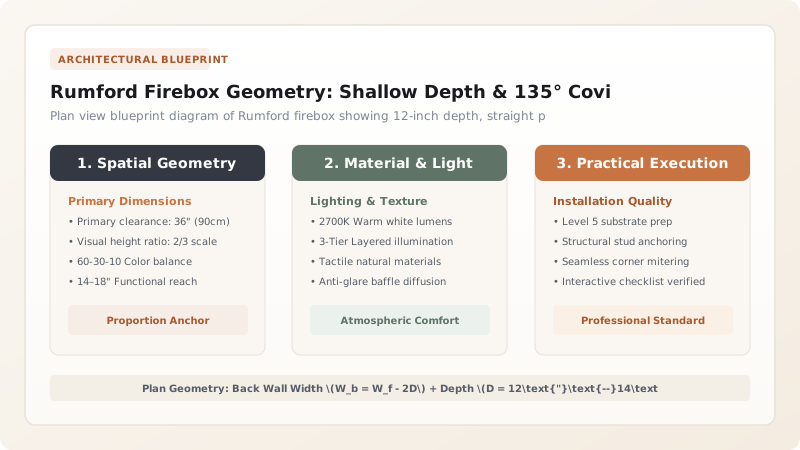
1. Mathematical Architecture: The 135° Angle & Back Wall Proportions
If the side walls of a fireplace are built perpendicular to the back wall (90 degrees), the radiant heat emitted by the left wall bounces directly into the right wall, absorbing each other's energy without heating the room.
In a Rumford Firebox, the covings are rotated to 135 Degrees (or 45 Degrees relative to the front room wall). Under the optical law of reflection (\(\theta_i = \theta_r\)), every infrared thermal wave bouncing off the heated yellow firebricks projects Straight Outward into the Living Room. The back wall width is mathematically derived from the depth:
For a 36-inch wide Rumford with a 12-inch depth, the back wall measures exactly \(36 - 24 = 12\) inches wide. Master throat aerodynamics in throat aerodynamics and drafting and explore the Rumford fireplace hub.

2. Masonry Specifications: ASTM C64 Firebricks & Air-Setting Refractory Mortar
Standard red clay building bricks contain microscopic quartz grains that expand rapidly at 1,000°F, exploding or crumbling into powder within weeks.
Rumford fireboxes must be lined exclusively with ASTM C64 Medium-Duty Refractory Firebricks containing at least 35% alumina. Masons set bricks using pre-mixed Air-Setting Refractory Mortar (Sodium Silicate Base). Mortar joints must never exceed 1/16-inch to 1/8-inch in thickness. Thin joints prevent thermal spalling and ensure the masonry firebox expands and contracts as a monolithic thermal battery. Discover hearth codes in marble surrounds and hearth extensions.
Firebox Dimensional Sizing Guide
Use this reference table to calculate exact physical dimensions, ratios, and specifications before purchasing:
| Opening Width | Opening Height | Firebox Depth | Back Wall Width | Radiant Heating Area |
|---|---|---|---|---|
| 30 inches | 30 inches | 12 inches | 6 to 8 inches | Up to 450 sq ft |
| 36 inches (Optimal) | 36 inches | 12 to 14 inches | 8 to 12 inches | Up to 750 sq ft |
| 42 inches | 42 inches | 14 to 15 inches | 12 to 14 inches | Up to 1,000 sq ft |
| 48 inches | 48 inches | 15 to 16 inches | 16 to 18 inches | Up to 1,400 sq ft |
Excessive Joint Thickness Firebrick Failure
Every successful decoration project must account for physical and environmental constraints:
Laying Refractory Firebricks with 3/8-Inch Thick Standard Masonry Joints
Standard masonry cement shrinks and burns out at high firebox temperatures; thick 3/8" joints crumble into sand, allowing burning embers to enter wall cavities; always dip firebricks in fluid refractory mortar and tap tight with rubber mallets to maintain joints under 1/8" thickness.
How to Layout and Build 135-Degree Rumford Covings
Execute this professional sequence to achieve flawless results without backtracking:
Snap Symmetrical Plan Lines on Refractory Sub-Hearth
Mark opening width \(W_f\); measure depth \(D\) back from face; strike chalk lines for back wall \(W_b\) and 135° coving diagonals.
Miter First Skewback Firebricks for Back Wall Corners
Cut starter firebricks with diamond saw at 45° angle to create a seamless transition from back wall to side covings.
Butter Bricks with Thin-Bed Air-Setting Mortar
Apply 1/16" film of refractory mortar to brick face; set onto bed; tap firmly with dead-blow mallet.
Build Back Wall Plumb for First 18 Inches
Check vertical plumb on every course; ensure back wall rises dead-straight without sloping forward prematurely.
Lay 135-Degree Covings in Running Bond Pattern
Stagger vertical seams by half-brick; verify 135° angle with wooden template on every single course.
Integrate Outside Air Hearth Vent in Floor
Install cast iron floor register 2" in front of back wall, connected to fresh air intake pipe.
Allow Refractory Mortar 7-Day Cure Before First Firing
Air-dry firebox for 7 days; build gentle kindling fire for 2 hours to bake out residual moisture before full loading.
Common Mistakes & Countermeasures
Avoid these costly errors that compromise aesthetics, ergonomics, and budget:
Sloping the Back Wall Forward from the Hearth Floor
Project Execution Checklist
Track your physical progress. Checkboxes persist automatically on this device:
Frequently Asked Questions
Why are Rumford fireboxes built with a square or taller-than-wide aspect ratio?
A tall firebox allows hot burning combustion flames to stretch upward naturally, burning fuel gases completely before entering the throat, maximizing both thermal efficiency and dramatic flame visibility.


