
In Portuguese Baroque architecture, azulejos were not treated as isolated tiles, but as monumental architectural trompe-l'œil murals. Masters like Gabriel del Barco and the 'Masters' Cycle' transformed flat church walls and cloister arcades into deep theatrical perspectives: fictive Corinthian pilasters, balustrades, floral swags, and religious narratives that dissolved the physical masonry boundaries.
At a Glance: Key Takeaways
- Architectural Trompe-l'Œil: Fictive painted stone columns, pediments, and arches extending real three-dimensional space.
- The Pounce Transfer Method (Estampilhado): Charcoal dust transferred through pricked paper cartoons onto tile grids.
- Numbering Grid System: Alphanumeric codes painted on tile backs to guide on-site masons through 1,000-tile murals.
- Integrated Wainscots (Albarradas): Ceramic vases overflowing with painted roses, acanthus, and stylized dolphins.
- Perspective Anamorphosis: Distorting painted figures to compensate for low upward viewing angles in tall cathedral naves.
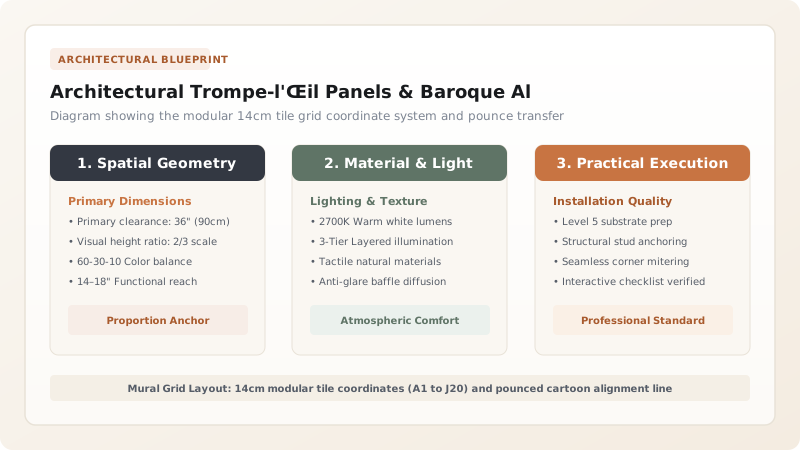
1. The Masters' Cycle & The Golden Age of Azulejo Illusionism
Between 1690 and 1750—known in Portuguese art history as the Ciclo dos Mestres (The Masters' Cycle)—the azulejo evolved from decorative surface pattern into monumental narrative theater. Painters such as Gabriel del Barco and António de Oliveira Bernardes treated church naves, monastic cloisters, and palace gardens as total illusionistic spaces (Gesamtkunstwerk).
Instead of respecting the physical flat wall, azulejo panels were designed to dissolve it. Masons and painters collaborated to create trompe-l'œil architecture: painted Solomonic columns, faux-marble balustrades, gilded cornices, and soaring triumphal arches that visually pushed church walls back by dozens of meters, opening views into celestial landscapes and biblical scenes.
2. The Pounce Transfer Method (Estampilhado)
Executing a mural across 500 to 2,000 individual tiles without misaligned joint lines required masterly workshop drafting:
- The master painter drew the full-scale composition on heavy butcher paper (the cartoon).
- Using a bronze stylus or tracing wheel, apprentices punched tiny needle holes along every line of the drawing at 1mm to 2mm intervals.
- The raw, unglazed biscuit tiles were arranged in a flat grid on the studio floor, coated with raw powdery tin glaze.
- The perforated cartoon was laid over the tile grid. A porous linen bag filled with finely crushed charcoal (estamilho) was tapped across the paper.
- When the cartoon was lifted, a continuous dotted black line of charcoal dust remained on the white glaze, providing the painter with an exact proportional guide that burned away harmlessly in the kiln.
3. The Tile Reverse Numbering & Assembly System
Once painted and fired, thousands of identical-looking tiles had to be transported to church construction sites across Portugal and Brazil. To prevent catastrophic installation errors, painters instituted a standardized alphanumeric coordinate code painted on the unglazed reverse of every tile:
The horizontal rows were marked with letters (A, B, C... Z), and vertical columns with numbers (1, 2, 3... 50). The tile's top edge was marked with an upward arrow (↑) to prevent masons from installing tiles upside down. When setting the tiles into wet hydraulic lime mortar, the head mason simply followed the coordinates, reconstituting the monumental puzzle with seamless continuity across joints.
Baroque Azulejo Mural Design Elements
Use this reference table to calculate exact physical dimensions, ratios, and specifications before purchasing:
| Architectural Zone | Typical Tile Motifs | Perspective Technique | Emotional / Spatial Objective |
|---|---|---|---|
| Lower Dado / Wainscot (Rodapé) | Acanthus friezes, ceramic flower urns (albarradas) | Flat frontal architectural framing | Anchors room base; human-scale tactile border |
| Main Wall Field (Corpo Central) | Biblical or historical battles, hunting scenes | Linear one-point perspective (vanishing point at eye level) | Dissolves masonry wall into open illusionistic vista |
| Upper Cornice & Cartouches | Swagged drapery, cherubs (putti), rocaille scrolls | Anamorphic perspective (foreshortened for low viewing) | Transitions ceramic wall seamlessly into gilded wood ceiling |
Artistic & Installation Constraints
Every successful decoration project must account for physical and environmental constraints:
Wall Plumbness
Monumental tile murals require walls plumb within 2mm across 3 meters to prevent unsightly tile lippage.
Firing Shrinkage Matching
Tiles from different kiln firings shrink at varying rates; all tiles for a single mural must be fired in the same kiln run.
Protocol for Laying Out and Installing a Multi-Tile Mural
Execute this professional sequence to achieve flawless results without backtracking:
Wall Elevation Survey & Grid Snapping
Measure wall boundaries; snap horizontal and vertical chalk grid lines at exact 140mm multiples.
Substrate Lime Screeding
Trowel a 10mm level bed of NHL 2 hydraulic lime and fine sand across the wall; scratch light horizontal keys.
Tile Reverse Coordinate Sorting
Unpack tiles and lay out in order on clean canvas sheets according to reverse coordinate codes (A1 to N30).
Tile Pre-Wetting
Submerge tiles in clean water for 20 minutes to prevent porous biscuits from desiccating the mortar paste.
Bedding from Base Line Upward
Butter tile backs with lime mortar; set along chalk lines starting from bottom center, maintaining 1.5mm joints.
Joint Grouting & Picture Cleaning
Fill joints with pure white slaked lime putty; sponge clean immediately with fresh water to reveal the seamless mural.
Common Mistakes & Countermeasures
Avoid these costly errors that compromise aesthetics, ergonomics, and budget:
Installing numbered mural tiles from top to bottom
Using wide 5mm grout joints between narrative mural tiles
Project Execution Checklist
Track your physical progress. Checkboxes persist automatically on this device:
Frequently Asked Questions
How did Baroque painters handle windows and doors breaking into a tile mural?
Master painters incorporated windows, niches, and doorways directly into the composition, framing openings with painted trompe-l'œil curtains, architectural pediments, and simulated carved marble surrounds that turned structural interruptions into artistic highlights.
Why did Portuguese churches use azulejos instead of painted canvas or tapestries?
The humid Atlantic climate and coastal salt air of Portugal rapidly rotted woven wool tapestries and caused oil paint on canvas to mold and peel. Glazed ceramic azulejos provided vibrant, permanent pictorial decoration completely impervious to damp and fungal decay.


