
Set drapery pin hooks by inserting heavy-gauge steel hooks into the back of each pleat. Position the hook point 1.25 to 1.5 inches down from the top of the header so the fabric top sits 1/4 inch above the bottom of the curtain ring, completely concealing the metal eyelet while delivering a clean 1/2-inch floor float.
At a Glance: Key Takeaways
- Conceals the Ring Eyelet: Setting pin hooks properly covers the mechanical ring eyelet while showing the decorative ring body.
- Heavy-Gauge Zinc/Steel Hooks: Heavy-duty 1-1/2" steel pin hooks will not bend or slip under 30-lb lined velvet drapes.
- The 1/2-Inch Floor Float: Prevents bottom hems from dragging, collecting pet hair, or fraying on floor finishes.
- Adjustable Ratchet Pin Hooks: Modern workroom ratchet hooks allow 1-inch on-site height adjustments without re-pinning.
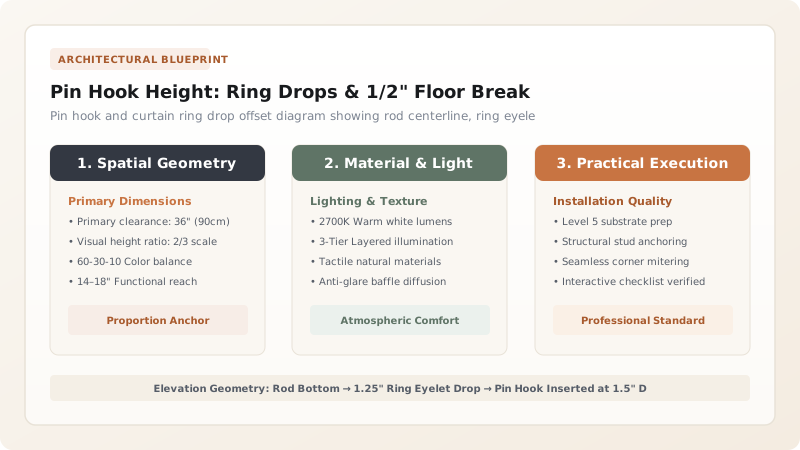
1. Optical Alignment: Eyelet Concealment vs Rod Reveal
When hanging custom draperies from a decorative wood or brass rod with rings, an amateur mistake is setting pin hooks too close to the top of the header. This leaves the ugly mechanical screw-eyelet exposed beneath the ring, making the installation look unfinished.
Inserting the pin hook precisely 1.25 to 1.5 inches down from the top of the header raises the fabric header just enough to cover the eyelet while leaving the sleek body of the decorative ring visible as it glides along the rod.

Pin Hook Placement Standards by Rod System
Use this reference table to calculate exact physical dimensions, ratios, and specifications before purchasing:
| Rod / Track Hardware Type | Pin Hook Setback from Header Top | Header Position Relative to Hardware | Floor Hem Style |
|---|---|---|---|
| Decorative Rod with Rings (Optimal) | 1.25" - 1.50" Down | Covers eyelet / Shows ring body | 1/2" Clear Floor Float |
| Concealed Ceiling Recessed Track | 0.25" - 0.50" Down | Header covers 100% of track profile | 1/2" Float or Kiss Hem |
| Standard Wall Traverse Track | 1.75" Down | Header stands 1/2" above top of track | 1/2" Float Hem |
| French Return Iron Rod with Rings | 1.25" Down | Clean ring reveal | Kiss hem (Touching floor) |
Sloping Floor Out-of-Level Constraints
Every successful decoration project must account for physical and environmental constraints:
Hardwood Floor Sloping 3/4-Inch Across a 12-Foot Window Span
If drapes are hemmed straight, one end drags on the floor while the other floats 1.25" high; use adjustable ratchet pin hooks on each individual ring, dialing individual pleat heights up or down to match the floor slope invisibly.
How to Insert Pin Hooks and Hang Drapery
Execute this professional sequence to achieve flawless results without backtracking:
Measure Ring Eyelet Drop
Hang ring on rod; measure distance from rod bottom to inside bottom of ring eyelet (typically 1.25").
Mark Pin Insertion Line on Header
Use a seam gauge to mark a chalk line 1.5" down from the top edge on the back of every pleat.
Insert Steel Pin Hook Upward
Slide pin hook point upward into the heavy buckram core behind the pleat seam (do not pierce front fabric).
Hook into Ring Eyelets
Lift panel and slip hook prongs into ring eyelets from back to front.
Check Floor Clearance with Ruler
Verify uniform 1/2" clearance from floor across the entire panel; adjust hooks if needed.
Common Mistakes & Countermeasures
Avoid these costly errors that compromise aesthetics, ergonomics, and budget:
Piercing the Front Decorative Fabric with the Pin Hook Point
Project Execution Checklist
Track your physical progress. Checkboxes persist automatically on this device:
Frequently Asked Questions
How many pin hooks are needed per drapery panel?
A standard 50-inch finished width panel with Euro or French pleats typically has 10 to 12 pleats, plus 1 hook on the return edge and 1 on the lead overlap, requiring 12 to 14 pin hooks per panel.


