
Mount a heavy floating media console using a continuous extruded aluminum French cleat (or a 3/4-inch solid hardwood 45-degree beveled cleat) lag-screwed into at least 3 wall studs with 5/16" × 3" GRK structural screws. Secure safety locking screws from inside the cabinet to prevent upward lift-off.
At a Glance: Key Takeaways
- Interlocking 45° Wedge: Downward gravity pulls the cabinet tighter against the drywall, eliminating forward sagging.
- 200-Lb+ Cantilever Capacity: Distributing loads across 3 studs easily supports heavy audio equipment and stone tops.
- 3-Stud Structural Spanning: A 60-inch console spans across 4 studs (16" on-center), providing immense sheer strength.
- Safety Anti-Lift Fasteners: Screws driven through internal bottom cabinet cleats into studs lock the console permanently in place.
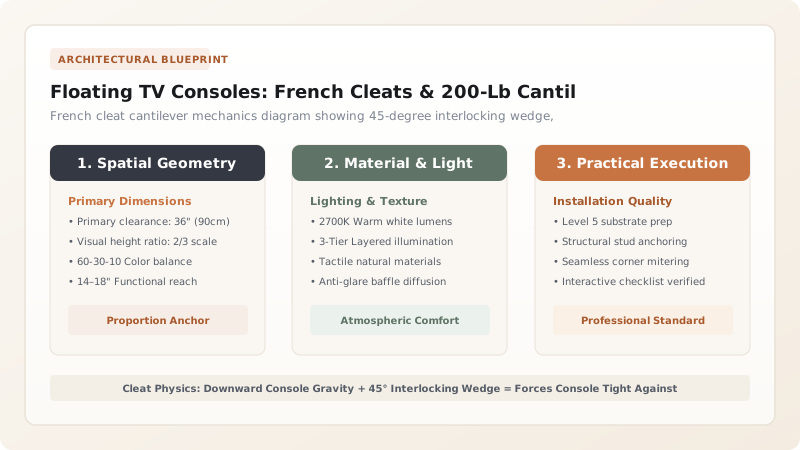
1. Cantilever Mechanics: Rotational Leverage & Fastener Shear
A floating media console projecting 16 to 18 inches from the wall acts as a Class 1 Lever Arm. A 60-lb cabinet loaded with 40 lbs of audio gear generates over 150 ft-lbs of rotational torque that attempts to tear the upper mounting screws out of the wall.
Standard drywall anchors will pull through drywall under this leverage. The Interlocking French Cleat (Aluminum Z-Cleat) transforms rotational torque into a combination of Downward Shear Load and Inward Compression against the bottom of the wall, ensuring rock-solid stability.

Floating Console Mounting Systems & Weight Limits
Use this reference table to calculate exact physical dimensions, ratios, and specifications before purchasing:
| Mounting Hardware | Material Specification | Max Load Capacity (Across 3 Studs) | Installation Difficulty |
|---|---|---|---|
| Continuous Aluminum Z-Cleat (Optimal) | 6063-T6 Extruded Aluminum (48" long) | 300 lbs Dynamic Load | Fast (Self-leveling interlock) |
| 3/4" Hardwood French Cleat (45° Miter) | Solid White Oak / Baltic Birch (3/4") | 250 lbs | Moderate (Requires table saw bevel) |
| Steel Heavy-Duty L-Brackets | 1/4" Thick welded steel brackets | 200 lbs | Difficult (Must be recessed in carcass) |
| Plastic Drywall Toggles (FORBIDDEN) | Hollow wall toggle bolts (No studs) | FAILS: < 25 lbs (RIPS DRYWALL) | EXTREMELY HAZARDOUS |
Steel Stud Wall Anchoring Constraints
Every successful decoration project must account for physical and environmental constraints:
Mounting Heavy Floating Consoles to Light-Gauge Metal Studs in High-Rise Condos
Light-gauge steel studs will tear if fastened with standard wood screws; in metal stud buildings, use 1/4" heavy-duty steel toggle bolts (like Toggler Snaptoggle) rated for 265 lbs tensile load in steel studs.
How to Hang a Floating Media Console on a French Cleat
Execute this professional sequence to achieve flawless results without backtracking:
Mark Finished Console Elevation
Snap laser line where the top edge of the console should sit (typically 24"–30" from floor).
Locate and Mark 3+ Wall Studs
Use a precision deep-scan stud finder to find centers of at least 3 wall studs.
Fasten Wall-Side Cleat with GRK Screws
Drive 5/16" × 3" GRK structural wood screws through the aluminum cleat into marked studs.
Fasten Matching Cleat to Console
Screw the downward-facing cleat to the inside top backboard of the console with 1-1/4" screws.
Hang Console and Drive Safety Screws
Lower console onto wall cleat until it locks, then drive two safety screws through bottom stretcher into studs.
Common Mistakes & Countermeasures
Avoid these costly errors that compromise aesthetics, ergonomics, and budget:
Forgetting Anti-Lift Safety Screws
Project Execution Checklist
Track your physical progress. Checkboxes persist automatically on this device:
Frequently Asked Questions
How deep can a floating media console be before it sags?
The maximum recommended depth for a floating console is 16 to 18 inches. Depths exceeding 20 inches create excessive lever-arm torque and require custom welded steel internal wall brackets.


