
Install solid brass or zinc metal inlays in hardwood floors by routing a clean 1/8-inch or 1/4-inch channel using a solid carbide spiral router bit. Knurl or notch the bottom of the solid brass strip with a file, bed the metal in flexible elastomeric polyurethane floor adhesive, and drum-sand flush to 220-grit.
At a Glance: Key Takeaways
- Solid Architectural Brass (Alloy C36000): Free-machining brass alloy that sands and polishes to a rich golden luster.
- Zinc & German Silver (*Nickel Silver*): Provides cool, platinum-toned metallic accents for modern and Art Deco palettes.
- Knurled Barb Mechanical Anchoring: Roughening metal bottoms creates a mechanical lock inside the adhesive groove.
- Flexible Polyurethane Flooring Adhesive: Absorbs differential thermal expansion between wood and metal without cracking.
- Flush Diamond Rotary Sanding: Grinds metal and wood simultaneously to a seamless, trip-free mirror finish.
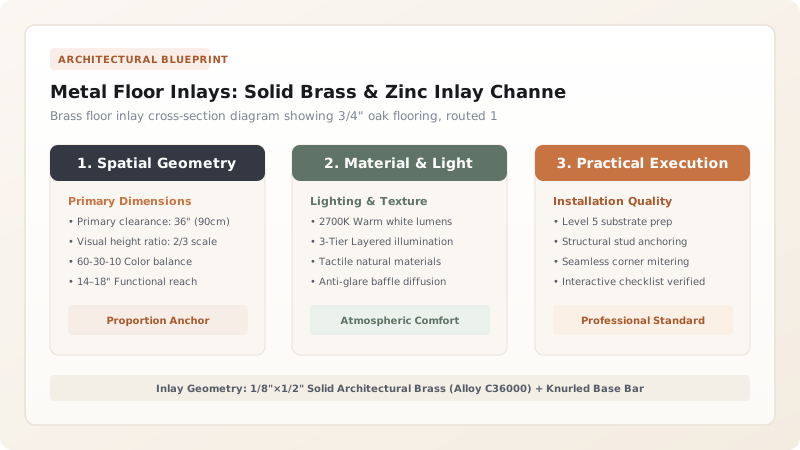
1. Material Metallurgy: Solid Alloy C36000 Brass vs Hollow Metal Trims
Cheap architectural floors often use thin 1mm stamped metal trim strips that dent under high heels and peel loose when walked on. Master floorwrights specify Solid 1/8" to 1/4" (3mm to 6mm) Thick Architectural Brass Bar (Alloy C36000).
Solid brass possesses identical abrasive hardness to dense hardwoods (like Oak and Walnut), allowing the metal to be drum-sanded and refinished flush alongside the wood for over a century. For silver-toned floors, specify Solid Zinc or Nickel Silver (*Alloy C75200*). Review overall layouts in marquetry and wood inlay flooring.

2. Differential Thermal Expansion & Elastomeric Polyurethane Adhesive
Wood expands with humidity; brass expands with heat. If metal strips are glued with rigid superglue or brittle epoxy, seasonal movement will shear the bond within 12 months.
Masons bed knurled brass strips into Flexible Elastomeric Polyurethane Adhesive (such as Bostik Best or Wakol MS 260). The rubberized polymer matrix maintains \(300%\) elongation flexibility, absorbing metal movement while locking the brass permanently. Explore vacuum press stabilization in vacuum-press veneer lamination.
Metal Strip Flooring Inlay Alloys Comparison
Use this reference table to calculate exact physical dimensions, ratios, and specifications before purchasing:
| Metal Alloy Spec | Color Tone & Patina | Hardness (Rockwell B) | Best Wood Companion |
|---|---|---|---|
| Solid Architectural Brass (C36000) | Warm living golden bronze | 68 HRB | French Walnut / Smoked Oak |
| Nickel Silver / German Silver (C75200) | Cool platinum / pale champagne | 75 HRB | Ebony / Wenge / Charcoal Oak |
| Pure Solid Zinc Strip | Antique silver-gray matte | 45 HRB | Whitewashed Scandinavian Ash |
| Hollow Anodized Aluminum (Avoid) | Sterile shiny aluminum | FAILS: Dents easily | Low-end commercial transition |
Metal Dust Wood Staining Constraints
Every successful decoration project must account for physical and environmental constraints:
Sanding Brass Inlays Spreading Black Brass Grinding Dust into Open Oak Pores
Sanding metal creates fine black metallic swarf that embeds in raw oak grain, ruining light wood; vacuum thoroughly between grits, and apply a thin wash coat of clear dewaxed shellac over the wood BEFORE final sanding to prevent metallic dust absorption.
How to Rout, Bed, and Sand Solid Brass Inlays
Execute this professional sequence to achieve flawless results without backtracking:
Rout 1/8" Wide × 3/8" Deep Floor Channel
Guide a plunge router with a 1/8" solid carbide spiral bit along a clamped aluminum straightedge.
Vacuum and Wipe Channel with Mineral Spirits
Ensure the routed groove is 100% free of wood dust and chips.
File Knurled Barbs on Bottom of Brass Strip
Use a coarse triangular file to cut notched barbs every 1 inch along the bottom of the solid brass strip.
Dispense Elastomeric Polyurethane Adhesive
Inject a continuous bead of Bostik polyurethane adhesive into the groove with a caulking gun.
Tap Brass Strip into Channel with Dead-Blow Mallet
Press brass strip firmly into adhesive, tapping flush with a non-marring dead-blow mallet.
Rotary Sand Flush to 220-Grit
After 24-hour adhesive cure, rotary-sand the floor with ceramic abrasive discs to level brass and wood.
Seal with Non-Yellowing Polyurethane
Apply two coats of commercial 2-part waterborne polyurethane (such as Bona Traffic HD).
Common Mistakes & Countermeasures
Avoid these costly errors that compromise aesthetics, ergonomics, and budget:
Using CA Glue (Superglue) to Install Long Brass Floor Strips
Project Execution Checklist
Track your physical progress. Checkboxes persist automatically on this device:
Frequently Asked Questions
Will brass floor inlays tarnish over time?
Yes! Exposed to air and footsteps, brass develops a rich, golden-brown antique living patina. If a bright mirror polish is desired, the brass is sealed beneath commercial two-part polyurethane floor finish.


