
Plaster key extrusion is the primary mechanical anchoring mechanism of lath-and-plaster construction. As coarse haired lime mortar is troweled against hand-riven oak laths spaced 6 to 9mm apart, the wet plaster is forced through the gaps and slumps downward under gravity, forming mushroomed hooks (keys or nibs) that lock the heavy render permanently to the timber armature.
At a Glance: Key Takeaways
- Froe-Split Riven Oak: Hand-split radially from green straight-grained oak or sweet chestnut, preserving long structural cellulose fibers.
- 6 to 9mm Spacing Rule: The exact critical aperture width allowing coarse aggregate to pass without tearing the wet plaster ribbon.
- Trowel Angle & Pressure: Troweled at a 45-degree upward angle with firm forward thrust to push mortar fully through without dropping keys.
- Plaster Key Gravitational Hook: Mortar extrudes approximately 15mm beyond the back of the laths and curls over the lower lath top edge.
- Staggered Butt Joints: Lath ends break joint every 3 to 5 studs to prevent continuous vertical stress cracks in the cured plaster.
- Bronze or Cut Iron Nails: Fastened with specialized blunt-pointed lath nails that prevent splitting delicate lath ends.
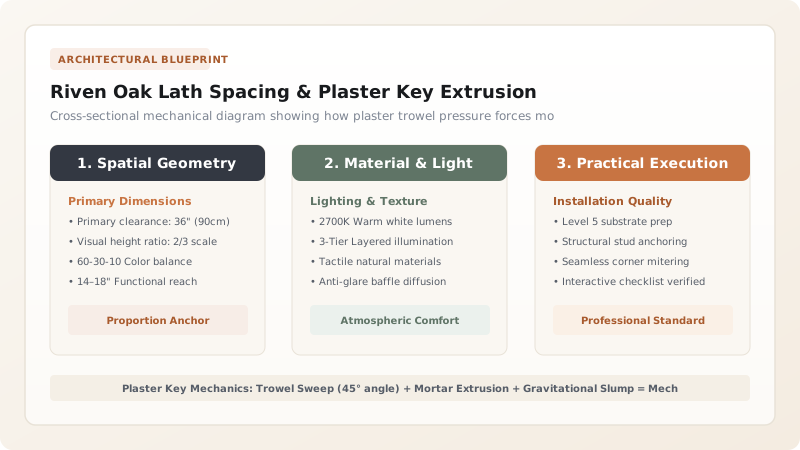
1. Timber Physics: Why Hand-Riven Lath Outperforms Sawn Lath
Modern machine-sawn laths are cut across growth rings with circular saw blades. This introduces cross-grain runout, meaning that under the moisture of wet lime plaster, sawn laths cup, twist, and snap along the grain line. Hand-riven lath is produced by clefting green straight-grained oak, sweet chestnut, or Scots pine using a froe and wooden beetle.
Because the split naturally tracks the boundary between annual growth rings and radial medullary rays, every fiber remains intact from end to end. Riven lath is stronger in tension, naturally flexible to bridge irregular timber frames, and features a textured, fibrous surface that forms a superior chemical and mechanical bond with lime.
2. Spacing Geometry & The Physics of Key Extrusion
The success of the entire ceiling hangs upon the gap width between adjacent laths:
- Under 5mm (Too Narrow): Coarse hair-reinforced mortar cannot penetrate the aperture; only watery cream squeezes through, creating fragile, hairless nibs that shear off under ceiling dead weight.
- 6mm to 9mm (The Golden Standard): Mortar extrudes cleanly as a cohesive ribbon. Upon clearing the back of the lath, gravity causes the ribbon to roll downward, draping over the upper edge of the lower lath to form a massive bulbous key.
- Over 12mm (Too Wide): The wet mortar ribbon lacks lateral support and falls away under its own weight, falling down into the wall cavity or onto the floor.
Where \(d_{\text{max\_aggregate}}\) is the largest sand grain size (typically 4mm), confirming that an \(8\text{ mm}\) gap provides optimal mechanical passage for coarse haired plaster.
3. Nailing Patterns & Break-Joint Staggering
Laths must never run continuously across long walls with aligned butt joints. Master lathers nail laths in bundles of 4 to 6 strips spanning across three or four studs (approx \(1.2\text{ to }1.5\text{ meters}\)), then break joint at the adjacent stud.
Fastening is executed using \(25\text{ mm}\) cut iron or silicon bronze lath nails. The blunt wedge point of a cut nail cuts through wood fibers rather than wedging them apart, completely preventing splitting at the lath ends.
Lath Specifications & Fastener Selection
Use this reference table to calculate exact physical dimensions, ratios, and specifications before purchasing:
| Lath Parameter | Wall Installation Standard | Ceiling Installation Standard | Failure Mode if Out of Spec |
|---|---|---|---|
| Lath Material | Riven sweet chestnut or oak | Select riven oak (zero knot defects) | Sawn softwood bows and breaks keys |
| Lath Thickness | 5 to 7 mm thickness | 6 to 8 mm heavy cleft | Thin laths deflect under trowel pressure |
| Lath Width | 25 to 30 mm width | 28 to 35 mm width | Wide laths reduce total key contact area |
| Spacing Aperture | 6 to 8 mm clear gap | 8 to 9 mm clear gap | Keys fail to form or drop away completely |
| Fastener Type | 25mm cut iron / silicon bronze nail | 32mm ring-shank silicon bronze nail | Electro-galvanized nails rust and pop heads |
| Break-Joint Interval | Stagger every 5 to 7 laths | Stagger every 3 to 5 laths | Continuous vertical crack lines in plaster |
Installation & Environmental Constraints
Every successful decoration project must account for physical and environmental constraints:
Lath Moisture Content
Laths must be soaked in clean water for 2 hours before installation. Bone-dry laths will swell upon contact with wet plaster, buckling and shearing off freshly formed keys.
Fastener Corrosion
Gypsum or salt contamination in old walls accelerates rust on mild steel nails. Use silicon-bronze or stainless steel annular-ring nails for historic restorations.
Framing Alignment
Warped or out-of-plumb studs must be furred out with timber shims before lathing; forcing laths into deep wall hollows creates internal spring tension that pops keys.
Lathing & Key Extrusion Application Sequence
Execute this professional sequence to achieve flawless results without backtracking:
Stud Framing Preparation
Check stud faces with a 2-meter straightedge, plane down proud joists, and pack out hollows with cleft timber shims.
Lath Pre-Soaking
Submerge riven oak laths in water troughs for 60 to 90 minutes until pliable and water-saturated.
Lath Fixing & Spacing
Nail laths across joists using 25mm cut bronze nails, gauging the 8mm gap with a wooden spacer block or finger gauge.
Break-Joint Staggering
Alternate butt joints every 4 laths, leaving a 2mm expansion gap between butt ends over the stud center.
Scratch Coat Upward Troweling
Load coarse haired plaster onto a plasterer's hawk and drive it upward into the laths at a 45-degree angle with firm, steady body pressure.
Key Inspection from Rear
Verify from the attic or back of the partition that continuous mushroomed keys have extruded uniformly across all lath bays.
Common Mistakes & Countermeasures
Avoid these costly errors that compromise aesthetics, ergonomics, and budget:
Plastering over dry, un-soaked wooden laths
Aligning lath butt joints along a single continuous vertical stud
Troweling plaster parallel to the lath gaps rather than diagonally across them
Project Execution Checklist
Track your physical progress. Checkboxes persist automatically on this device:
Frequently Asked Questions
How can I tell if a ceiling has hand-riven lath or modern sawn lath?
Hand-riven laths have irregular, wavy edges, varying widths (25 to 35mm), and a rough, cleft fibrous texture. Machine-sawn laths have dead-straight parallel edges, uniform 25mm dimensions, and circular saw kerf marks on both faces.
Can expanding foam or modern adhesive fix sagging plaster with broken keys?
No. Expanding polyurethane foam exerts uncontrollable outward pressure that distorts old plaster and creates an impermeable vapor barrier that rots ceiling joists. Historic ceilings should be re-attached using conservation plaster washers and lime injection grout.
Why is sweet chestnut frequently used for laths alongside oak?
Sweet chestnut (Castanea sativa) splits exceptionally cleanly along its growth rings, contains high natural tannin levels that deter insect borers, and lacks the violent warping tendencies of dense English white oak.


