
The setting (skim) coat is the final 2 to 3mm layer of three-coat plastering that produces a silky, light-reflective, crack-free interior surface. Composed of pure slaked lime putty blended with fine silver sand, chalk, or marble dust (typically 3:1 ratio)—sometimes 'gauged' with high-purity casting plaster for rapid set—the skim is compacted through progressive steel trowel passes lubricated with fine water mist.
At a Glance: Key Takeaways
- 3:1 Lime Putty Setting Mix: Three parts mature slaked fat lime putty to one part washed fine silver sand (< 0.2mm) or ground marble dust.
- Optional Gypsum Gauging: In late Georgian/Victorian practice, 10% to 15% casting plaster gauged into the putty on the board to accelerate set.
- Two-Pass Application: First thin 'laying' pass pressed into the brown coat pores, followed 15 minutes later by the second 'scruffing' leveling pass.
- Water-Mist Lubrication: Sprayed lightly with clean water from a horsehair brush while compressing with an INOX stainless finishing blade.
- Consolidation Against Shrinkage: Troweling flattens surface micro-crystals and seals capillary openings, eliminating shrinkage crazing.
- Non-Glare Eggshell Luster: Unpainted lime skim produces a warm, velvety matte-to-eggshell texture that diffuses natural window daylight.
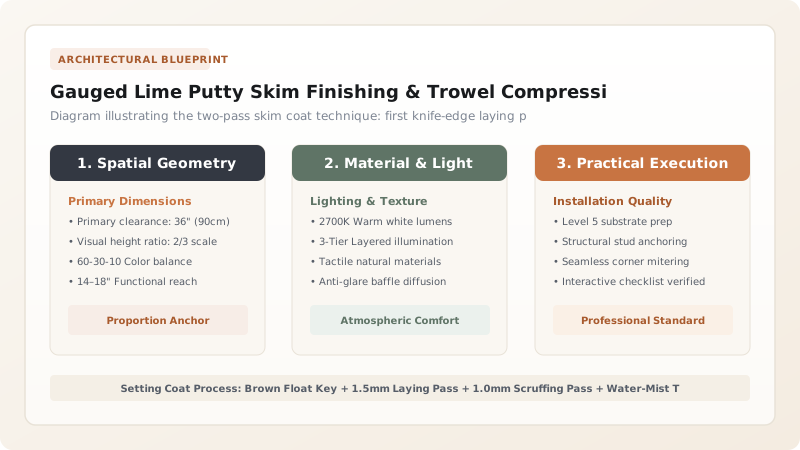
1. Setting Coat Formulations: Pure Putty vs. Plaster Gauging
The third and final layer of a three-coat system is the setting coat (skim coat). Unlike base coats, it contains no animal hair. Master plasterers formulated setting coats based on room function and historical period:
- Traditional Pure Lime Skim (Historic Standard): 3 parts aged lime putty to 1 part washed silver sand (or crushed limestone flour). It cures exclusively by air carbonation over several weeks, remaining soft, flexible, and completely breathable.
- Gauged Lime Skim (Georgian & Victorian Craft): To speed up setting in damp English climates, plasterers 'gauged' the lime putty on the hawk by mixing in \(10\%\text{ to }20\%\) fine gypsum casting plaster immediately before application. The gypsum provides an initial crystalline set within 30 to 45 minutes, while the lime continues its long-term carbonation over months.
2. Two-Pass Application: Laying & Scruffing
Applying the skim coat in a single thick pass results in slumping, blistering, and severe shrinkage checking. Master plasterers apply the setting coat in two rapid consecutive passes:
- First Pass (Laying): Troweled on tightly at an acute \(20^\circ\) angle to a thickness of approximately \(1.5\text{ mm}\). The goal is to drive the fine lime paste deep into the open-grained surface tooth of the dampened brown coat.
- Second Pass (Scruffing / Leveling): Applied 15 to 20 minutes later as the first pass begins to 'pull' (stiffen). This second \(1.0\text{ mm}\) pass fills all minor hollows, bringing the total skim thickness to exactly \(2.5\text{ mm}\).
3. Trowel Compression & Water-Mist Consolidation
As the skim stiffens, the plasterer begins trowel compression. Holding a mirror-polished stainless steel finishing trowel almost flat to the wall, the craftsman makes firm, sweeping strokes across the surface.
To prevent the steel from dragging or tearing the soft lime, water is lightly flicked onto the wall using a wide horsehair water brush (the splash brush). The water lubricates the trowel blade, drawing a micro-thin slurry of calcium hydroxide to the face that seals all surface pores and compresses the hexagonal crystals into a glass-smooth, durable skin.
Lime Putty Skim Finishing Specifications
Use this reference table to calculate exact physical dimensions, ratios, and specifications before purchasing:
| Specification Item | Pure Lime Setting Skim | Gypsum-Gauged Lime Skim | Execution Critical Point |
|---|---|---|---|
| Mix Ratio | 3 parts lime putty : 1 part silver sand | 3 parts putty : 1 sand + 15% casting plaster | Gauged mix must be applied within 30 minutes |
| Total Thickness | 2.0 to 2.5 mm in 2 passes | 2.5 to 3.0 mm in 2 passes | Excess thickness (> 4mm) causes severe crazing |
| Working Time | Several hours (re-workable with water) | 30 to 45 minutes firm set | Pure lime allows extensive burnishing time |
| Trowel Material | Hardened INOX stainless steel | Spring-tempered stainless finishing trowel | Carbon steel leaves grey metallic marks |
| Lubrication Method | Fine water mist via splash brush | Light water flick with badger brush | Excess water causes surface chalking and wash-out |
| Final Appearance | Silky velvety matte to eggshell | Dense bone-white smooth finish | Ready for breathable limewash after 28 days |
Execution & Environmental Constraints
Every successful decoration project must account for physical and environmental constraints:
Brown Coat Suction Control
If the brown coat is too dry, it will suck moisture out of the skim in seconds, turning the paste to dry chalk before it can be troweled smooth.
Over-Troweling Risk
Troweling too aggressively after the plaster has set will crush surface crystals, creating hollow blisters and micro-delamination.
Decoration Timing
Fresh lime skim maintains pH > 12 for weeks; painting with oil-based paints or wallpaper paste before full carbonation (minimum 4 to 8 weeks) causes saponification and paint failure.
Setting Skim Application & Burnishing Workflow
Execute this professional sequence to achieve flawless results without backtracking:
Brown Coat Suction Dampening
Mist the brown coat evenly with clean water 20 minutes before skimming to balance and control wall suction.
Skim Mortar Knocking-Up
Re-temper 3:1 lime putty and fine silver sand on the plastering bench, chopping with a trowel until silky smooth.
First Laying Pass
Spread a tight 1.5mm coat across the wall holding the trowel at a 20-degree angle, forcing paste into brown coat pores.
Second Leveling Pass
Immediately trowel on a 1.0mm second pass cross-wise to the first, filling all minor hollows and evening the plane.
Water-Mist Trowel Consolidation
As the plaster stiffens (pulls), flick fine water mist onto the wall with a splash brush and compress with sweeping strokes of a clean stainless trowel.
Slow Carbonation Curing
Allow the skim to cure naturally in a well-ventilated space (15°C–20°C); avoid direct draft and artificial heater blowers.
Common Mistakes & Countermeasures
Avoid these costly errors that compromise aesthetics, ergonomics, and budget:
Using carbon steel trowels that have rust or rough burrs on the edges
Flooding the wall with excessive water during final troweling
Applying modern vinyl latex paint over freshly skimmed lime plaster within 2 weeks
Project Execution Checklist
Track your physical progress. Checkboxes persist automatically on this device:
Frequently Asked Questions
What is 'silver sand' and why is it used in the skim coat?
Silver sand is an ultra-pure, washed white silica sand with fine, uniform rounded-to-sub-angular grains (< 0.2mm). It provides dimensional stability to prevent the pure lime putty from shrinking and cracking as it dries, without introducing coarse aggregate texture.
Can I sand a lime plaster skim coat with sandpaper if it has ridges?
Lime plaster should never be dry-sanded with sandpaper; sanding destroys the compacted crystalline surface skin created by the trowel and produces copious fine dust. Minor ridges should be shaved flat while green with a sharp trowel edge, or wet-rubbed with a damp sponge float.
Why did Victorian plasterers add gypsum to lime skim coats?
In Victorian urban construction where speed was essential, gauging lime putty with 10–20% gypsum plaster forced the coat to set chemically within 30 minutes, allowing rooms to be finished and occupied far faster than with slow-carbonating pure lime.


