
Choose tambour orientation based on room proportions: Vertical Tambour Slats draw the eye upward, making 8-foot ceilings feel tall and monumental. Horizontal Tambour Slats track laterally, making narrow bedrooms and hallways feel expansive while harmonizing with low-slung Japanese and mid-century furniture.
At a Glance: Key Takeaways
- Vertical Orientation (Height Elongation): Ideal for standard 8ft/9ft ceilings to create a soaring, palatial atmosphere.
- Horizontal Orientation (Width Expansion): Broadens narrow vestibules, entryways, and headboard accent walls.
- Grazing Lighting Coordination: Vertical slats pair with top ceiling cove lighting; horizontal slats pair with side wall sconces.
- Solid J-Trim & Shadow Reveal Borders: Frames tambour edges with minimalist 1/2" blackened aluminum shadow reveal channels.
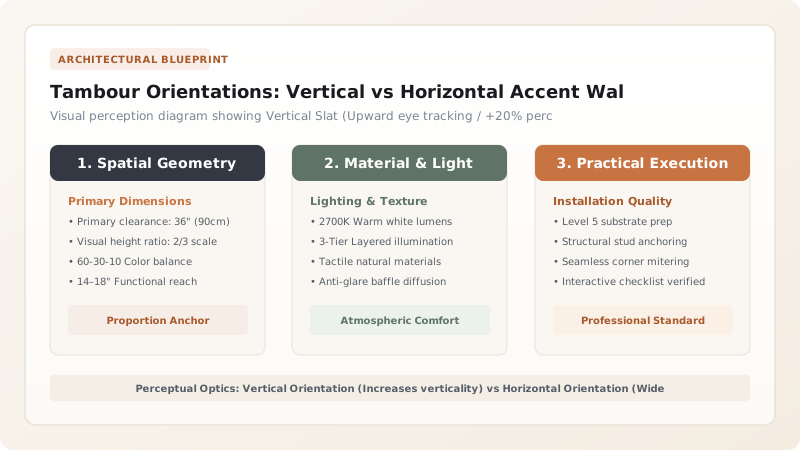
1. Spatial Psychology: Vertical Height vs Horizontal Grounding
Human visual perception follows continuous lines automatically (*Helmholtz Illusion*). In rooms with standard 8-foot (2.4m) ceilings, installing Vertical Fluted Tambour creates a strong upward visual vector that makes the ceiling feel 12 to 18 inches higher.
Conversely, in narrow, deep hallways or behind low platform beds, Horizontal Tambour Slats guide the eye laterally, making cramped rooms feel spacious, grounded, and serene. Explore Japanese shoji screen architecture in traditional Japanese shoji screens.

2. Grazing Lighting Angles & Perimeter J-Trim Transitions
To maximize the architectural shadow relief of fluted wood, lighting must graze perpendicular to the slats:
- Vertical Slats: Pair with concealed top ceiling LED cove lighting to wash down each flute.
- Horizontal Slats: Pair with vertical linear wall sconces to cast dramatic lateral shadows.
Frame edges with blackened aluminum J-trim or 1/2-inch drywall shadow reveals. Review slat profiles in solid vs engineered tambour profiles.
Vertical vs Horizontal Tambour Wall Comparison
Use this reference table to calculate exact physical dimensions, ratios, and specifications before purchasing:
| Design Parameter | Vertical Slat Orientation (Optimal) | Horizontal Slat Orientation | Visual Impact |
|---|---|---|---|
| Primary Visual Effect | Elongates ceiling height (+20%) | Broadens room width (+30%) | Vertical feels grand; Horizontal feels calm |
| Optimal Room Types | Living rooms / Great rooms / Foyers | Bedrooms (Headboard walls) / Hallways | Matches spatial layout needs |
| Best Lighting Strategy | Top downlight wash / Ceiling cove | Side sconces / Grazing wall wash | Maximizes 3D shadow relief |
| Curved Wall Wrapping | Wraps vertical cylinders effortlessly | Cannot wrap vertical curves (Stiff) | Vertical is mandatory for round columns |
Horizontal Slat Dust Accumulation Constraints
Every successful decoration project must account for physical and environmental constraints:
Horizontal Wood Flutes Accumulating Dust in Troughs Requiring Daily Cleaning
Horizontal slats create dozens of upward-facing dust ledges; apply an anti-static hardwax oil finish (such as Rubio Monocoat) that repels airborne dust, and clean periodically with a soft vacuum brush attachment.
How to Plan and Frame a Tambour Accent Wall
Execute this professional sequence to achieve flawless results without backtracking:
Assess Room Dimensions and Ceiling Height
Choose Vertical orientation for ceilings <10ft; choose Horizontal for wide headboard walls.
Laser-Level Floor and Ceiling Lines
Project 360° laser line to establish plumb vertical and level horizontal reference boundaries.
Install Perimeter Aluminum J-Channel Trim
Screw black anodized 1/2" J-trim along baseboard and ceiling transitions to receive tambour edges.
Trowel Hybrid Polymer Adhesive Over Wall
Spread Wakol MS 260 adhesive with 3/16" V-notched trowel over primed drywall substrate.
Hang and Interlock Tambour Sheets
Seat tambour sheet into bottom J-channel, roll firmly with J-roller, and interlock adjacent seams.
Install Perpendicular Grazing LED Lighting
Mount 2700K LED channel grazing across slats to accentuate deep 3D shadow fluting.
Common Mistakes & Countermeasures
Avoid these costly errors that compromise aesthetics, ergonomics, and budget:
Attempting to Wrap a Horizontal Tambour Sheet Around a Curved Wall
Project Execution Checklist
Track your physical progress. Checkboxes persist automatically on this device:
Frequently Asked Questions
Can you hang art or a TV on a fluted tambour accent wall?
Yes! Fasten the TV mounting bracket directly into the underlying wall studs using heavy lag bolts through the tambour slats, ensuring the TV floats securely over the wood texture.


