
Fabricate floating staircase box tread sleeves by folding 4/4 solid hardwood (such as white oak or walnut) with precision 45-degree lock-miter joints to create an 80mm thick hollow rectangular sleeve. Line the internal cavity with 3mm high-density EPDM rubber pads to absorb footsteps and lock the sleeve to the steel outrigger with bottom countersunk screws.
At a Glance: Key Takeaways
- 4-Sided Fold-Over Miter Technique: Continuous wood plank folded around 4 corners creates seamless waterfall grain flow.
- 80mm to 100mm Thick Architectural Profile: Provides substantial visual mass while enclosing the 1/2" steel cantilever blade.
- Internal EPDM Acoustic Dampening: 3mm rubber isolation pads eliminate hollow drum-like acoustic footfall vibrations.
- Concealed Underside Set Screws: Fasteners driven into the bottom steel blade keep the top and sides 100% screw-free.
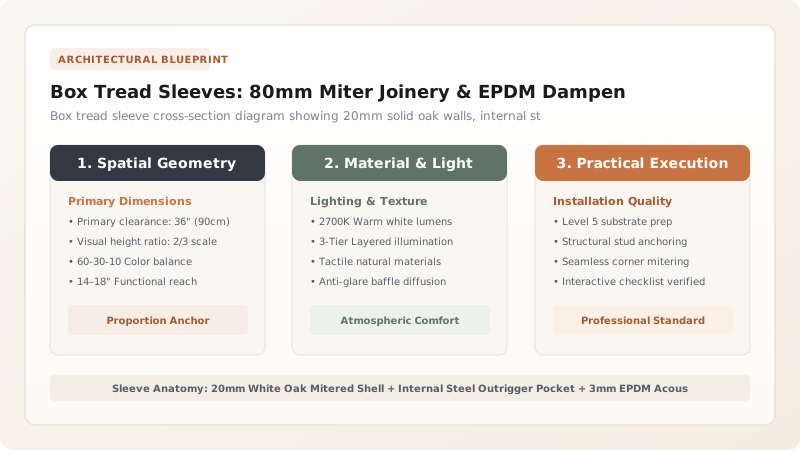
1. Woodworking Mechanics: Continuous Grain Fold-Over Mitering
If box treads are built by butt-joining flat boards, end-grain is exposed on the nose, and joints open up with seasonal humidity changes. Master woodworkers execute Continuous Grain Fold-Over Miters.
A single wide board of 4/4 Quartersawn White Oak is CNC-routed or shaped on a shaper with 45-degree lock-miter joints. Folding the board around four sides creates a monolithic 80mm hollow box sleeve where the natural wood grain flows continuously over the front nose and end cap without interruption. Compare with in-wall steel spine engineering.

2. Acoustic Mechanics: Eliminating the Hollow Drum Effect
Because the hardwood sleeve is hollow, stepping directly on it can produce an annoying hollow thumping resonance. To achieve the solid, satisfying thud of solid timber, installers apply 3mm High-Density EPDM Rubber Gaskets (Shore A 60 hardness) across the top and bottom of the steel outrigger.
When the wooden sleeve is drawn tight with underside countersunk hex bolts, the rubber pre-loads the wood under compression, eliminating 100% of internal hollow resonance and seasonal squeaking. Pair with structural glass railing base shoes.
Hardwood Box Tread Joinery Methods Comparison
Use this reference table to calculate exact physical dimensions, ratios, and specifications before purchasing:
| Joinery Construction Method | Grain Continuity | Joint Strength & Longevity | Aesthetic Rating |
|---|---|---|---|
| 45° Fold-Over Lock-Miter (Optimal) | 100% Continuous waterfall grain | Maximum (Interlocking tongue & groove) | Ultra-Luxury Architectural |
| Splined 45° Miter Joint | Continuous grain across nose | High (Reinforced with hardwood spline) | High-End Bespoke |
| Butt-Jointed Face & Edge (DIY) | Broken grain / Exposed end-grain | Moderate (Prone to splitting open) | FAILS: Looks cheap and boxy |
| Solid Wood Billet (No Hollow) | Solid block with mortised core | Extreme weight / Hard to machine | Expensive & heavy |
Wood Swelling Binding Over Steel Constraints
Every successful decoration project must account for physical and environmental constraints:
Seasonal Wood Expansion Causing Box Sleeve to Split Over Rigid Steel Outrigger
Hardwood expands across its grain during humid summers; if the internal wood cavity is cut exact-size to the steel outrigger, wood expansion splits the miter seams; mill the internal cavity with a 2mm expansion clearance gap on all four sides, buffered by flexible EPDM rubber pads.
How to Mill, Assemble, and Install Box Tread Sleeves
Execute this professional sequence to achieve flawless results without backtracking:
Mill Solid Hardwood to 20mm Finished Thickness
Plane quartersawn white oak boards to uniform 20mm thickness, jointing edges dead-straight.
Cut 45° Lock-Miter Joints on Shaper
Run top, bottom, front, and end cap boards through lock-miter cutter to create matching 45° interlocking profiles.
Fold and Glue with Polyurethane Wood Glue
Apply polyurethane glue, fold boards into an 80mm hollow rectangular sleeve, and clamp with band clamps.
Sand to 220-Grit and Apply Hardwax Oil
Sand miter edges seamless; apply two coats of matte natural hardwax oil (such as Rubio Monocoat 2C).
Adhere 3mm EPDM Rubber to Steel Outrigger
Stick self-adhesive EPDM rubber pads to top, bottom, and nose of in-wall steel blade.
Slide Sleeve and Lock with Bottom Screws
Slide wooden sleeve over steel; drive countersunk stainless machine screws from underneath into pre-tapped steel holes.
Common Mistakes & Countermeasures
Avoid these costly errors that compromise aesthetics, ergonomics, and budget:
Using Water-Based PVA Wood Glue on End-Grain Miters
Project Execution Checklist
Track your physical progress. Checkboxes persist automatically on this device:
Frequently Asked Questions
Can LED strip lighting be integrated into the underside of floating box treads?
Yes! Rout a 1/2-inch deep channel on the underside of each box tread sleeve 1 inch back from the nose. Insert a low-profile aluminum channel with 24V COB LED tape to cast a warm downward glow on the tread below.


