
Install a floating bathroom vanity by framing double 2x6 solid wood blocking flush between wall studs to support 300+ lbs of cantilever weight. Mount the vanity so the finished countertop sits at 34 to 36 inches above the floor, and add an under-vanity motion-sensor 2700K LED nightlight.
At a Glance: Key Takeaways
- Double 2x6 In-Wall Blocking: Essential structural timber blocking prevents the vanity from tearing off the wall.
- 300-lb Live Load Rating: Must support heavy quartz tops, dual sinks, filled water basins, and leaning adults.
- 34 to 36" Comfort Height: Modern standard finished countertop height (measured from finished floor to counter top).
- Under-Vanity Motion Nightlight: 24V LED strip turns on softly when stepping into the bathroom at night.
In-Depth Guides in this Directory
Explore specialized subtopic blueprints, technical dimensions, and execution checklists:
In-Wall Blocking Math: 2x6 Solid Backing & Shear Screws
Master in-wall structural wood blocking engineering for floating vanities: 2x6 horizontal backing math, 5/16" structural lag screws, pocket-hole fastening, and 400-lb shear loads.
Floating Vanity Mounting Heights: 34-36" Ergonomics & Vessel Sinks
Master floating vanity mounting height standards: 34-36 inch comfort height for undermount sinks vs 30-32 inch vanity bases for above-counter vessel sinks, and toe clearances.
Under-Vanity LED Nightlights: Motion Sensors & 2200K Glow
Master under-vanity floating night lighting: PIR motion sensors, ultra-warm 2200K melatonin-safe LEDs, 45-degree aluminum channels, and concealed 24V power supplies.
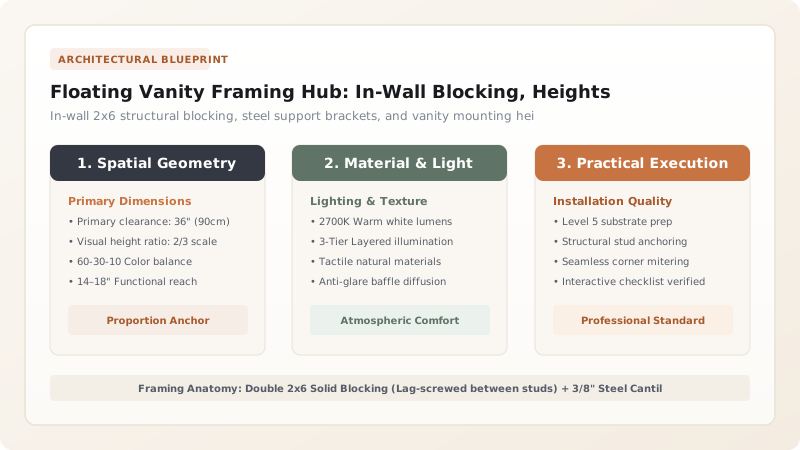
1. Cantilever Load Physics: Quartz Weight & Rotational Force
A 60-inch double-sink floating vanity with a 3cm quartz countertop and two porcelain undermount sinks weighs approximately 220 pounds dry. When both basins are filled with water and an adult leans on the front countertop edge, the total downward force exerts over 400 foot-pounds of rotational cantilever pull on the upper wall fasteners.
Securing a floating vanity to bare drywall with toggle anchors will result in immediate catastrophic wall failure. Professional builders frame double 2x6 solid structural wood blocking directly between the studs, fastened with 3.5-inch structural lag screws.

Floating Vanity Wall Anchoring Methods Comparison
Use this reference table to calculate exact physical dimensions, ratios, and specifications before purchasing:
| Anchoring Method | Max Cantilever Load | Plumbing Flexibility | Safety Rating |
|---|---|---|---|
| Double 2x6 In-Wall Blocking (Optimal) | 400+ lbs (Rock solid) | Maximum (Screws anywhere in wood) | 100% Certified Safe |
| Heavy-Duty Concealed Steel L-Brackets | 500+ lbs (Extreme strength) | High (Steel arms inside vanity) | 100% Commercial Grade |
| French Cleat on Standard Studs Only | 200 lbs (Limited by stud locations) | Moderate (Cleat can flex between studs) | Moderate (Check top weight) |
| Drywall Toggle Anchors (No Blocking) | 50 lbs (Fails under load) | Poor | DANGEROUS (Will pull off wall) |
P-Trap Drain Pipe Height Conflict Constraints
Every successful decoration project must account for physical and environmental constraints:
Old Floor Drain Plumbing Blocking Floating Vanity Bottom
Traditional floor-exit plumbing pipes collide with open space under a floating vanity; during rough-in, plumbers must relocate drain pipes to exit 100% through the wall (at 18-20" from floor) using a bottle trap or low-profile P-trap.
How to Rough-In and Mount a Floating Vanity
Execute this professional sequence to achieve flawless results without backtracking:
Install Double 2x6 In-Wall Blocking
Lag-screw two 2x6 blocks horizontally between wall studs at 28" to 34" elevation before hanging drywall.
Rough-In Wall Drain at 19" Center
Plumb 1.5" PVC drain pipe to exit the wall at exactly 19 inches above finished floor.
Hang Drywall and Tile Wall
Finish wall with moisture-resistant drywall and tile down past vanity bottom line.
Mount Heavy Steel Hanging Cleat
Drive four 5/16" × 3.5" structural lag screws through cleat into the in-wall 2x6 blocking.
Hang Vanity and Set Quartz Counter
Lock vanity onto cleat, check dead-level, secure safety bottom screws, and glue quartz top.
Common Mistakes & Countermeasures
Avoid these costly errors that compromise aesthetics, ergonomics, and budget:
Forgetting to Mark Blocking Locations Before Tiling the Wall
Project Execution Checklist
Track your physical progress. Checkboxes persist automatically on this device:
Frequently Asked Questions
What is the best finished height for a floating vanity?
34 to 36 inches from finished floor to the top of the countertop is the modern 'Comfort Height' standard. 34 inches is ideal for standard homes; 36 inches is preferred for tall primary master suites.


