
Execute laminated tile vaulting by applying three distinct courses of 1" × 6" × 12" terracotta tiles. Bed the first course with fast-setting Plaster of Paris to form a self-supporting skin without forms, coat with 1/2" of high-strength Portland-hydraulic lime mortar, and lay the second course rotated at 45 degrees. Apply a final mortar bed and lay the third course rotated at 90 degrees, staggering all seams.
At a Glance: Key Takeaways
- Gypsum Setting Chemistry: Hemihydrate gypsum rehydrates into dihydrate gypsum crystals in 60 seconds, creating immediate green strength.
- Cross-Ply Diagonal Lamination: Rotating tile courses at 45° and 90° mimics plywood lamination, distributing stresses in all directions.
- High-Porosity Terracotta Tile Bodies: 8% to 12% water absorption creates extreme mechanical capillary suction that bonds mortar permanently.
- Interlayer Shear Keying: Scratching the mortar beds with a notched trowel creates microscopic mechanical teeth preventing delamination.
- Expansion Compatibility: Fired clay tiles and lime-pozzolan mortars have nearly identical thermal expansion coefficients (\(6 \times 10^{-6} / ^\circ\text{C}\)).
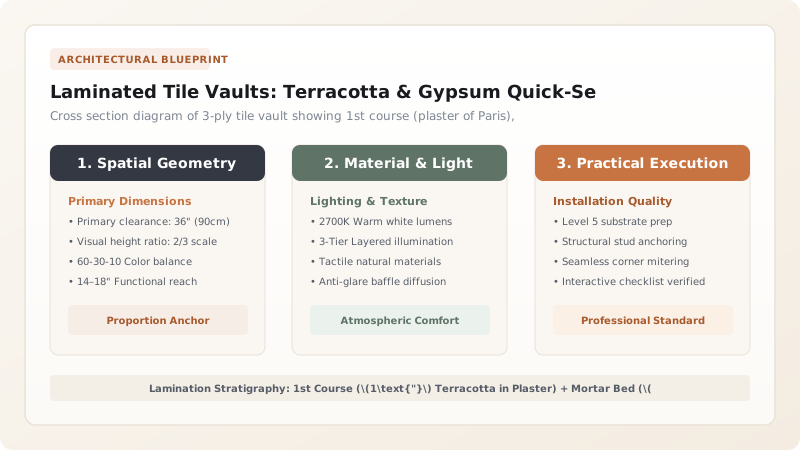
1. Chemical Physics: Gypsum Crystal Interlock & First-Layer Tack Kinetics
The ability of a mason to place a heavy clay tile on an overhead ceiling and have it hold itself in mid-air without shoring relies on the unique setting chemistry of Plaster of Paris (Calcined Gypsum, \(CaSO_4 \cdot \frac{1}{2}H_2O\)).
When mixed with water, the hemihydrate gypsum dissolves rapidly, supersaturates, and precipitates into millions of microscopic interlocking Needle-Like Dihydrate Gypsum Crystals (\(CaSO_4 \cdot 2H_2O\)) within 60 seconds. This generates instantaneous tensile suction against the porous clay tile, allowing the first course to self-support immediately. Explore the overarching system in our Guastavino vaulted arches hub.

2. Structural Lamination: Multi-Directional Tile Orientations & Delamination Prevention
A single layer of thin tile would buckle under point loads. The structural magic happens in the Tri-Ply Staggered Lamination.
After the gypsum-tacked first layer is complete, masons switch to a High-Bond Type S Portland-Lime Mortar (or NHL 5 Hydraulic Lime). The second layer is laid at a 45-Degree Diagonal Angle to the first, and the third layer is laid at 90 Degrees. This multidirectional orientation bridges all joints, preventing shear cracks from telegraphing through the shell and transforming the fragile tiles into an earthquake-resistant monolithic shell. Master low-rise vault design in low-rise domical vaults and examine herringbone soffits.
Tile Vault Mortar Stratigraphy
Use this reference table to calculate exact physical dimensions, ratios, and specifications before purchasing:
| Lamination Course | Mortar Binder Chemistry | Setting Time | Primary Structural Role |
|---|---|---|---|
| 1st Layer (Intrados Ceiling Face) | Pure Gypsum Plaster of Paris (Hemihydrate) | 45 to 60 seconds | Temporary freehand tacking & visible finished face |
| 2nd Layer (Middle Core) | Type S Portland Cement + Lime Mortar | 2 to 4 hours initial set | Shear transfer & tensile bridge (Laid at 45° angle) |
| 3rd Layer (Extrados Top Shell) | High-Strength Portland-Pozzolan Mortar | 24 hours | Compressive shell armor & waterproofing (Laid at 90°) |
| Extrados Grout Cap | Fluid Hydraulic Lime Slurry | 48 hours | Fills all micro-porosities for monolithic integrity |
Interlayer Moisture Trapping Delamination
Every successful decoration project must account for physical and environmental constraints:
Applying Waterproof Epoxy Mortar Between Wet Tile Layers Trapping Vapor and Blistering
Terracotta tiles absorb water during installation; coating between layers with non-breathable modern epoxy resin traps water inside the tile biscuit; under solar heating or indoor humidity swings, vapor pressure blows the tiles apart (delamination); strictly use breathable, vapor-permeable Portland-lime or natural hydraulic lime mortars.
How to Laminate Multi-Course Terracotta Tile Vaults
Execute this professional sequence to achieve flawless results without backtracking:
Inspect Terracotta Tiles for Open Pore Texture
Verify tiles have unglazed, open-pore bisque backs with >8% water absorption to ensure aggressive mortar suction.
Tack First Layer Freehand with Plaster of Paris
Dip tile edges in freshly mixed gypsum plaster; press against arch curve; hold 45 seconds until rigid.
Mist First Layer with Water Before Applying Mortar
Lightly dampen the top face of the first tile course with a garden sprayer to prevent it from sucking water out of the mortar.
Comb 1/2" Bed of Portland-Lime Mortar with Notched Trowel
Spread 1:1:4 Portland-lime-sand mortar with 1/2" square-notched trowel, creating deep mechanical bonding ridges.
Lay Second Course Diagonally at 45-Degree Angle
Press tiles firmly into the mortar bed at a 45° diagonal angle, staggering joints by 6" from the first layer.
Spread Second Mortar Bed and Lay Third Course at 90 Degrees
Apply second 1/2" mortar bed; set third tile course perpendicular to first layer; tap level with wooden rubber mallet.
Pour Fluid Hydraulic Lime Grout Cap Across Top Extrados
Pour thin hydraulic lime slurry over the entire top surface, broom-sweeping it into all microscopic voids.
Common Mistakes & Countermeasures
Avoid these costly errors that compromise aesthetics, ergonomics, and budget:
Aligning Tile Joints Between Consecutive Courses
Project Execution Checklist
Track your physical progress. Checkboxes persist automatically on this device:
Frequently Asked Questions
What size tiles were used by Rafael Guastavino?
Guastavino typically manufactured custom terracotta tiles measuring approximately 1 inch thick, 6 inches wide, and 12 inches long (25mm × 150mm × 300mm), though larger 8×16 inch tiles were used for massive spans.


