
Construct Catalan thin-tile (Guastavino) vaults by adhering multiple staggered courses of thin terracotta tiles (typically 1" × 6" × 12") without heavy formwork. Bed the first course in fast-setting Plaster of Paris that hardens in 60 seconds, allowing masons to work freehand. Laminate two or three subsequent courses over the top in high-strength Portland-lime mortar with staggered joints to form a cohesive, fireproof, monolithic structural masonry shell.
At a Glance: Key Takeaways
- Cohesive Tile Shell Mechanics: Acts as a monolithic structural skin resisting tensile and shear forces far better than traditional gravity-stone vaults.
- Freehand Cantilever Construction: First course set with quick-setting gypsum plaster that cures in 60 seconds, eliminating costly heavy timber centering.
- Multi-Layer Terracotta Lamination: Three thin courses (total thickness 3" to 4") laminated with overlapping joints, preventing water and air infiltration.
- Herringbone Soffit Glazing: Exposed underside finished in matte or glossy glazed ceramic tiles, creating mesmerizing geometric ceiling patterns.
- Vastly Reduced Lateral Thrust: Ultra-lightweight dead load (roughly 1/4th the weight of solid stone or brick) minimizes outward lateral thrust forces.
In-Depth Guides in this Directory
Explore specialized subtopic blueprints, technical dimensions, and execution checklists:
Laminated Tile Vaults: Terracotta & Gypsum Quick-Set
Master laminated thin-tile vaulting chemistry: Plaster of Paris gypsum tacking, staggered 3-ply tile lamination, hydraulic lime bonding, and shear delamination prevention.
Domical Tile Vaults: Low-Rise Mechanics & Centering
Master low-rise domical tile vault engineering: rise-to-span ratios (1:10 to 1:15), lightweight wooden skeleton stringers, membrane stress distribution, and edge stiffeners.
Guastavino Glazing: Herringbone Soffits & Edge Stiffeners
Master decorative and structural Guastavino soffit detailing: 45-degree herringbone ceramic tile glazing, colored acoustic grouts, and reinforced brick edge stiffeners.
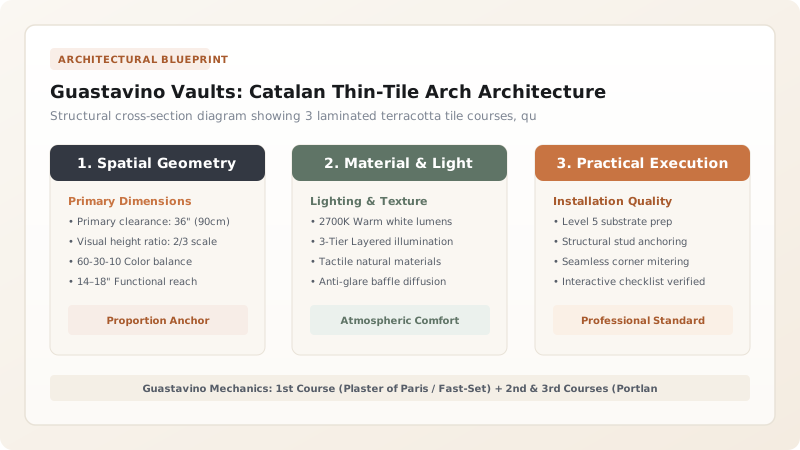
1. Masonry Physics: Cohesive Vaulting vs Gravity-Stone Arches
Traditional stone or brick barrel vaults rely strictly on Gravity and Pure Compression. Each stone acts independently, held only by friction and gravity. If one voussoir slips, the entire vault can collapse.
Pioneered in Catalonia and perfected in the United States by Rafael Guastavino (powering Grand Central Terminal, the Boston Public Library, and the Cathedral of St. John the Divine), Cohesive Tile Construction behaves entirely differently. By laminating three staggered courses of thin terracotta tiles with high-strength mortar, the vault acts like a Continuous Thin-Shell Monolith. The lamination provides genuine Tensile Cohesion, allowing the vault to bridge immense spans with a structural shell only 3 to 4 inches thick. Master tile courses in laminated terracotta thin-tile courses.

2. Construction Craft: The Fast-Set Plaster First Layer & Herringbone Glazing
The true genius of the Catalan method is Freehand Construction Without Heavy Centering.
The mason dips the edges of a thin terracotta tile into Pure Plaster of Paris (Hemihydrate Gypsum) and presses it firmly against the preceding tile in mid-air. Within 45 to 60 seconds, the plaster hardens, holding the tile securely by suction and cohesion. Once the entire first layer forms a self-supporting dome, the mason spreads a bed of High-Strength Portland-Lime Mortar over the top, laminating two additional courses with staggered joints. The visible underside is often detailed in a Stunning 45-Degree Herringbone Pattern using glazed ceramic tiles. Explore dome engineering in low-rise domical vault mechanics and discover herringbone soffit glazing.
Vault Construction Systems Comparison
Use this reference table to calculate exact physical dimensions, ratios, and specifications before purchasing:
| Vaulting Technology | Dead Weight per Sq Ft | Centering Formwork Required | Tensile Cohesion | Fire Resistance Rating |
|---|---|---|---|---|
| Guastavino Catalan Tile Vault (Optimal) | 35 to 45 lbs/sq ft | Minimal (Light skeleton guides only) | High (3-layer laminated tile shell) | Class A / 4-Hour Fireproof |
| Traditional Brick Groin Vault | 120 to 160 lbs/sq ft | Extensive (Full solid plywood formwork) | Zero (Pure compression only) | Class A / 3-Hour |
| Cut Ashlar Stone Vault | 200 to 300 lbs/sq ft | Massive (Heavy timber shoring towers) | Zero (Gravity dependent) | Class A / 4-Hour |
| Curved Suspended Metal Stud Plaster | 10 to 15 lbs/sq ft | Framing only (Non-structural) | N/A (Faux hollow drywall shell) | 1-Hour Fire Rated |
Gypsum Plaster Premature Slump in Damp Cellars
Every successful decoration project must account for physical and environmental constraints:
High Humidity Retarding Plaster of Paris Setting Time Causing Fresh Tiles to Drop
Plaster of Paris requires dry conditions to snap-set in 60 seconds; in subterranean wine cellars or unconditioned humid rooms (>75% RH), the gypsum plaster setting time extends to 5 minutes, causing freshly placed tiles to slump and fall from the ceiling; always install commercial dehumidifiers to maintain <50% RH and warm ambient air at 70°F during first-course tile placement.
How to Build a Guastavino Thin-Tile Vaulted Ceiling
Execute this professional sequence to achieve flawless results without backtracking:
Erect Minimal Skeleton Guide Arches
Set light 1x timber arch templates spaced 6 to 8 feet apart to serve as visual geometric guides (not full formwork).
Mix Pure Plaster of Paris in Small Batches
Mix high-grade moulding plaster with clean water in flexible rubber bowls, preparing only enough for 3 to 4 tiles at a time.
Set First Layer Tiles Freehand with Edge-Dipped Plaster
Dip tile edges in plaster; press against springline wall and adjacent tile; hold by hand for 45 seconds until plaster snaps rigid.
Complete First Course Membrane Over Entire Bay
Continue setting tiles in radial courses until the bay forms a complete, self-supporting 1-inch thick eggshell dome.
Trowel 1/2" Bed of High-Strength Portland-Lime Mortar
Spread a rich 1:1:4 Portland-lime-sand mortar over the top extrados face of the first tile layer.
Lay Second and Third Tile Courses with Staggered Joints
Bed second and third courses diagonally across the first layer, staggering all joints by at least 4 inches to eliminate continuous seams.
Grout Underside Soffit Joints and Polish Glazed Tiles
Rake out plaster from bottom joints; pack with colored architectural tile grout; polish glazed ceramic tile faces with clean cotton rags.
Common Mistakes & Countermeasures
Avoid these costly errors that compromise aesthetics, ergonomics, and budget:
Using Gypsum Plaster of Paris for All Three Tile Layers
Project Execution Checklist
Track your physical progress. Checkboxes persist automatically on this device:
Frequently Asked Questions
How thin can a Guastavino tile vault be built?
A typical three-layer Guastavino vault is only 3 to 4 inches thick (including tiles and mortar), yet it can support floor loads of hundreds of pounds per square foot across spans exceeding 40 feet.


