
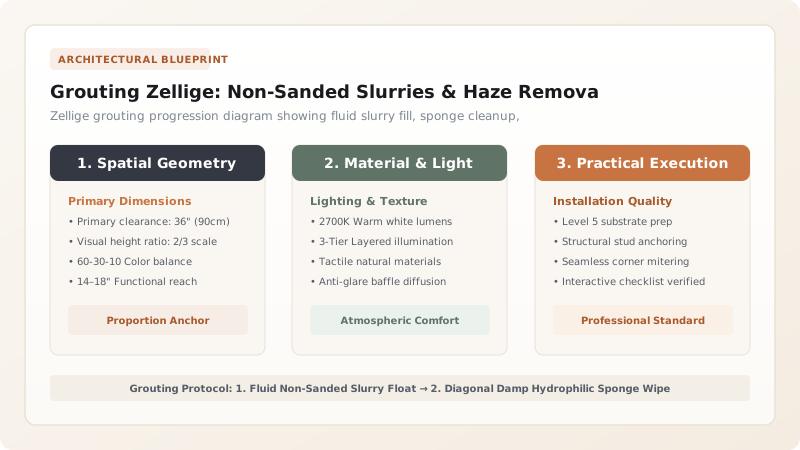
Grout undulating Zellige tiles by mixing a fluid non-sanded polymer grout (or Mapei Ultracolor Plus FA) into a creamy slurry. Spread diagonally with a soft gum-rubber float to penetrate 1mm micro-joints, wipe with a damp hydrophilic sponge within 15 minutes, and buff away haze with dry cheesecloth.
At a Glance: Key Takeaways
- Non-Sanded Fluid Slurry: Creamy consistency flows into 1mm hairline gaps without leaving voids.
- Hydrophilic Sponge Wipe: High-density sponge cleans surface enamel without washing grout out of low joints.
- Cheesecloth Haze Buffing: Dry microfiber or cheesecloth polishes the glossy enamel to a mirror shine.
- Organic Acid Cleaner: Removes stubborn cementitious haze without etching the delicate enamel glaze.
1. Grout Chemistry: Non-Sanded Slurries vs Micro-Crazing
Handmade Zellige tiles feature microscopic surface pits, air bubbles (*cavages*), and delicate hairline enamel cracks (*crazing*) created during wood-kiln firing.
Standard heavy-body grouts bridge across these surface dips, leaving unsightly air pockets and dried clumps. Grouting Zellige requires a Fluid Non-Sanded Slurry (water ratio increased by 5%). Spreading the slurry diagonally at a 45-degree angle packs all hairline fissures, locking the undulating tiles into a solid, moisture-proof ceramic shield.

Zellige Grouting Products & Compatibility
Use this reference table to calculate exact physical dimensions, ratios, and specifications before purchasing:
| Grout Product | Aggregate Type | Scratch Risk on Glaze | Cleaning Difficulty |
|---|---|---|---|
| Mapei Ultracolor Plus FA (Optimal) | Ultra-fine mineral aggregate | 0% Scratch Risk | Easy (Drop-clean in 20 mins) |
| Custom Building Polyblend Non-Sanded | Pure cementitious (No sand) | 0% Scratch Risk | Moderate (Requires dry buffing) |
| Standard Sanded Grout (FORBIDDEN) | Coarse silica quartz sand | SEVERE: Scratches glaze permanently | Destroys tile finish |
| Epoxy Grout (Spectralock) | 2-Part epoxy resin | 0% Scratch Risk | DIFFICULT: Traps permanent resin haze |
Glaze Pit Grout Trapping Constraints
Every successful decoration project must account for physical and environmental constraints:
Dark Charcoal Grout Staining Light Cream Zellige Tile Pores
High-contrast dark grout penetrates glaze pits and crazing cracks in light tiles, creating permanent dark specks; on light Zellige, strictly use matching off-white or light gray grout (like Mapei 'Bone' or 'Warm Gray').
How to Grout Zellige Tile Without Scratching
Execute this professional sequence to achieve flawless results without backtracking:
Allow Thin-Set to Cure 24 Hours
Ensure tile mortar is 100% cured so tiles do not shift during grouting pressure.
Mix Non-Sanded Grout to Creamy Slurry
Mix grout with clean water to the consistency of smooth cake batter; let slake 5 minutes.
Float Diagonally Across Surface
Hold a soft gum-rubber float at 45° and force slurry into all 1mm joints across a 10 sq ft area.
Wipe with Damp Sponge After 15 Mins
Wipe in gentle circular motions with a wrung-out hydrophilic sponge to shape joints.
Buff Dry Haze with Cheesecloth
After 2 hours, buff off dry powdery surface haze using a dry cotton cheesecloth towel.
Common Mistakes & Countermeasures
Avoid these costly errors that compromise aesthetics, ergonomics, and budget:
Waiting Too Long Before Washing Off Grout Slurry
Project Execution Checklist
Track your physical progress. Checkboxes persist automatically on this device:
Frequently Asked Questions
How do you remove dried grout haze from Zellige?
Use a specialized non-acidic sulfamic grout haze remover (like Aqua Mix Cement Grout Haze Remover) with a white nylon scrubbing pad. Never use harsh muriatic acid, which attacks the delicate glaze.


