
Install authentic Moroccan Zellige tile by soaking tiles in clean water for 1 to 2 minutes prior to setting to prevent rapid thin-set moisture depletion. Set tiles edge-to-edge with tight 1mm butt joints without plastic spacers, back-buttering each tile individually, and fill with non-sanded flexible grout.
At a Glance: Key Takeaways
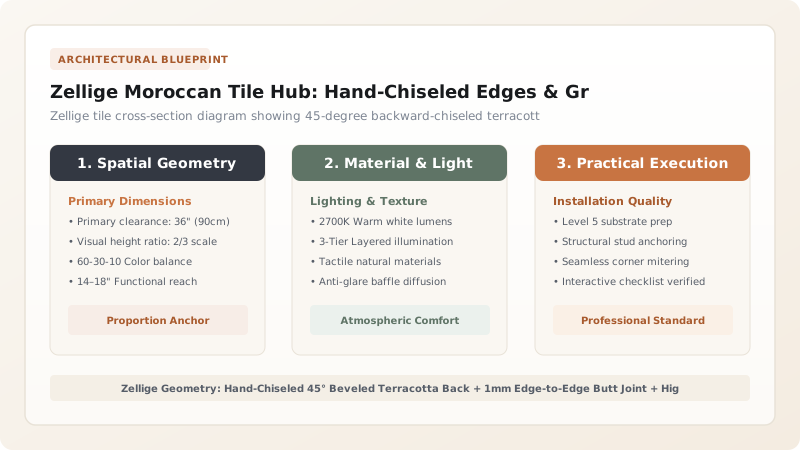
- Hand-Chiseled Beveled Backs: Master artisans (*Maâlems*) chip tile backs at 45° angles so glaze faces butt edge-to-edge.
- Water Immersion Soaking: 1 to 2-minute water dip saturates porous terracotta clay, preventing thin-set failure.
- 1mm Butt-Joint Spacing: Eliminates wide grout lines, creating a shimmering, continuous tapestry of glazed clay.
- Undulating Surface Optics: Variations in glaze thickness and firing temperatures create living, refractive light bounce.
- Non-Sanded Grout Only: Sanded grout will severely scratch the delicate enamel glaze surface of genuine Zellige.
In-Depth Guides in this Directory
Explore specialized subtopic blueprints, technical dimensions, and execution checklists:
Zellige Butt Joints: 1mm Spacing & Hand-Chiseled Bevels
Master Zellige hand-chiseled beveled edge joinery: the 45-degree backward menqash undercut, 1mm butt-joint spacing math, tile thickness sorting, and back-buttering.
Grouting Zellige: Non-Sanded Slurries & Haze Removal
Master Zellige tile grouting: non-sanded liquid slurry floating, packing micro-crazing fissures, cheesecloth buffing, and organic acid haze removal.
Soaking Zellige: Water Immersion Times & Bond Science
Master Zellige tile water soaking science: high-porosity terracotta absorption rates, preventing thin-set flash drying, immersion durations (60–120s), and curing physics.
1. 10th-Century Heritage: The Fez Clay Kiln Tradition
Dating back over 1,000 years to Fez, Morocco, authentic Zellige (Zillij) is hand-kneaded from natural gray clay, sun-dried, coated with raw mineral enamel glaze, and wood-fired in ancient olive-pit kilns.
Each \(4\times4\text{-inch}\) tile is individually shaped by artisans using a heavy, sharp iron hammer (*menqash*), chiseling the back edges at a backward 45-degree angle. This allows the tiles to be set edge-to-edge with virtually zero grout line (butt joint), creating the iconic shimmering, undulating texture that machine-made ceramic cannot duplicate.

Zellige Tile Installation Specifications & Standards
Use this reference table to calculate exact physical dimensions, ratios, and specifications before purchasing:
| Installation Parameter | Authentic Zellige Spec | Standard Ceramic Tile Spec | Why It Matters |
|---|---|---|---|
| Joint Spacing | 1.0mm (Edge-to-Edge Butt) | 3.0mm - 5.0mm (Spacers) | Creates continuous shimmering mosaic surface |
| Substrate Pre-Wetting | 1-2 Min Water Soak | Dry install (No soak) | Porous raw clay sucks moisture from thin-set |
| Mortar Application | 100% Back-Butter (L/720 prep) | Notched trowel wall drag | Compensates for irregular tile thickness (8-12mm) |
| Grout Type | Non-Sanded Polymer Grout | Standard Sanded Grout | Prevents scratching delicate enamel glaze |
Lippage & Sharp Corner Blade Hazards
Every successful decoration project must account for physical and environmental constraints:
Irregular Tile Edges Creating Sharp Raised Corners (Lippage)
Zellige tiles have natural 1–3mm thickness variations; in shower benches or tight cooking zones, raised sharp corners can catch skin; blend tiles from 4 different boxes before setting and tap high corners gently with a rubber block to soften transitions.
How to Install Authentic Moroccan Zellige Tile
Execute this professional sequence to achieve flawless results without backtracking:
Dry-Lay and Blend 4 Boxes
Unbox 4 cartons and shuffle tiles to distribute subtle color variations, crazing, and glaze pits evenly.
Submerge Tiles in Water for 90 Seconds
Dip tiles in a bucket of clean water until bubbling stops, then let drain for 2 minutes.
Apply Polymer-Modified White Thin-Set
Trowel ANSI A118.15 white thin-set on wall and back-butter each individual tile 100%.
Set Edge-to-Edge Without Plastic Spacers
Place tiles tight against one another, trusting the hand-chiseled bevels to create natural 1mm micro-joints.
Grout with Non-Sanded Liquid Slurry
Spread non-sanded grout diagonally with a soft rubber float; wipe clean immediately with a damp sponge.
Common Mistakes & Countermeasures
Avoid these costly errors that compromise aesthetics, ergonomics, and budget:
Using Coarse Sanded Grout on Zellige Tiles
Project Execution Checklist
Track your physical progress. Checkboxes persist automatically on this device:
Frequently Asked Questions
Does Zellige tile require sealing?
The glazed enamel face of Zellige is 100% impervious to water and does not need sealing. However, the exposed terracotta clay along hand-chiseled edges and grout lines should be sealed with a penetrating breathable sealer (like Dry-Treat Stain-Proof).


