
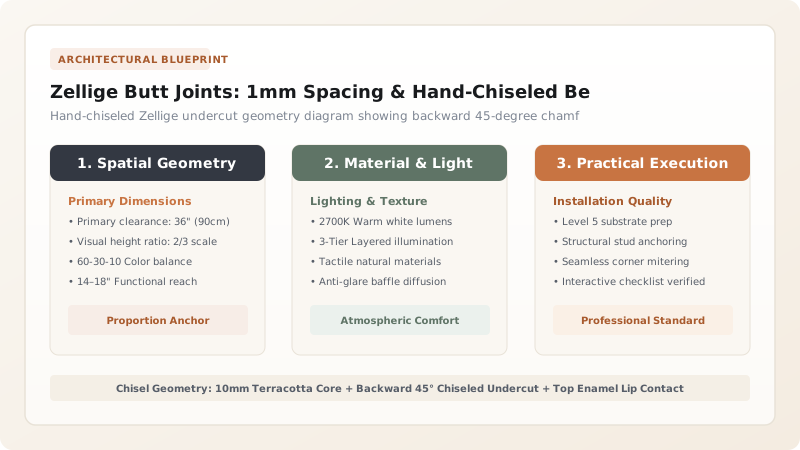
Zellige tiles achieve tight 1mm butt joints because the terracotta back is hand-chiseled at a backward 45-degree angle. This undercut ensures only the razor-thin top enamel glaze edges touch, leaving a wedge-shaped cavity behind that fills with thin-set and grout for permanent structural grip.
At a Glance: Key Takeaways
- The 45° Backward Undercut: Prevents thick terracotta backs from colliding, allowing enamel faces to touch.
- 1mm Micro-Joint: Eliminates standard wide grid lines, making the wall feel like a handcrafted jewel mosaic.
- Thickness Sorting: Sort tiles into 3 thickness groups (Thin 8mm, Mid 10mm, Thick 12mm) to minimize sharp lippage.
- 100% Back-Butter Mortar Coverage: Essential to fill the triangular undercut void beneath every tile.
1. Hand-Chiseling Physics: The Menqash Undercut
If you attempt to set standard square-cut ceramic tiles with zero grout space, the slightest irregularity in the tile body causes the tiles to collide, creating jagged, crooked lines and popped tiles.
Zellige artisans solve this through Beveled Undercutting. By chipping away the terracotta clay at a backward 45-degree angle, the tile's footprint is significantly smaller than its glazed face. The glazed top edges kiss tightly, while the triangular cavity beneath provides room for thin-set mortar to flow and lock the tile firmly.

Zellige Butt Joint Tolerances & Setting Specifications
Use this reference table to calculate exact physical dimensions, ratios, and specifications before purchasing:
| Tile Joint Parameter | Standard Zellige Spec | Standard Machine Tile | Structural Purpose |
|---|---|---|---|
| Face Joint Width | 0.5mm - 1.5mm (No spacers) | 3.0mm - 6.0mm (Plastic pegs) | Traditional Moroccan aesthetic |
| Mortar Bed Thickness | 3/16" - 1/4" White Thin-Set | 1/8" Standard Thin-Set | Compensates for 4mm tile thickness delta |
| Substrate Flatness | Max 1/8" in 10 feet (Dead-flat) | 1/4" in 10 feet | Essential to prevent excessive lippage |
| Grout Application | Fluid slurry float sweep | Firm rubber pack | Flows into microscopic 1mm fissures |
Substrate Flatness Lippage Magnification Constraints
Every successful decoration project must account for physical and environmental constraints:
Wavy Drywall Substrate Magnifying Zellige Edge Lippage
Because Zellige has virtually no grout line to soften transitions, substrate humps cause severe tile lippage; mandate a strict substrate prep: float walls with cementitious feather-finish compound to achieve Level L/720 flatness before tiling.
How to Set Zellige with Tight Butt Joints
Execute this professional sequence to achieve flawless results without backtracking:
Sort Tiles by Thickness
Sort box contents into 3 piles (thin, medium, thick) to keep adjacent tiles within 1mm elevation.
Trowel White Thin-Set on Wall
Use a 1/4" × 3/8" square-notch trowel to comb ANSI A118.15 white mortar horizontally.
Back-Butter Every Tile
Apply flat coat of mortar into the chiseled back cavity of each tile before placing.
Press Firmly by Hand Without Spacers
Push tile into mortar, wiggling slightly to collapse ridges until the enamel edge touches the adjacent tile.
Tap with Hardwood Beating Block
Gently tap across groups of 6 tiles with a wooden block to level surface high-points.
Common Mistakes & Countermeasures
Avoid these costly errors that compromise aesthetics, ergonomics, and budget:
Using Plastic Cross Spacers on Zellige Tiles
Project Execution Checklist
Track your physical progress. Checkboxes persist automatically on this device:
Frequently Asked Questions
Why is white thin-set mandatory for Zellige instead of gray thin-set?
Zellige glazes are semi-translucent. Dark gray mortar will bleed through micro-crazing cracks in the enamel, permanently muddying light white and pastel tile colors. Always use pure white thin-set.


