
Always mount under-cabinet lights along the FRONT lip of upper cabinets. Mounting at the front edge washes light across the entire 25-inch countertop depth and eliminates hand shadows, whereas rear-wall mounting traps light against the backsplash and leaves prep cutting boards dark.
At a Glance: Key Takeaways
- Front Lip Rule: Mount channels 1 inch behind the front cabinet frame facing down or tilted 15° backward.
- Hand Shadow Elimination: Light comes from in front of your body, keeping cutting boards brightly illuminated.
- Backsplash Highlighting: A 15-degree backward tilt washes both the countertop and the decorative tile backsplash.
- Light Rail Trim: A 1 to 1.5-inch wooden light rail moulding on cabinet bottoms conceals channels from seated view.
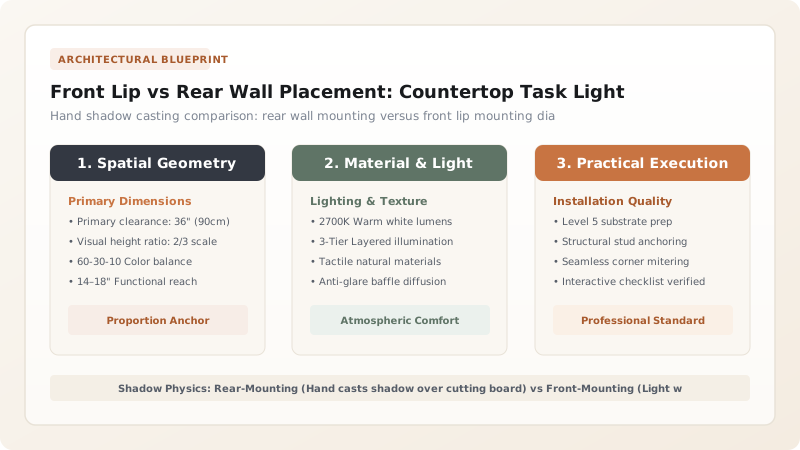
1. Countertop Task Zones & Shadow Dynamics
Standard kitchen base cabinets are 24 inches deep with a 25-inch countertop, while upper wall cabinets are only 12 inches deep. When standing at the counter to chop vegetables or read a recipe, your head and shoulders naturally lean over the front 12 inches of the countertop.
If lights are mounted on the rear wall (at 0 inches depth), your hands and knife are positioned between the light source and the food, casting severe shadows. Mounting lights at the front lip (at 11 inches depth) ensures direct downward and inward task light with zero shadow interference.

Front Lip vs Center vs Rear Placement Comparison
Use this reference table to calculate exact physical dimensions, ratios, and specifications before purchasing:
| Mounting Position | Task Prep Illumination | Backsplash Highlight | Hand Shadow Rating |
|---|---|---|---|
| Front Lip (Facing Down) | 100% (Maximum light on prep zone) | Moderate (Soft gradient wash) | 0% Shadows (Best for cooking) |
| Front Lip (Angled 45° Back) | 90% (Excellent coverage) | 100% (Dramatic tile highlight) | 0% Shadows (Designer favorite) |
| Center of Cabinet (6" Depth) | 65% (Moderate light on counter) | 65% (Even spread) | Low hand shadows |
| Rear Wall (Backsplash Joint) | 30% (Poor prep light) | 100% (Intense backsplash hotspot) | High (Severe hand shadows on board) |
Light Rail Moulding Missing on European Flat Cabinets Constraints
Every successful decoration project must account for physical and environmental constraints:
LED Channels Visible Below Modern Slab Cabinets
Modern European flat-panel cabinets often lack a bottom light rail lip; rout a 1/2" wide × 1/4" deep recessed channel directly into the underside of the cabinet bottom panel to flush-mount the extrusion completely invisibly.
How to Mount and Angle Front-Lip Extrusions
Execute this professional sequence to achieve flawless results without backtracking:
Measure 1" Behind Front Lip
Mark pencil line 1 inch inward from the front edge of the cabinet face frame.
Select 45° Angled or Flat Profile
Use an angled 45° profile pointing toward the backsplash for simultaneous counter and tile wash.
Screw Profile with 1/2" Wood Screws
Fasten aluminum channel with small pan-head screws (ensure screws do not poke through cabinet floor).
Test Sightline from Seated Height
Sit at the kitchen island or dining table to confirm the bottom lip blocks direct diode glare.
Common Mistakes & Countermeasures
Avoid these costly errors that compromise aesthetics, ergonomics, and budget:
Using 1-Inch Screws That Puncture Through the Inside Cabinet Floor
Project Execution Checklist
Track your physical progress. Checkboxes persist automatically on this device:
Frequently Asked Questions
What if my cabinets don't have a bottom recess lip?
You can purchase matching 1.25-inch 'Light Rail Moulding' from your cabinet manufacturer and nail it along the bottom front edge, or use an ultra-slim 8mm flangeless micro-extrusion channel.


