Inca masons fitted irregular polygonal blocks together without mortar by using negative profile scribing: transferring the complex 3D contour of underlying seated stones directly onto the raw bottom of the stone being installed. Using clay marking paste, flexible lead-tin scribing wires, or bronze calipers during staged trial-lowerings, the craftsman pecked high points down until both surfaces mated perfectly. A continuous 20-mm perimeter margin was then drafted at a 30° bevel, creating the iconic cushioned pillow boss.
At a Glance: Key Takeaways
- Methodology: Direct negative profile contour transfer and trial-lowering
- Marking Media: Red Ochre / Liquid Clay Slip (Yancan) and Bronze Calipers
- Contact Tolerance: Sub-millimeter (< 0.1 mm) along outer 50 mm bearing perimeter
- Bevel Angle: 25° to 35° drafted chamfer around block perimeter
- Pillow Crown Relief: 15 mm to 35 mm convex protrusion from margin plane
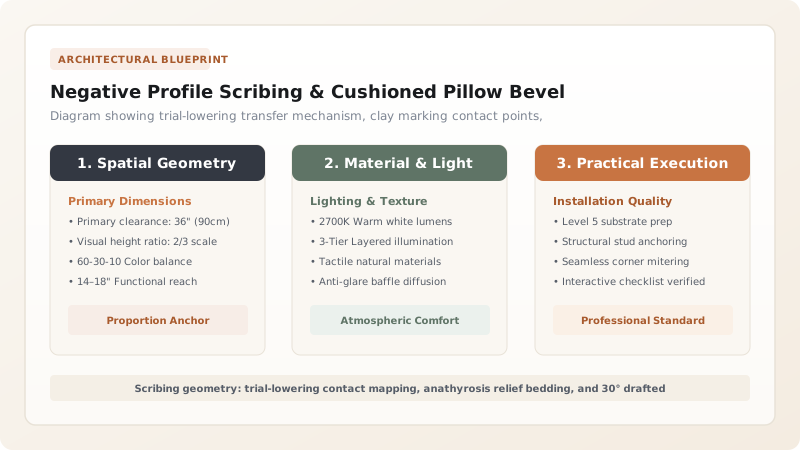
The Mystery of the Twelve-Angled Stone: How Polygonal Joints Were Scribed
In the Calle Hatun Rumiyoc in Cusco, the famous Twelve-Angled Stone (part of the palace of Inca Roca) fits seamlessly into its neighboring blocks along twelve distinct intersecting facets. To modern observers accustomed to straight orthogonal masonry, creating a joint that curves, turns, and locks across multiple non-planar angles seems mathematically daunting.
Yet the Inca method was an empirical tour de force of negative profile scribing. The mason did not attempt to calculate complex three-dimensional angles on paper; rather, the existing underlying stones served as the living template. By suspending the new rough block immediately above its destination and transferring the exact contours downward, every rise, dip, and angle was mirrored precisely.
Transfer Mechanisms: The Scribing Caliper and Wet Clay Slip
Archaeological evidence and replication experiments reveal two complementary methods used by Inca masters to transfer contours:
- Suspended Caliper Scribing: The new block was suspended on timber cribbing or levers directly over its seat, maintaining a uniform 50-mm gap. A rigid U-shaped bronze or wooden caliper equipped with a marking point was dragged along the perimeter, scribing an identical negative contour onto the upper stone.
- The Contact Transfer Method (Yancan): A thin coating of wet red ochre or mineral clay slip (yancan) was painted over the lower stone's bearing surface. The upper block was lowered until it made contact. When lifted, red clay transferred exclusively to high spots, indicating exactly where the mason needed to peck away stone. Repeating this trial-lowering 3 to 5 times produced a continuous, gap-free contact ribbon.
The Anathyrosis Principle: Why Only the Perimeter Mates
A common misconception is that Inca stones fit together with airtight precision across 100% of their interior bedding surface. Cross-sectional excavations of fallen walls at Ollantaytambo and Machu Picchu reveal an ingenious labor-saving structural secret: the Hellenistic principle of Anathyrosis.
Only the outer 40 mm to 70 mm of the joint perimeter is fitted with microscopic hairline accuracy. The central interior floor of the joint is deliberately pecked 5 mm to 15 mm deeper, creating an internal hollow cavity. This provided three vital benefits: it reduced stone dressing labor by 60%, eliminated the risk of point-loading rocks fracturing the center of the block, and created a captive friction perimeter that locked the stones securely against lateral shear.
Drafting the Cushioned Pillow Bevel
Once the joints were fitted and the wall was assembled, the raw, bulbous exterior face of each block was dressed. Using straight wooden battens and cord lines, the mason pecked a dead-flat 15-mm to 25-mm wide border (the drafted margin) around the block's perimeter, sloping inward at an angle of 25° to 35° toward the joint line.
The center of the block was left protruding forward in a smooth, convex boss—producing the famous 'cushioned' pillow profile. In addition to creating dramatic chiaroscuro shadow lines, these bevels ensured that if the wall experienced ground shaking during an earthquake, the brittle outer edges would not contact each other, preventing catastrophic edge spalling.
Joint Fitting Precision by Architectural Zone in Inca Structures
Use this reference table to calculate exact physical dimensions, ratios, and specifications before purchasing:
| Wall Zone / Structure | Joint Type | Contact Perimeter Width | Internal Anathyrosis Depth | Tolerances Achieved |
|---|---|---|---|---|
| Imperial Temple Beds (Qorikancha) | Linear Ashlar with tongue-groove lugs | 60 mm to 80 mm | 10 mm concave hollow | < 0.05 mm (light-tight, blade-proof) |
| Cyclopean Fortress Walls (Sacsayhuamán) | Polygonal multi-angled interlocking | 80 mm to 120 mm | 15 mm to 25 mm rough hollow | < 0.20 mm (impervious to root penetration) |
| Terrace Agricultural Retaining Walls | Semi-coursed cellular polygonal | 30 mm to 50 mm | Un-worked natural boulder hollow | 1.0 mm to 3.0 mm (free-draining joints) |
| Granary / Storehouse Foundations | Rectangular rubble with clay mortar | Full surface contact | Zero anathyrosis; mud bedding | 5.0 mm to 15.0 mm (chinked with gravel) |
Practical Constraints
Every successful decoration project must account for physical and environmental constraints:
Multiple Trial Liftings of Multi-Ton Stones
A 5-ton block must be raised and lowered 4 to 6 times to complete contact pecking Mitigation: Use heavy timber A-frame gin poles or cantilever levers with sandbag counterweights to raise stones smoothly without edge damage
Dust Contamination of Contact Reading Surfaces
Andesite dust from pecking interferes with clay marking visibility Mitigation: Wash and sponge both stone faces thoroughly with clean water before every trial lowering
Execution Blueprint & Craftsmanship Sequence
Execute this professional sequence to achieve flawless results without backtracking:
Lower Stone Bedding Surface Verification
Inspect seated lower stones. Verify that upper joint faces are pecked to true horizontal or inclined reference planes.
Upper Block Elevation on Timber Wedges
Lever the raw upper block into position directly above the seat, supporting it on hardwood shims to maintain a precise 50 mm gap.
Contour Scribing with Calipers
Run a 50-mm fixed U-shaped bronze scribe along the irregular profile of the lower stone, scribing the exact mating line onto the upper block's skirt.
Primary Waste Removal to Scribed Line
Hoist the upper block slightly. Peck away stone waste down to the scribed perimeter line using a 2.5-kg hematite hammerstone.
Red Ochre (Yancan) Slip Application
Paint a thin film of wet red clay slurry across the lower stone's bearing perimeter. Lower upper block directly onto seat.
High Spot Reading and Precision Dressing
Lift upper block and inspect bottom face. Peck away all red-stained contact points with a 1-kg fine hammerstone, repeating until stain covers 90% of margin.
Internal Bed Relief (Anathyrosis Hollowing)
Hollow the interior core of the joint bed 10 mm deeper than the perimeter bearing margin to concentrate load on outer edges.
Drafted Margin and Pillow Face Execution
Carve a continuous 20-mm wide drafted margin at a 30° bevel around the block's outer perimeter, smoothing the central boss into a symmetrical pillow curve.
Common Mistakes & Countermeasures
Avoid these costly errors that compromise aesthetics, ergonomics, and budget:
Attempting to dress the entire joint bed completely flat without anathyrosis hollowing
Leaving sharp, un-beveled 90° edges on block faces
Applying thick coats of clay transfer slip
Project Execution Checklist
Track your physical progress. Checkboxes persist automatically on this device:
Frequently Asked Questions
How tight are imperial Inca stone joints really?
At sites like the Qorikancha in Cusco, the joints are so tightly fitted that a modern steel razor blade (0.05 mm thickness) cannot penetrate the seam. Even water poured against the joint fails to seep through the compressed mineral contact zone.
Did the Incas use iron or bronze dowels to pin stones together?
Rarely. In monumental imperial structures, the Incas relied almost entirely on dry friction and gravity. However, at select high-stress monuments (such as Ollantaytambo and the Qorikancha), masons carved T-shaped and butterfly-shaped mortises across adjacent stone tops, casting molten bronze clamps or driving stone keys to resist extreme tensile forces.
Why do Inca walls feature so many curved and polygonal stones?
In addition to reducing quarry waste by accommodating the natural shapes of found boulders, polygonal joints create inter-locking puzzle-like bonds. Unlike straight horizontal brick courses that can shear along a single plane, polygonal joints lock in multiple directions simultaneously, neutralizing seismic forces from any angle.
What is the purpose of the pillow boss on the face of the stone?
Beyond its stunning visual aesthetic, the pillow boss adds substantial dead weight (gravity mass) to the center of the block while keeping the vulnerable perimeter joints recessed away from weathering erosion and impact damage.