
Corner notch scribing using the 'meddrag' is the defining mathematical skill of Norwegian log carpentry. By gliding a hand-forged iron scriber along horizontal logs, natural undulations are mirrored onto overlapping timbers. The corner joint (nov) is carved with interlocking slanted cheeks (kinn), an internal locking throat (hals), and a hidden tenon (dytte). As gravity compresses the building, this compound geometry forces the logs inward, creating an impenetrable, self-tightening structural joint.
At a Glance: Key Takeaways
- Groove Cross-Section: Parabolic concave arch (Mosefar) with sharp feather edges
- Joint Components: Kinn (Slanted cheek), Hals (Throat neck), Dytte (Locking tenon)
- Scribing Instrument: Twin-bladed hand-forged iron meddrag compass (Meddragsjern)
- Tolerance: Sub-millimeter line contact on outer seam lips
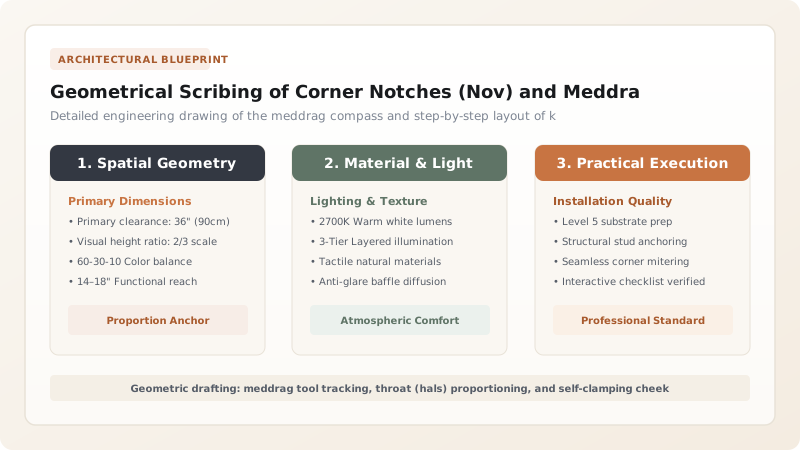
Anatomy and Metallurgy of the Traditional Meddrag Scriber
The Meddrag (or meddragsjern) is the master carpenter’s most prized tool. Forged from high-carbon spring steel by local village blacksmiths, it features two curved legs joined at a spring loop or locking pivot. Unlike standard drawing dividers, the meddrag legs terminate in chisel-ground horizontal blades set strictly parallel to each other.
The lower blade rides smoothly along the top surface of the fixed bottom log, while the upper blade scores an indelible, razor-sharp contour groove into the flank of the upper log. The tool is calibrated with a fixed span equal to the desired vertical drop, ensuring that when the carved wood is removed, the log drops into airtight contact.
The Triple Anatomy of the Nov: Kinn, Hals, and Dytte
A simple round notch allows logs to roll or separate under earthquake or wind forces. The classical Norwegian Kinnunglaft solves this through a three-dimensional locking geometry.
The Kinn (cheeks) are two symmetrical, angled facets chopped at 45 to 60 degrees into the top and bottom shoulders of the log. The Hals (throat) is a narrowed central neck that drops into the corresponding pocket of the crossing log. Hidden within the throat is the Dytte (or knast)—a raised wooden tenon that locks into a blind mortise on the bottom of the upper log, preventing lateral slipping in any direction.
The Mosefar: Parabolic Arch Carving and Feather-Edge Tooling
Once the corner notches are scribed, the carpenter scribes the full length of the log to carve the Mosefar (moss groove). The underside of the log must never be cut flat. It is carved into an arched, parabolic hollow using specialized axes (bile and skobble).
The outer lips of the groove are dressed to razor-thin feather edges. When the log is placed in the wall, only these two narrow outer wood strips touch the lower log. The internal parabolic arch remains open, creating a pressurized air chamber packed with springy bog moss that prevents air drafts without bearing structural weight.
Thermodynamics of Self-Tightening Wedged Joints
The genius of the kinnunglaft joint lies in its behavior under gravity. Wood is viscoelastic: under sustained compressive loads, wood cells slowly deform. Because the cheeks (kinn) are cut at an angle, the massive deadweight of the heavy roof forces the upper log deeper into the V-shaped notch.
As the logs season and lose diameter, the angled cheeks slide downward against each other. Instead of the joint opening gaps as modern dimensional lumber would, the Norwegian nov automatically wedges itself tighter with each passing decade, ensuring permanent wind-tightness for centuries.
Nov Corner Joint Dimension & Geometry Specifications
Use this reference table to calculate exact physical dimensions, ratios, and specifications before purchasing:
| Joint Parameter | Proportional Formula | Nominal Dimension (250mm Log) | Tool Employed | Functional Performance |
|---|---|---|---|---|
| Hals (Throat Width) | 1/3 of total log diameter | 80mm – 85mm width | Crosscut saw + framing chisel | Primary vertical load-bearing core |
| Kinn (Cheek Angle) | 45° to 55° downward slope | 60mm height per cheek | Broadaxe (Skjeggøks) | Self-tightening wedge geometry |
| Dytte (Internal Tenon) | 1/4 of hals width | 20mm square × 25mm high | Corner chisel (Hjørnejern) | Prevents horizontal racking |
| Mosefar Depth | 1/5 of log thickness | 25mm parabolic depth | Hollowing adze (Skobble) | Insulation cavity for dry moss |
Practical Constraints
Every successful decoration project must account for physical and environmental constraints:
Complex Grain Torsion (Spiral Grain) in Scots Pine
Logs with severe spiral twist must be rejected; drying torque can twist the nov corner joints out of alignment.
Physical Fatigue from Heavy Hand Axe Hewing
Axe carving of dense resinous pine requires immense physical stamina, limiting master carpenters to setting 1 to 2 logs per day.
Execution Blueprint & Craftsmanship Sequence
Execute this professional sequence to achieve flawless results without backtracking:
Log Leveling and Corner Positioning
Rest the new log across the wall corners, securing with heavy log dogs (laftehake); check horizontal level along the entire centerline.
Rough Throat Notching (Grovhalsing)
Saw two vertical relief cuts to define the throat width; chop out waste wood with a felling axe to lower the log within 30mm of its final bed.
Meddrag Scriber Calibration
Set the meddrag scriber blade distance to exact vertical gap; verify both chisel blades are aligned in the same vertical plane with a plumb bob.
Full-Length Lateral Scribing
Draw the meddrag along both sides of the log, maintaining the tool strictly vertical while scoring parallel guide lines along the entire length.
Kinn Slanted Cheek Dressing
Chop the 50-degree slanted cheeks (kinn) on the lower and upper logs using a sharp broadaxe, creating smooth planed wedge faces.
Mosefar Adzing and Test Seating
Hollow out the mosefar groove to the scribed lines with a curved adze; lower the log into position, checking for tight line contact along all seams.
Common Mistakes & Countermeasures
Avoid these costly errors that compromise aesthetics, ergonomics, and budget:
Holding the Meddrag Scriber at an Angle During Tooling
Carving the Mosefar Groove Too Shallow
Project Execution Checklist
Track your physical progress. Checkboxes persist automatically on this device:
Frequently Asked Questions
Why does a meddrag tool have two cutting blades instead of a pencil?
Pencil lines are thick, smudge on wet wood, and can wash away in rain. Steel scriber blades cut a physical micro-groove into the wood grain that remains visible and provides a precise mechanical stop for the carpenter's axe.
Can chainsaw attachments replace traditional axes for cutting mosefar grooves?
While modern commercial builders sometimes use chainsaw curved attachments, the high-speed chain tears wood fibers open. Traditional hand adzes slice cleanly through fibers, sealing the wood surface against moisture penetration.


