
Moroccan Gebs carving achieves its breathtaking lace-like visual depth through specialized hand-forged chisels (minkash) and multi-tiered undercutting. By carving through three distinct spatial planes—raised geometric strapwork, mid-level floral arabesques, and a deep 25mm negative background—and beveling ribbon edges at a 60° reverse undercut, artisans make dense gypsum plaster appear weightless and floating.
At a Glance: Key Takeaways
- Primary Tool: Hand-forged carbon steel minkash (gouge, skew chisel, and curved point scriber).
- Tool Handle Morphology: Short bulbous olive-wood palm handles fitted snugly into the carver's palm.
- Tier 1 (Foremost Plane): Raised 0mm datum consisting of geometric star strapwork (khatam) and calligraphy.
- Tier 2 (Intermediate Plane): Recessed 8mm–12mm floral foliage (taous) and leafy tendrils.
- Tier 3 (Deep Background): Excavated 20mm–28mm deep negative background voids casting deep shadows.
- Undercut Angle: 60° reverse chamfer along ribbon edges trapping courtyard ambient light.
- Calligraphic Styles: Floriated Kufic with interlaced ascenders and cursive royal Thuluth.
The Minkash Toolkit: Metallurgy and Edge Geometry
A Moroccan plaster carver's toolkit is personal and sacred, frequently inherited across generations. Known collectively as minkash (or manqash), the tools are hand-forged by medina blacksmiths from recycled carbon steel files or automotive leaf springs.
Unlike European woodworking gouges with long handles, the minkash features an ultra-short steel shank (60mm–80mm) set into a rounded olive or lemon wood handle that rests inside the carver's palm. This allows the artisan to slice plaster with the micro-control of a surgeon. The cutting edges are honed to an acute 18° bevel on oil-stones; steeper bevels crush the delicate gypsum crystals, while flatter bevels curl and dull.
The 3-Tier Depth Hierarchy: Engineering Architectural Shadow
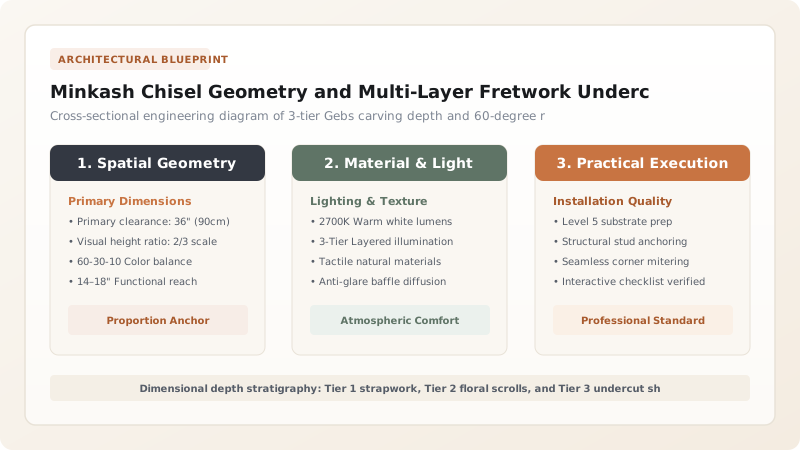
To transform a flat 25mm plaster bed into a dynamic three-dimensional screen, the maalem carves through three strictly calculated depth planes:
- Tier 1 (Surface Plane - 0mm to 3mm): The highest continuous plane. Contains the primary geometric star strapwork ribbons and Kufic letter stems. Edges are carved with delicate 45° chamfers to catch angled sunlight.
- Tier 2 (Mid-Plane - 8mm to 12mm depth): The secondary layer. Hollowed out beneath the primary ribbons, this plane features intricate scrolling arabesque leaves, palmettes, and floral vines.
- Tier 3 (Void Plane - 20mm to 28mm depth): The deepest excavated background. Formed by cutting straight down to the base coat, this layer forms a velvety dark shadow pocket that makes the upper white lace pop in high visual contrast.
Reverse Undercutting: The Illusion of Floating Lace
The technical signature of the highest-grade Moroccan Gebs is reverse undercutting (tajwif). If the carver leaves vertical 90° sidewalls along the strapwork ribbons, the plaster appears heavy and monolithic.
Instead, the maalem tilts the curved minkash gouge and carves inward beneath the ribbon edges at an acute 60° reverse angle. By removing the supporting plaster from beneath the raised geometric bands, the carver creates true three-dimensional filigree lace that appears to float freely several centimeters proud of the structural wall.
Minkash Tool Typology and Dedicated Carving Roles
Use this reference table to calculate exact physical dimensions, ratios, and specifications before purchasing:
| Tool Name | Blade Profile | Cutting Bevel Angle | Primary Carving Operation |
|---|---|---|---|
| Minkash Qati' | Straight skew chisel (6mm–12mm) | 18° single bevel | Incising straight geometric boundary lines |
| Minkash Hilali | Curved crescent gouge (#5 sweep) | 20° outside cannel | Excavating floral petals and circular arcs |
| Minkash Mukhraz | Needle-point triangular scriber | 15° sharp point | Puncturing micro-holes and layout scribing |
| Minkash Mujawwaf | Deep U-spoon gouge (#9 sweep) | 22° inside bevel | Undercutting reverse angles beneath ribbons |
| Malsada | Curved polished steel burnisher | Blunt radius edge | Polishing raised ribbon chamfers to ivory sheen |
Practical Constraints
Every successful decoration project must account for physical and environmental constraints:
Cramped scaffolding postures requiring the carver to hold arms above shoulders for 8 hours
Mitigation: Erect ergonomic stepped wooden work platforms allowing the maalem to carve at comfortable chest-height levels.
Execution Blueprint & Craftsmanship Sequence
Execute this professional sequence to achieve flawless results without backtracking:
Scribe Geometric Grid Lines into Damp Plaster
Score 1mm boundary lines directly into leather-hard plaster using steel dividers and straightedge.
Incise Vertical Stop-Cuts Along Contours
Slice straight down 5mm with Minkash Qati' along all strapwork margins, severing surface fibers.
Excavate Deep Negative Ground (Tier 3)
Hollow out background voids to 22mm depth using deep U-gouges, clearing waste with sweeping wrist motions.
Model Intermediate Floral Arabesques (Tier 2)
Carve scrolling leaves, palmettes, and vine stems at 10mm depth within recessed compartments.
Execute 60-Degree Reverse Undercuts Beneath Ribbons
Slide curved gouge beneath primary geometric bands, hollowing out rear underside to create floating lace effect.
Burnish Ribbon Crests with Steel Malsada
Stroke raised ribbon ridges with polished steel burnisher, compressing surface crystals into an ivory-like satin luster.
Common Mistakes & Countermeasures
Avoid these costly errors that compromise aesthetics, ergonomics, and budget:
Waiting too long to carve until the plaster begins its final chemical set
Carving without establishing stop-cuts along boundary lines
Project Execution Checklist
Track your physical progress. Checkboxes persist automatically on this device:
Frequently Asked Questions
How do Moroccan carvers achieve flawless symmetry without printed stencils?
Master maalems rely on mental geometry and the Hasba system: by using proportional steel compass dividers, every star rosette and intertwining band is derived mathematically from concentric circles scribed directly on the damp wall.
Can broken undercut plaster lace be glued back onto the wall?
Yes. Conservators use a paste of fine calcined gypsum mixed with 3% warm rabbit-skin glue or reversible acrylic resin (Paraloid B-72) to re-attach fractured lace fragments invisibly.


