
The structural backbone of every traditional Japanese fusuma sliding partition is the honegumi—a lightweight, rigid internal grid frame crafted from quarter-sawn Japanese cedar (sugi) or cypress (hinoki). Composed of outer perimeter stiles and an internal matrix of slender laths (12mm x 18mm) notched together with precision half-lap friction joints, the honegumi provides extraordinary dimensional stability while weighing less than 3 kilograms. Once assembled, the wooden frame is transformed into a hollow composite torsion box through shitabari: five to seven progressive stages of hand-pasted washi paper applied in alternating grain directions. As the wet wheat starch paste dries, the paper contracts symmetrically on opposing faces, placing the internal cedar laths in uniform pre-stress tension.
At a Glance: Key Takeaways
- Timber Species: Rift-sawn, straight-grained Japanese red cedar (sugi) or white cypress (hinoki).
- Lath Cross-Section: 12mm face width x 18mm depth, balancing lateral rigidity with minimal dead weight.
- Grid Spacing: 30mm to 45mm on center, forming a matrix of approximately 400 open air cells per door.
- Half-Lap Friction Notches: Machine-sawn and chisel-trued notches assembled without glue or metal fasteners.
- Tension Papering Sequence: Hone-shibari -> Do-bari -> Mino-bari -> Mino-osae -> Fukuro-bari -> Uwa-bari.
- Symmetric Pre-Stress: Equal paper tension on both sides preventing warping under ambient humidity swings.
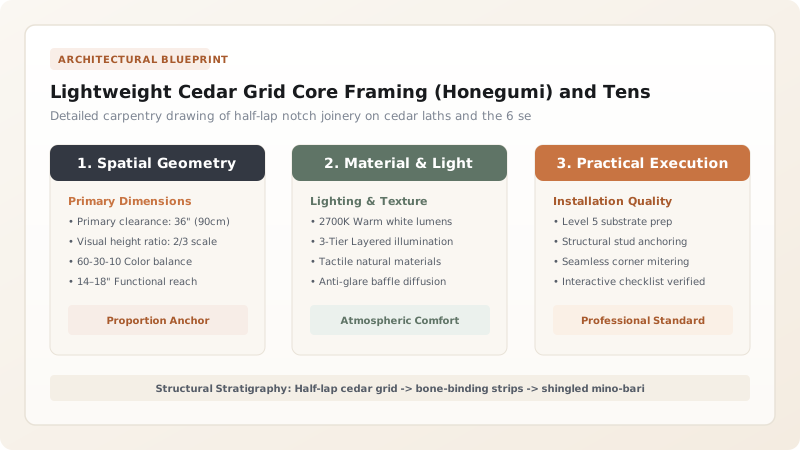
1. Timber Selection and Half-Lap Joinery of the Cedar Honegumi Grid
The performance of a fusuma sliding door over decades of seasonal humidity depends entirely on the stability of its wood. Craftsmen use strictly quarter-sawn, rift-cut Japanese cedar (sugi) with tight, parallel growth rings (minimum 8 rings per centimeter) sourced from mature mountain stands.
The outer border stiles (hone-gami) are 24mm thick, while the internal lattice bars (koshi) are milled to 12mm wide by 18mm deep. Using a gang-saw or precision handsaw, half-depth notches (9mm deep) are cut into horizontal and vertical bars. When pressed together on a flat granite table, the joints seat with a snug friction fit. No glue or metal brads are used inside the grid; the joinery allows minute microscopic movement that relieves internal stresses as the wood breathes.
2. Shitabari: The Multi-Stage Tension Papering Architecture
Applying the sub-papering (shitabari) is an art of progressive tension management requiring 5 to 7 distinct layers:
- Hone-shibari (Bone Binding): Narrow 25mm strips of raw kozo paper are pasted along the narrow edge of every cedar bar with thick wheat starch paste. This seals the wood fibers and prevents wood resins from bleeding through to outer paper layers.
- Do-bari (Body Layer): Full-width sheets of unbleached mulberry paper are laid across the grid, pasted along all edges to form the primary diaphragm.
- Mino-bari (Raincoat Layer): The defining acoustic and tactile secret of the fusuma. Rectangular sheets of soft, loosely beaten washi are torn by hand (leaving feathered edges) and pasted in overlapping tiers like shingles. Only the top 10mm of each sheet is glued; the bottom 90% hangs free. This creates an internal pocket of air and soft paper fibers that absorbs sound waves and cushions accidental knee knocks.
- Mino-osae (Raincoat Restraint): A continuous light sheet pasted over the mino layer to secure the free-floating shingles in place.
3. Fukuro-bari (Bag Papering) and the Physics of Symmetric Drying Tension
The final under-layers before the decorative surface are two coats of fukuro-bari ('bag papering'). High-strength mulberry paper is prepared by applying a thin 15mm ribbon of paste strictly around its outer perimeter edges—the entire central expanse remains dry and completely unglued.
Artisans apply this bag sheet to both the front and back faces of the door simultaneously. As the perimeter paste sets, the craftsman mists both faces evenly with a fine water sprayer (kiri-fuki). As the wet cellulose fibers dry in ambient air, they shrink with immense tensile force ($>350 \text{ N/m}$). Because the paper is glued only at the edges and treated symmetrically on both faces, the door contracts into a perfectly flat, prestressed torsion diaphragm that will never warp, twist, or sag over decades of sliding action.
Honegumi Grid Specifications and Shitabari Papering Schedule
Use this reference table to calculate exact physical dimensions, ratios, and specifications before purchasing:
| Papering Stage | Paper Grade / Type | Adhesive Formulation | Application Area | Tensile Action |
|---|---|---|---|---|
| 1. Hone-shibari | Long-fiber raw kozo strips (30 g/m²) | Pure thick wheat starch (milgaru) | Pasted directly to cedar lath faces | Seals timber sap; isolates wood |
| 2. Do-bari | Medium unbleached washi (45 g/m²) | Standard wheat paste (1:3 dilution) | Full sheets stretched across grid | Creates preliminary shear plane |
| 3. Mino-bari (x2 tiers) | Soft, feathered-edge washi (40 g/m²) | Medium paste along top 10mm only | Shingled overlapping rows | Free-floating acoustic & thermal air cushion |
| 4. Mino-osae | Thin translucent washi (28 g/m²) | Light wheat starch wash | Full sheet over mino shingles | Restrains and flattens paper scales |
| 5. Fukuro-bari 1 | Heavyweight pure kozo (60 g/m²) | Perimeter 15mm glue band only | Floating bag layer over core | High shrinkage; creates drum-taut plane |
| 6. Fukuro-bari 2 | Heavyweight pure kozo (cross-grain) | Perimeter 15mm glue band only | Opposing grain direction bag layer | Balances cross-axis structural tension |
Practical Constraints
Every successful decoration project must account for physical and environmental constraints:
Controlled Humidity During Drying
High Labor Cost of Hand Shingling
Carpentry and Tension Papering Protocol for Fusuma Honegumi Core
Execute this professional sequence to achieve flawless results without backtracking:
Lath Resawing and Conditioning
Resaw aged rift-sawn cedar into 12 x 18mm laths; store in workshop for 14 days to stabilize equilibrium moisture content at 10%.
Precision Half-Lap Notching
Gang-cut 9mm deep matching notches across all laths using fine-toothed Japanese saws and truing jigs.
Friction Grid Assembly
Interlock vertical and horizontal laths on a dead-flat assembly bench; tap joints flush with wooden mallets without adhesive.
Stile Tenoning and Squaring
Fit 24mm outer perimeter stiles using blind mortise-and-tenon joints; verify diagonal squareness within 0.5mm.
Hone-shibari Lath Taping
Brush thick starch paste onto cedar edges; lay 25mm washi tape along every lath, burnishing down with bamboo bones.
Mino-bari Shingle Layering
Paste two tiers of feather-edged paper shingles, gluing only upper tabs to establish the internal floating cushion.
Fukuro-bari Bag Papering and Misting
Apply perimeter-glued bag sheets to both faces; spray evenly with fine water mist; allow to dry slowly overnight in shaded workshop.
Common Mistakes & Countermeasures
Avoid these costly errors that compromise aesthetics, ergonomics, and budget:
Gluing paper sheets entirely across the center of the grid
Papering one face and allowing it to dry before papering the opposite face
Using flat-sawn cedar with curved growth rings for the laths
Project Execution Checklist
Track your physical progress. Checkboxes persist automatically on this device:
Frequently Asked Questions
Why is the internal grid called 'honegumi' (bone assembly)?
The term literally translates to 'bone framework.' In Japanese anatomical craft metaphor, the cedar lattice is the skeleton (bone), the multi-layered shitabari papering is the muscle and fat cushion, and the outer Karakami paper is the delicate, radiant skin.
Why are the mino-bari paper shingles torn by hand instead of cut with a knife?
Tearing washi paper along a wet fold leaves long, soft, feathered cellulose fibers along the edge. When layered like feathers, these feathered edges blend invisibly without creating sharp ridges that would telegraph through the outer finish paper.
What happens if a fusuma door warps after installation?
Master fusuma craftsmen correct slight bowing by lightly misting the concave side with clean water and applying gentle counter-weight overnight. As the wet paper fibers re-tension under drying, the door pulls itself back into perfect plumb flatness.


