
Irish dry stone walls achieve structural equilibrium without mortar through two distinct typologies: the Double Wall (two battered outer stone faces sandwiching an interlocked hearting core) and the Single-Stone Wall (large boulders balanced in a single plane). Both systems rely on gravity vectors and inward batter angles (1:6) to channel all loads downward and inward into a self-tightening structural unit.
At a Glance: Key Takeaways
- Wall Typologies: Double Wall (Balla Dúbailte) and Single Boulder Wall (Balla Singil)
- Batter Angle: 1:6 to 1:8 inward slope (approx. 7°–10° from vertical)
- Base-to-Height Ratio: Base width is typically 50% to 60% of total wall height
- Through-Stone Interval: Every 1.0m horizontally at 50% and 75% wall elevation
- Hearting Ratio: Hearting constitutes 25% to 35% of total wall volume
- Seismic & Settlement: Absorbs ground subsidence and frost heaves without structural failure
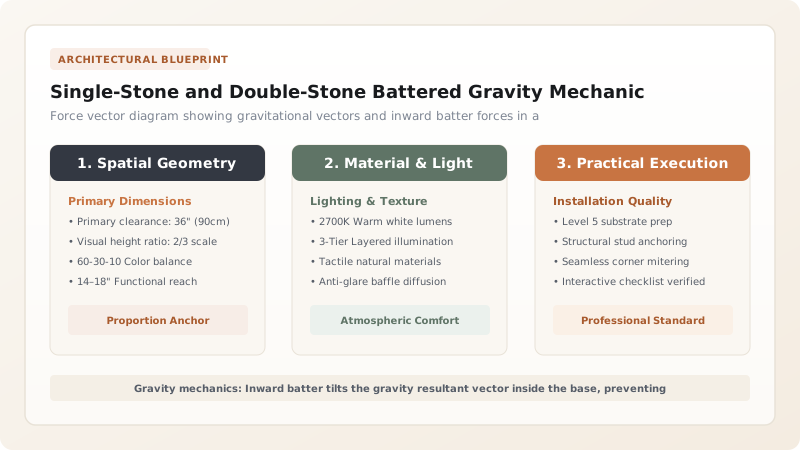
Vector Mechanics and the Inward Batter (1:6 Ratio)
In structural civil engineering, vertical unreinforced masonry walls are vulnerable to lateral overturning moments: wind pressure or animal shoving easily tilts the vertical center of gravity outside the footprint base, causing the wall to topple. Irish dry stone builders solved this by introducing the batter:
- The Inward Lean: Both faces of a double wall slope inward as they rise, narrowing from a wide base (typically 800 mm) to a narrow crest (typically 400 mm at a height of 1.4 meters).
- Gravity Vector Inversion: Because each stone is bedded perpendicular to the battered face, the gravitational weight vector does not point straight down to the soil; it points downward and inward toward the center of the wall.
- Continuous Core Compression: This inward vector continuously presses the outer stone faces against the angular hearting stones inside the core. The heavier the wall and the more stones are added above, the tighter the internal core is squeezed, creating an immovable self-tightening gravity structure.
Through-Stone Tensile Action and the Single-Stone System
Without horizontal ties, the two battered faces of a double wall would eventually separate under internal hydraulic hearting pressure. To eliminate this risk, builders incorporate through-stones (scraghs):
These are long, flat stones that span completely across the wall from the outer face to the inner face. Placed at roughly one-half and two-thirds the wall height, through-stones act as structural tie-rods. Their friction grip and deadweight lock the opposing face skins together, arresting lateral bulge.
In contrast, the Single-Stone Wall (Balla Singil) utilizes massive individual boulders that span the entire wall thickness in a single piece. Common in Connemara, single walls rely on the sheer deadweight of 200-kilogram granite blocks carefully notched into one another, providing an indestructible boundary that requires zero hearting.
Single-Stone and Double-Stone Battered Gravity Mechanics in Irish Walls Architectural Decision Matrix
Use this reference table to calculate exact physical dimensions, ratios, and specifications before purchasing:
| Structural Parameter | Double Wall (Balla Dúbailte) | Single Boulder Wall (Balla Singil) | Lace Wall (Feálach) |
|---|---|---|---|
| Base Width | 750–900 mm | 500–700 mm (Single stone) | 400–600 mm |
| Crest Width | 350–450 mm | 400–500 mm | 300–400 mm |
| Batter Ratio | 1:6 (Pronounced) | 1:10 (Subtle) | Near vertical with open gaps |
| Internal Hearting | Mandatory (Packed angular chips) | None (Solid stone body) | None (Open daylight gaps) |
| Through-Stones | Required every 1.0m | Integral (Every stone is a through) | None (Interlocking slabs) |
Practical Constraints
Every successful decoration project must account for physical and environmental constraints:
Foundation Soil Settlement
Cattle Impact Resistance
Erecting Batter Frames and Building a Double Wall
Execute this professional sequence to achieve flawless results without backtracking:
Batter Frame Setup
Erect two wooden A-frame batter profiles at opposite ends of the wall section, set to exact 1:6 inward slope; stretch guide stringlines between them.
Foundation Placement
Lay wide, heavy foundation stones along stringlines, bedding stones with their length pointing into the wall (heads out, tails in).
First Lift Coursing
Build courses up to 600mm height, crossing all vertical joints; tamp angular stone hearting chips tightly into center after every stone.
Through-Stone Tie Layer
Place large flat through-stones spanning the entire wall width every 1.0 meter horizontally, checking that through-stones bear evenly on both faces.
Second Lift to Crest
Continue building battered faces up to 1.2m height; finish with flat cover stones (cover band) to seal the hearting core from rain.
Comb Coping Installation
Pack heavy vertical stones on edge across the crest; drive wedge stones between them with a hammer until the coping acts as a rigid, monolithic arch.
Common Mistakes & Countermeasures
Avoid these costly errors that compromise aesthetics, ergonomics, and budget:
Laying stones with length parallel to the wall face (tracing)
Allowing through-stones to rock on a central high point in the hearting
Neglecting to tamp hearting chips tightly into every void
Project Execution Checklist
Track your physical progress. Checkboxes persist automatically on this device:
Frequently Asked Questions
What is the 'length into the wall' rule in dry stone walling?
Stones must always be laid with their longest dimension pointing into the thickness of the wall, rather than running parallel along the outside face. This anchors the stone deep into the hearting core, preventing it from ever being pushed or pulled out by livestock or gravity.
Why does a dry stone wall not collapse during heavy rainfall?
Unlike mortared walls that trap hydrostatic water pressure behind them until they burst, a dry stone wall is 100% free-draining. Torrential rainfall passes straight through the open-pore stone network without exerting any hydraulic pressure against the masonry.


