
Install a tongue and groove ceiling by running pre-primed pine or cedar V-groove planks perpendicular to ceiling joists. Blind-nail through the tongue at a 45-degree angle into joists using 2-inch 16-gauge nails, leaving a 1/4-inch expansion gap around the room perimeter.
At a Glance: Key Takeaways
- Blind Nailing: Fasten through the tongue at 45° so the next groove conceals the nail head completely.
- Directional Rule: Run planks perpendicular to ceiling joists for direct structural anchoring.
- Expansion Gap: Leave 1/4 inch around room perimeter (covered by crown moulding) for seasonal humidity movement.
- Material Choice: Clear pine, western red cedar (exterior/porch), or pre-primed MDF (interior).
In-Depth Guides in this Directory
Explore specialized subtopic blueprints, technical dimensions, and execution checklists:
V-Groove Wood Plank Ceilings: Pine vs Poplar & Blind Nailing
Master V-groove wood plank ceilings: chamfered edge profiles, pine vs poplar species selection, blind nailing techniques, and expansion joints.
Haint Blue Porch Ceilings: Historic Formulas, Lore & Exterior Care
Master Haint Blue porch ceilings: Gullah Geechee folklore history, paint color formulas (Palladian Blue, Rainwashed), insect deterrence science, and outdoor cedar care.
White Shiplap Ceiling Installation: Nickel Gaps & Pot Light Cutouts
Master white shiplap ceiling installation: 1/8-inch nickel gap spacers, hole-saw pot light cutouts, face-nailing patterns, and satin white finishing.
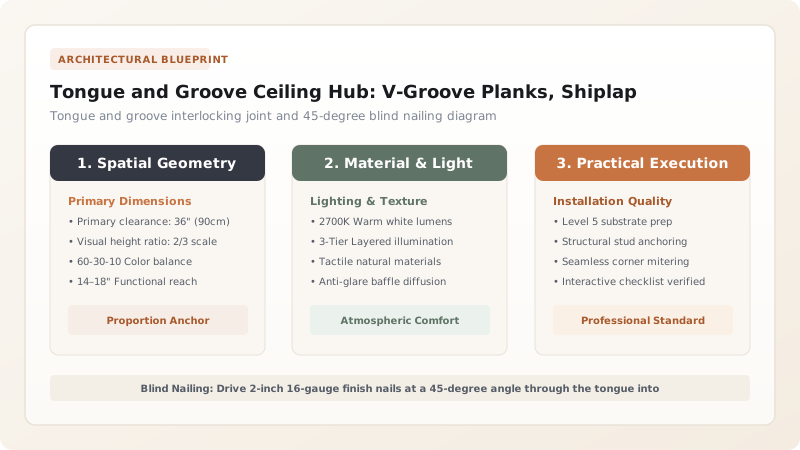
1. Interlocking Joinery & Blind Nailing Mechanics
Tongue and groove (T&G) ceiling planks feature a protruding 'tongue' along one edge and a recessed 'groove' along the opposite edge. This interlocking profile prevents planks from warping or cupping over time while hiding all fasteners through blind nailing.
Unlike flat shiplap that requires face nails through the front board (which must all be filled and sanded), T&G planks require zero face-nail filling when installed correctly.

Tongue and Groove Ceiling Plank Options
Use this reference table to calculate exact physical dimensions, ratios, and specifications before purchasing:
| Plank Profile & Species | Width Options | Moisture Resistance | Best Architectural Application |
|---|---|---|---|
| Clear Pine V-Groove (Stained) | 1x4 or 1x6 (5.25" face) | Moderate (Indoor dry rooms) | Rustic cabins, modern farmhouse vaulted ceilings |
| Western Red Cedar T&G | 1x4 or 1x6 | High (Natural rot/bug resistance) | Covered outdoor porches, sauna ceilings, bathrooms |
| Pre-Primed Pine / Poplar | 1x6 or 1x8 | Moderate (Requires paint seal) | Cottage kitchens, coastal living rooms |
| Engineered MDF Beadboard | 4x8 sheets or 1x6 planks | Low (Keep dry) | Budget powder rooms, laundry ceilings |
Wood Seasonal Expansion & Buckling Constraints
Every successful decoration project must account for physical and environmental constraints:
Planks Buckling and Popping Off Ceiling in Summer
Wood expands across its width in summer humidity; if planks are jammed tight against walls, the ceiling will buckle downward; leave a mandatory 1/4-inch expansion gap at all wall perimeters.
How to Install a Tongue and Groove Ceiling
Execute this professional sequence to achieve flawless results without backtracking:
Acclimate Planks 72 Hours
Store wood planks inside the room for 3 days to adjust to indoor humidity.
Snap Joist Chalk Lines
Locate and snap chalk lines across ceiling joists every 16 or 24 inches.
Install First Starter Plank
Face-nail starter plank with groove facing the wall (1/4" away from wall).
Blind-Nail Through Tongue
Drive 16-gauge nails at 45 degrees through tongue into each joist crossing.
Cover Perimeter with Moulding
Install cove or bed moulding along wall edges to cover the expansion gap.
Common Mistakes & Countermeasures
Avoid these costly errors that compromise aesthetics, ergonomics, and budget:
Installing Planks Parallel to Ceiling Joists Without Furring
Project Execution Checklist
Track your physical progress. Checkboxes persist automatically on this device:
Frequently Asked Questions
Can you install tongue and groove planks directly over existing drywall?
Yes! As long as you locate the ceiling joists with a stud finder and drive 2.5-inch finish nails through the drywall into the solid wood joists.


