
Construct the substrate for 24x24-inch nail-up tin ceiling tiles by screwing 1x3 kiln-dried furring strips spaced exactly 12 inches on-center perpendicular to ceiling joists. This ensures every tile edge lands on solid wood and provides a center nailing strip. Fasten tiles with 1-1/4" cone-head brad nails spaced every 6 inches along perimeter beads.
At a Glance: Key Takeaways
- 12-Inch On-Center Grid Standard: Provides solid wood backing along all 4 edges and down the center of each 24x24 tile.
- Perpendicular to Joists: Spanning across 16" or 24" joists ties ceiling framing together into a rigid, flat plane.
- Laser Level Shimming: Cedar shims inserted behind furring strips correct wavy, sagging joists before metal installation.
- Cone-Head Brad Nails (1-1/4"): Small barbed shank nails with decorative conical heads that blend into stamped metal beads.
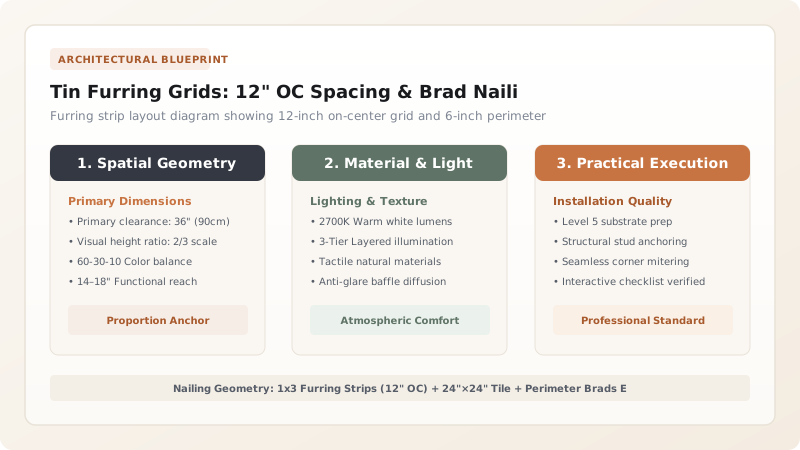
1. Grid Mathematics: The 12-Inch On-Center Modular Rule
Standard tin ceiling panels measure \(24\times24\text{ inches}\) (or \(600\times600\text{mm}\)). If furring strips are spaced at 24 inches on-center, the middle of the steel panel is completely unsupported, causing the metal to 'oil-can' (pop and bow downward) under air pressure changes.
Installing 1x3 Wood Furring Strips at exactly 12 inches on-center ensures that:
1. All four perimeter overlapping beads land solidly on a 2.5-inch wide wood strip.
2. A continuous wood strip supports the exact centerline of every tile, allowing center field nailing. For panel alignment, see overlapping bead joint alignment.

2. Brad Nailing Calculations: The 6-Inch Perimeter Fastener Rule
To prevent metal edges from curling or separating, fasteners must be driven in a strict mathematical sequence:
- Perimeter Overlap Seams: Drive cone-head brads every 6 inches (150mm) along all four interlocking beads.
- Center Field Nailing: Drive 4 additional brads into the center medallion/ribs at the 12-inch furring intersection.
Each 24x24 tile receives 20 total fasteners, creating a rigid, drum-tight ceiling that will never rattle. Explore protective coatings in metallic patina finishing techniques.
Tin Ceiling Furring & Fastener Specifications
Use this reference table to calculate exact physical dimensions, ratios, and specifications before purchasing:
| Component | Dimension Specification | Fastener Type & Spacing | Structural Purpose |
|---|---|---|---|
| Main Furring Strips | 1x3 Kiln-Dried Pine / Poplar (2.5" wide) | 2.5" Construction screws into joists | Carries all tile dead load & provides level plane |
| Perimeter Wall Furring | 1x3 Continuous along all walls | 2.5" Screws into wall top plates | Anchors metal crown cornices & fillers |
| Tile Edge Fasteners | 1-1/4" Barbed Cone-Head Nails | Every 6" along overlapping beads | Locks bead-and-button joints flush |
| Center Field Fasteners | 1-1/4" Cone-Head Nails | 4 Nails in central medallion | Prevents center oil-canning sag |
Joist Sag Wave Distortion Constraints
Every successful decoration project must account for physical and environmental constraints:
Wavy Ceiling Joists Telegraphing Uneven Dips Across Reflective Metal Tiles
Reflective stamped metal magnifies ceiling dips; snap a green laser line 1 inch below the lowest joist; insert tapered cedar shims behind 1x3 furring strips until the entire grid is dead-level to within 1/16" across 10 feet.
How to Install and Level a 12" OC Furring Grid
Execute this professional sequence to achieve flawless results without backtracking:
Snap 360° Laser Level Line Below Joists
Project laser line marking the bottom elevation of the 1x3 furring grid across all 4 walls.
Install Perimeter 1x3 Wall Ledger Strips
Screw continuous 1x3 furring strips around room perimeter into wall studs.
Layout 12" OC Grid Perpendicular to Joists
Mark 12-inch intervals along wall ledgers; span 1x3 strips across joists.
Shim Furring Strips Dead-Level
Drive 2.5" screws through furring into joists, inserting cedar shims to align with laser line.
Snap Chalk Alignment Centerlines on Furring
Snap perpendicular reference chalk lines down the center of the wood grid to guide tile placement.
Common Mistakes & Countermeasures
Avoid these costly errors that compromise aesthetics, ergonomics, and budget:
Using 1x2 Furring Strips Instead of 1x3 Strips
Project Execution Checklist
Track your physical progress. Checkboxes persist automatically on this device:
Frequently Asked Questions
Can you use a pneumatic 18-gauge brad nailer instead of hammer and cone-head nails?
Yes! An 18-gauge pneumatic brad nailer with 1-1/4" brads speeds up installation significantly. Set the compressor pressure to 70 PSI so nail heads seat flush without piercing through the thin 0.010" steel sheet.


