
Install an authentic embossed tin ceiling by screwing a 1x3 wood furring strip grid spaced 12 inches on-center across ceiling joists. Fasten 24x24-inch stamped 0.010-inch tin-plated steel panels starting from the center outward, overlapping the 1/4-inch perimeter beads, and nailing every 6 inches with cone-head brads.
At a Glance: Key Takeaways
- 0.010" Stamped Steel Standard: Heavy 29-gauge tin-plated steel stamped with 500-ton hydraulic dies for razor-sharp reliefs.
- 1x3 Wood Furring Strip Grid (12" OC): Provides solid wood nailing backing across every tile edge and center field.
- Overlapping Bead-and-Button Seams: 1/4-inch interlocking perimeter beads conceal joint lines seamlessly.
- Decorative Stamped Metal Cornices: Deep 4" to 9" metal crown moldings bridge the ceiling-to-wall corner transition.
- Antiqued Metallic Patinas: Hand-rubbed copper, pewter, oil-rubbed bronze, and vintage whitewash paint glazes.
In-Depth Guides in this Directory
Explore specialized subtopic blueprints, technical dimensions, and execution checklists:
Tin Furring Grids: 12" OC Spacing & Brad Nailing Math
Master tin ceiling wood substrate engineering: 1x3 furring strip grid layouts (12" on-center), 18-gauge cone-head brad nailing patterns (every 6"), leveling shims, and joist spans.
Tin Bead Seams: 1/4" Overlap Alignment & Corner Miters
Master tin ceiling bead-and-button joint alignment: 1/4" overlapping perimeter flange math, shingle-lap direction relative to entry sightlines, and 45° cornice miter corner blocks.
Antiqued Tin Patinas: Metallic Washes & Rust Defense
Master tin ceiling painting and patination: oil-rubbed bronze washes, dry-brushed copper highlights, chalky Victorian whitewash, clear lacquer sealing, and rust prevention.
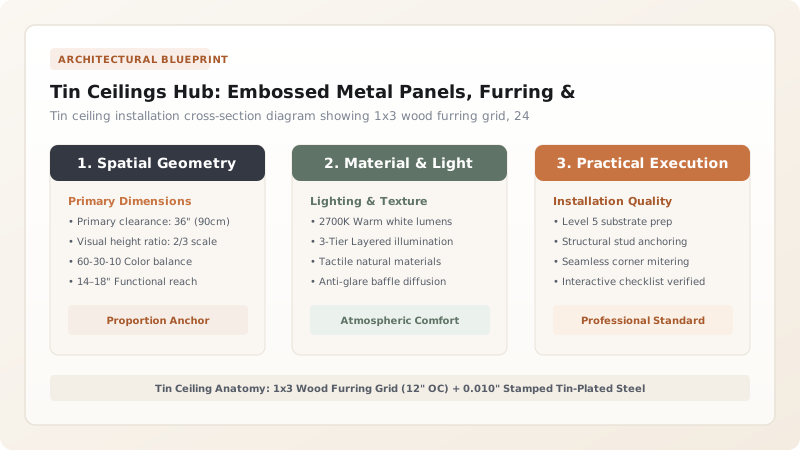
1. 1880s Victorian Craft: Stamped Metal vs Cheap Foam Tiles
Popularized in the 1880s as an affordable, fireproof alternative to expensive carved European plaster ceilings, Authentic Stamped Tin Ceilings are manufactured by pressing cold-rolled steel sheets under 500-ton hydraulic stamping presses.
Unlike modern glued foam plastic tiles that look like painted styrofoam and pose severe fire hazards, genuine steel tiles have crisp, razor-sharp architectural reliefs and Class A fireproof ratings. To plan furring grids, explore wood furring strip spacing math, and coordinate with Victorian Aesthetic Movement styling.

2. Nail-Up Furring Grids vs Drop-In T-Bar Systems
For residential installations, Nail-Up Panels fastened to a 1x3 wood furring grid provide a traditional monolithic, permanent ceiling with flush interlocking seams.
Lay panels starting from the center intersection outward toward walls, aligning the 1/4" overlapping bead joints away from primary room sightlines. Finish panels with antiqued copper or pewter patinas to prevent rust.
Tin Ceiling Installation Systems Comparison
Use this reference table to calculate exact physical dimensions, ratios, and specifications before purchasing:
| System Specification | Nail-Up Wood Furring Grid (Optimal) | Drop-In T-Bar Grid | Visual Authenticity |
|---|---|---|---|
| Backing Substrate | 1x3 Kiln-Dried Wood Furring (12" OC) | 15/16" Suspended Commercial T-Bar | Nail-up creates flush, seamless historic ceiling |
| Tile Edge Profile | 1/4" Overlapping Nail-Up Bead | Flat edge for T-bar flange drop | Nail-up conceals all fasteners |
| Ceiling Height Loss | Only 3/4 Inch (Furring thickness) | 3 to 6 Inches (Suspension wire) | Nail-up preserves maximum room headroom |
| Acoustic Performance | Reflective (Pairs with area rugs) | Moderate | Bright, lively acoustic room reflection |
| Fire Safety | Class A1 Non-Combustible Steel | Class A1 Steel | 100% Fireproof metal barrier |
Perimeter Cut Tile Pattern Chopping Constraints
Every successful decoration project must account for physical and environmental constraints:
Cutting 24x24 Patterned Tiles at Wall Leaving Ugly Sliced Floral Motifs
Cutting a complex floral embossed tile in half at wall edges looks chaotic; frame the perimeter with a 6-inch to 12-inch wide flat or micro-ribbed 'Filler Panel' band, allowing the center 24x24 embossed pattern to float in full, uncut symmetry.
How to Install a Nail-Up Tin Ceiling
Execute this professional sequence to achieve flawless results without backtracking:
Snap Chalk Centerlines on Ceiling Joists
Locate ceiling joists; snap square X and Y centerlines across the room with a chalk reel.
Screw 1x3 Wood Furring Strips at 12" OC
Fasten 1x3 furring strips perpendicular to joists with 2.5" screws, leveling with wood shims.
Nail Center Master Tile with Cone-Head Brads
Align first 24x24 tile dead-center; drive 1-1/4" cone-head brads every 6 inches along perimeter beads.
Overlap Bead Seams Shingle-Style
Set adjacent panels, overlapping the 1/4" beads with the overlap facing away from the entry door.
Install Flat Filler Panels Around Perimeter
Cut and nail flat textured metal filler sheets along wall borders to absorb dimensional variance.
Mount Stamped Metal Crown Cornice
Fasten 4" to 6" metal cornice moldings to wall and ceiling furring, capping corners with pre-formed corner blocks.
Common Mistakes & Countermeasures
Avoid these costly errors that compromise aesthetics, ergonomics, and budget:
Nailing Tin Panels Directly to Hollow Drywall Without Wood Furring
Project Execution Checklist
Track your physical progress. Checkboxes persist automatically on this device:
Frequently Asked Questions
Can tin ceiling tiles be installed in a bathroom?
Yes! When installing in a bathroom or humid area, specify aluminum or galvanized steel tiles, or seal both front and back of raw steel tiles with two coats of oil-based polyurethane or rust-inhibitive clear enamel.


