
Execute traditional heavy timber joinery using drawbored mortise-and-tenon joints: cut tenons to 1/3 of timber thickness (e.g. 2" tenon on 6" timber). Drill the peg hole through the mortise cheek, then mark the tenon and drill its hole offset 3mm (1/8") toward the shoulder. Drive a bone-dry 1" octagonal white oak peg to lock the joint permanently.
At a Glance: Key Takeaways
- The 3mm Drawbore Offset: Offsetting the tenon hole creates an elastic spring-clamp that pulls joints tighter over time.
- Octagonal Faceted Oak Pegs (*Trunnels*): 8-sided pegs crush into round holes, biting wood fibers with extreme friction grip.
- Kiln-Dried Peg Moisture (<8%): Pegs swell upon absorbing ambient humidity, locking the joint permanently without glue.
- Tenon Relishes & Shear Margins: Maintain at least 2 inches (50mm) of solid wood beyond the peg hole to prevent end-splitting.
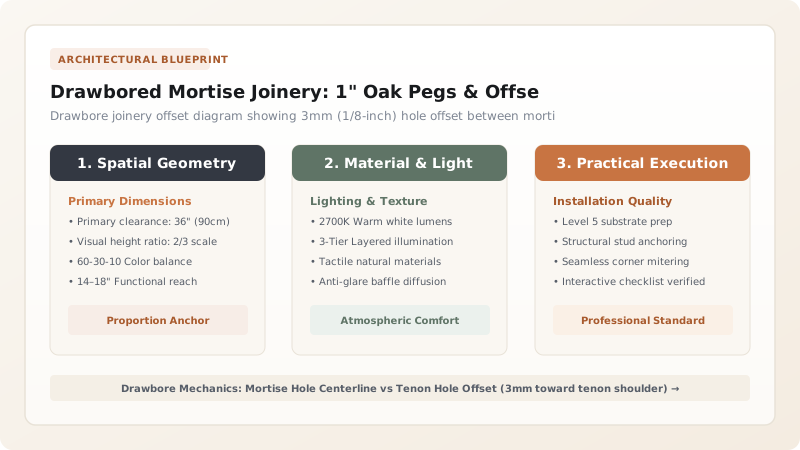
1. Timber Physics: The Drawbore S-Curve & Permanent Elastic Clamping
If you align peg holes straight through a mortise and tenon and drive a wooden pin, seasonal wood shrinkage will inevitably loosen the joint within 2 years, allowing the timber to rattle and rack.
In Drawboring, the hole through the tenon is deliberately offset 3mm (1/8 inch) closer to the tenon shoulder. When a dense 1-inch white oak peg is driven through with a heavy wooden mallet, the peg flexes into a subtle S-curve, pulling the tenon shoulder tight against the mortise with over 1,200 lbs of permanent spring tension.

2. Wood Species Selection: Straight-Grain White Oak vs Red Oak
Never use commercial birch dowels from hardware stores: dowels have cross-grain runout that snaps when bent through an offset drawbore hole. Master timber framers use Rived Straight-Grain White Oak (*Quercus alba*).
White oak contains natural Tyloses that block water absorption and resists rot. The pegs are dried to under 8% moisture content before driving into 15% moisture framing timbers. As the peg absorbs moisture from the surrounding timber, it swells tightly into the mortise hole, creating an unbreakable mechanical weld. Compare this with King post tension connections.
Timber Frame Peg Specifications by Timber Size
Use this reference table to calculate exact physical dimensions, ratios, and specifications before purchasing:
| Timber Cross-Section | Tenon Thickness | Peg Diameter & Species | Drawbore Offset Distance |
|---|---|---|---|
| 6" × 6" Timber Post | 1.5" (38mm) Tenon | 3/4" Octagonal White Oak | 2.5mm (3/32") Offset |
| 8" × 8" Principal Rafter | 2.0" (50mm) Tenon | 1.0" Octagonal White Oak | 3.0mm (1/8") Offset |
| 10" × 12" Heavy Tie Beam | 2.5" (65mm) Tenon | 1.0" Double Oak Pegs (Staggered) | 3.5mm (1/8") Offset |
| Commercial Dowels (FORBIDDEN) | Varies | Birch/Poplar dowels | FAILS: Snaps in half when driven |
Tenon End Blowout Relish Constraints
Every successful decoration project must account for physical and environmental constraints:
Offset Peg Splitting the End of the Tenon Tongue (Relish Blowout)
Drilling the peg hole too close to the tenon tip causes the peg to blow out the end of the tenon wood; always maintain a minimum of 2.0 inches (50mm) of solid wood relish between the peg hole and the end of the tenon.
How to Layout, Bore, and Peg a Drawbored Joint
Execute this professional sequence to achieve flawless results without backtracking:
Cut Mortise and Tenon to 1/3 Timber Thickness
Cut 2" tenon on 8x8 timber; cut matching 2" wide mortise to 5" depth using a chain mortiser or chisel.
Drill 1" Peg Hole Through Mortise Cheeks
Bore a clean 1-inch hole square through both sides of the mortise 2 inches from the housing shoulder.
Test Fit Tenon and Prick Centerpoint
Seat tenon fully in mortise; insert 1" brad-point bit into hole to prick the exact center on the tenon face.
Offset Hole 3mm Toward Tenon Shoulder
Remove tenon; measure 3mm (1/8") from the prick mark toward the shoulder and drill 1" hole through tenon.
Chamfer Tenon Hole Edges and Apply Wax
Bevel hole edges with a countersink; apply paraffin wax to a bone-dry 1" octagonal oak peg.
Drive Peg Home with Mallet
Reassemble joint and drive the oak peg with a wooden commander mallet until the shoulders clamp flush.
Common Mistakes & Countermeasures
Avoid these costly errors that compromise aesthetics, ergonomics, and budget:
Offsetting the Hole in the Wrong Direction (Away from Shoulder)
Project Execution Checklist
Track your physical progress. Checkboxes persist automatically on this device:
Frequently Asked Questions
Should oak pegs be cut flush or left proud?
Traditionally, pegs are trimmed leaving 1/2 to 3/4 inch proud of the timber face with chamfered pyramidal ends. This historic detail highlights the handmade craftsmanship of the timber frame.


