
Build heirloom tambour doors by milling solid hardwood slats (1/2" wide × 5/16" thick) with 15-degree beveled shoulders, clamping them tightly in a registration jig, and gluing them to 10oz unbleached cotton duck canvas using flexible PVA adhesive. Guide the door along a 5/16" wide × 3/8" deep routed spiral track lubricated with pure paraffin wax.
At a Glance: Key Takeaways
- Zero-Clearance Kinetic Movement: Slats roll effortlessly around interior cabinet perimeters, eliminating outward swinging door clearance.
- 10oz Unbleached Cotton Duck Canvas: High-tensile woven backing withstands hundreds of thousands of flex cycles without tearing.
- 15° Slat Shoulder Chamfers: Allows slats to articulate smoothly around tight 2-inch track radii without edge pinching or jamming.
- Continuous Spiral / J-Track Routing: Precision 5/16" U-grooves guide tambour slats smoothly into hidden storage cavities.
- Torsion Spring & Counterbalance Systems: Heavy vertical appliance garage tambours utilize spring-loaded counterbalances for weightless lifting.
In-Depth Guides in this Directory
Explore specialized subtopic blueprints, technical dimensions, and execution checklists:
Tambour Slats: 10oz Canvas Gluing & Chamfer Profiles
Master handmade tambour door slat fabrication: continuous hardwood grain matching, 15° chamfered articulation shoulders, 10oz duck canvas backing, and flexible glue application.
Tambour Tracks: Spiral Geometry & Paraffin Friction Wax
Master tambour track routing kinematics: logarithmic spiral and 2" radius J-track geometry, 5/16" U-channel clearances, template routing, and solid paraffin friction lubrication.
Appliance Garages: Vertical Springs & Counterbalances
Master vertical kitchen appliance garage tambour engineering: constant-force spring counterbalances, spiral torsion spools, door weight load calculations (W = m*g), and Häfele hardware.
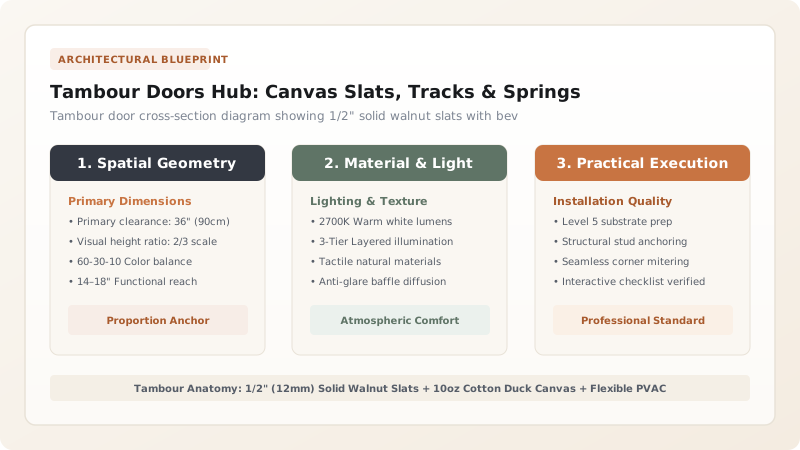
1. Millwork Craftsmanship: 10oz Cotton Canvas Backing & Slat Bevels
Originating in 18th-century French bureau à cylindre roll-top desks, Tambour Doors solve tight space constraints by rolling a flexible wooden curtain around interior tracks.
Individual slats are precision-milled from Solid Walnut, White Oak, or Maple (1/2" wide × 5/16" thick) with a 15-Degree Chamfer on the back edges. Slats are bonded to 10oz Unbleached Cotton Duck Canvas. Master fabric gluing in canvas-backed slat fabrication and flexible gluing and compare with dovetail custom cabinetry.

2. Spiral Track Geometry & Vertical Counterbalance Springs
Tambours must navigate sharp 90-degree corners without binding. Tracks are routed as a Continuous J-Shape or Logarithmic Spiral lubricated with paraffin wax.
Master track layout in routed curved spiral tracks and friction wax and engineer vertical doors in appliance garage counterbalance springs.
Tambour Fabrication Methods Comparison
Use this reference table to calculate exact physical dimensions, ratios, and specifications before purchasing:
| Fabrication Method | Flexibility & Radius | Durability & Longevity | Aesthetic Customization |
|---|---|---|---|
| Canvas-Backed Solid Hardwood (Optimal) | Tight (Down to 1.5" radius) | 100% Heirloom (50+ years / Repairable) | 5 / 5 (Grain-matched custom hardwoods) |
| Machined Ball-and-Socket Interlocking Wood | Moderate (Requires 3"+ radius) | High (No canvas / Machined wood joints) | 4 / 5 (Traditional roll-top desks) |
| Plastic / Extruded Vinyl Tambour Slats | Tight (1" radius) | Moderate (Plastic embrittles over time) | 2 / 5 (Commercial utility only) |
| Anodized Aluminum Slat Profiles | Moderate (2" radius) | High (Modern industrial) | 3 / 5 (Modern kitchen appliance garages) |
Glue Bleed Between Slats Rigid Lock Constraints
Every successful decoration project must account for physical and environmental constraints:
Glue Squeezing Between Slat Faces Gluing Neighboring Slats Together Solid
Excess glue squeezing between slat edges locks them into a rigid flat board that cannot flex around curved tracks; clamp slats tightly face-to-face in a framing jig, apply glue strictly to canvas with a short roller, and immediately flex the tambour curtain over a curved cylinder while glue is tacky.
How to Mill, Fabricate, and Install a Custom Tambour Door
Execute this professional sequence to achieve flawless results without backtracking:
Mill Hardwood Slats to Exact 1/2" Width and 5/16" Thickness
Rip and plane solid hardwood slats; rout 15° chamfer along bottom rear corners to allow inward articulation.
Build Slat Alignment Clamping Jig with Registration Stops
Construct flat plywood bed with square side fences; clamp all slats tightly face-to-face with wedge clamps.
Cut 10oz Heavy Cotton Duck Canvas to Size
Cut canvas 1 inch shorter than slat length (leaving 1/2" bare wood tenons on top and bottom ends for tracks).
Apply Flexible PVA Adhesive to Canvas and Brayer Flat
Roll thin coat of Titebond liquid hide glue or flexible bookbinding PVA onto canvas; press onto slats with brayer roller.
Flex Door Over 4" Diameter Pipe While Drying
After 20 minutes, remove from jig and roll curtain around a PVC pipe to ensure zero glue bridge adhesion between slats.
Rout 5/16" Wide × 3/8" Deep Curved Tracks in Cabinet Sides
Use plunge router and guide bushing with template to cut smooth 2" radius J-tracks in left and right cabinet walls.
Lubricate Tracks with Paraffin Wax and Slide Tambour in Place
Rub solid paraffin canning wax generously into routed grooves; slide tambour tenons into track and attach lead handle.
Common Mistakes & Countermeasures
Avoid these costly errors that compromise aesthetics, ergonomics, and budget:
Covering the Entire Width of Slats with Canvas
Project Execution Checklist
Track your physical progress. Checkboxes persist automatically on this device:
Frequently Asked Questions
What is the best lubricant for wooden tambour door tracks?
Pure paraffin canning wax or beeswax is the best lubricant. Never use oil, grease, or WD-40 in wooden tracks, as oils soak into the timber, attract dust, and cause wood fibers to swell and seize.


