
Fabricate custom tambour door panels by ripping consecutively numbered hardwood slats (1/2" wide × 5/16" thick) from a single wide plank to preserve grain flow. Rout a 15-degree chamfer on both bottom edges, clamp tightly in a squaring jig, and bond 10oz cotton duck canvas using flexible polyvinyl acetate (PVAC) or liquid hide glue applied with a rubber brayer.
At a Glance: Key Takeaways
- Consecutive Grain Matching: Numbering sequential saw cuts preserves natural cathedral grain patterns across the closed door.
- 15° Back-Relief Chamfers: Symmetrical 15° chamfers create a 30° triangular clearance gap between slats, allowing tight 1.5" radius bends.
- 10oz Heavy Duck Cotton Canvas: 100% natural unbleached cotton weave provides superior tensile strength and glue adhesion over synthetic nylon.
- Flexible PVAC / Hide Glue Formulation: Remains permanently pliable when cured, preventing brittle glue fracture under millions of bends.
- Curved Pipe Setting Protocol: Rolling the door around a 4-inch cylinder 20 minutes after gluing breaks any microscopic glue bridge bleed.
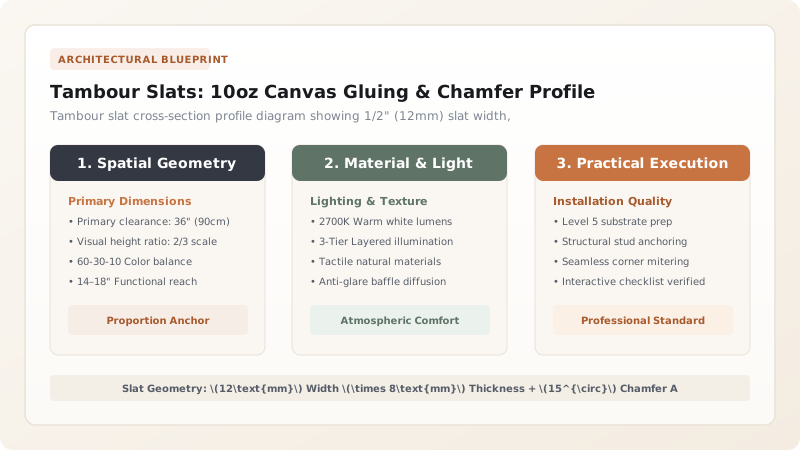
1. Millwork Engineering: Consecutive Plank Resawing & Slat Chamfer Profiles
In high-end architectural credenzas, random non-matching slats look disjointed and chaotic. Master craftsmen rip all tambour slats from a Single Wide Plank of Quarter-Sawn Lumber.
Number each slat sequentially with chalk. Mill each slat to 1/2" (12mm) wide by 5/16" (8mm) thick with a 15-Degree Chamfer on both bottom rear edges. This provides mechanical clearance for the slats to roll around tight 1.5-inch radius corners without binding. Learn track routing in curved spiral track geometry.

2. Textile Chemistry: 10oz Duck Canvas Bonding & Flexible Adhesives
Synthetic polyester or nylon fabrics stretch under load and fail to absorb wood glue, causing slats to peel off over time. Master cabinetmakers use 10oz Unbleached Cotton Duck Canvas.
Apply Liquid Hide Glue or Flexible Bookbinding PVA with a Rubber Brayer Roller under heavy pressure. Review vertical counterbalances in appliance garage counterbalance springs and explore tambour doors hub.
Tambour Backing Materials Comparison
Use this reference table to calculate exact physical dimensions, ratios, and specifications before purchasing:
| Backing Material | Tensile Strength & Stretch | Glue Adhesion Reliability | Flexural Fatigue Life |
|---|---|---|---|
| 10oz Unbleached Cotton Duck Canvas (Optimal) | Zero Stretch / High Tensile | 100% Permanent Fiber Lock (Hide/PVA) | 500,000+ Cycles (Lifetime durability) |
| Heavy Linen Webbing Strips | Zero Stretch | High Adhesion | 300,000 Cycles (Traditional French) |
| Synthetic Nylon / Polyester Mesh | Stretches 5%–10% under load | Poor (Glue peels off plastic fibers) | FAILS: Slats sag and misalign in tracks |
| Paper-Backed Kraft Webbing | Tears easily under tension | Moderate | FAILS: Rips along flex folds |
Fabric Shrinkage Puckering Constraints
Every successful decoration project must account for physical and environmental constraints:
Raw Cotton Canvas Absorbing Water from Glue Shrinking and Puckering Slats
Water in liquid glue causes raw cotton canvas to shrink 3%–5% as it dries, pulling slats into an uncontrollable concave warp; always pre-wash and iron cotton duck canvas to pre-shrink the fibers completely before cutting and gluing to wood.
How to Prepare, Clamp, and Canvas-Glue Tambour Slats
Execute this professional sequence to achieve flawless results without backtracking:
Pre-Wash and Iron 10oz Cotton Duck Canvas
Wash raw canvas in warm water and iron flat to eliminate all residual manufacturing sizing and fiber shrinkage.
Rip Slats Consecutively from Numbered Hardwood Plank
Cut 1/2" wide × 5/16" thick slats on table saw using thin-kerf blade; number each slat sequentially.
Rout Symmetrical 15° Relief Chamfers on Bottom Rear
Pass slats through router table with 15° chamfer bit to mill 1/16" relief angle on both bottom rear edges.
Clamp Slat Array Tightly into Squaring Bed Jig
Arrange slats face-down in sequential order; clamp tightly with wooden wedges until zero light passes between slats.
Apply Thin Uniform Coat of Flexible PVA or Hide Glue
Roll glue thinly onto back of slats, leaving 1/2" bare wood on top and bottom tenon ends.
Roll Pre-Shrunk Canvas onto Slats with Hard Rubber Brayer
Lay canvas smoothly over wet glue; roll firmly with brayer from center outward to expel air bubbles.
Wrap Around 4" PVC Pipe After 20 Minutes to Prevent Jamming
Unclamp tacky curtain and flex around 4" pipe to crack open any microscopic glue lines; let cure 24h.
Common Mistakes & Countermeasures
Avoid these costly errors that compromise aesthetics, ergonomics, and budget:
Using Polyurethane Gorilla Glue for Canvas Backing
Project Execution Checklist
Track your physical progress. Checkboxes persist automatically on this device:
Frequently Asked Questions
Can you make curved convex or concave fluted tambour slats?
Yes! The front visible face of the slats can be milled with half-round bullnose beads, triangular reeds, or concave flutes using dedicated router bits before gluing to the canvas backing.


