
Construct a Southwestern viga ceiling by mounting 8 to 10-inch diameter hand-peeled Ponderosa Pine log beams spaced 32 to 36 inches on-center, supported at wall connections by hand-carved wood corbels (*zapatas*). Fill the ceiling deck between vigas with 2-inch peeled aspen sapling poles (*latillas*) laid in a 45-degree herringbone pattern.
At a Glance: Key Takeaways
- 8" to 10" Round Peeled Vigas: Hand-peeled with a drawknife to retain the natural tree taper and irregular knot texture.
- Hand-Carved Zapatas (Corbels): Structural scroll brackets distribute heavy log dead-weight into adobe and frame walls.
- Herringbone Latilla Layout: 2" peeled aspen or red cedar saplings laid in alternating 45° diagonal chevrons.
- Kiln-Dried Moisture Control (<12%): Essential to prevent massive twisting and warping after installation.
- Natural Beeswax / Oil Patina: Hand-rubbed beeswax protects the pine while highlighting amber wood grain.
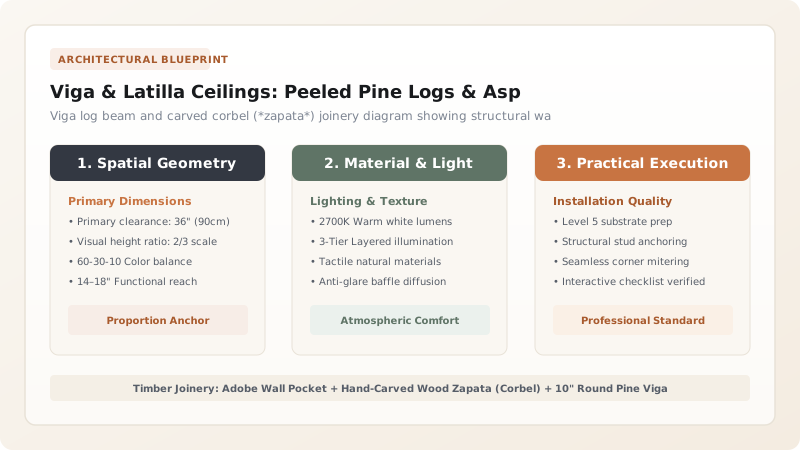
1. Timber Engineering: Log Taper & Heavy Dead-Load Spans
Unlike milled square lumber which is uniform, natural Ponderosa Pine Vigas are whole tree trunks with a natural taper of 1 inch in diameter for every 8 to 10 feet of length.
Traditional builders alternate the thick butt ends and narrow top ends of adjacent vigas across the room to keep the ceiling plane level. A 10-inch diameter × 18-foot pine viga weighs over 250 lbs: resting the beam ends on hand-carved wooden corbels (*zapatas*) increases the bearing surface area, preventing the heavy log from crushing wall framing.

Viga Diameter vs Clear Room Span Requirements
Use this reference table to calculate exact physical dimensions, ratios, and specifications before purchasing:
| Room Clear Span | Minimum Viga Diameter | On-Center Spacing | Corbel (*Zapata*) Length |
|---|---|---|---|
| 12 - 14 Foot Span | 8.0" - 9.0" Diameter | 32 Inches On-Center | 18" Long Carved Corbel |
| 16 - 18 Foot Span (Optimal) | 10.0" - 11.0" Diameter | 36 Inches On-Center | 24" Long Carved Corbel |
| 20 - 24 Foot Grand Room | 12.0" - 14.0" Diameter | 40 Inches On-Center | 30" Heavy Double Corbel |
| Small Powder Room / Hallway | 6.0" Diameter Poles | 24 Inches On-Center | Direct pocket mount (No corbel) |
Ceiling Insulation Condensation Constraints
Every successful decoration project must account for physical and environmental constraints:
Warm Interior Air Leaking Through Latillas and Condensing in Cold Roofs
Latilla branches have irregular air gaps; interior moisture leaks into the roof deck, rotting wood; install a continuous 6-mil poly vapor barrier and rigid polyiso insulation board above the latillas before roofing.
How to Install a Viga and Latilla Ceiling
Execute this professional sequence to achieve flawless results without backtracking:
Fasten Hand-Carved Corbels to Wall Plates
Lag-screw 4x8 carved wooden zapatas horizontally into wall top plates with 1/2" GRK structural screws.
Hoist and Level Round Pine Vigas
Lift 10" peeled vigas onto corbels, alternating butt ends and shimming to establish a level bottom line.
Drive 10" Structural Timber Screws
Countersink heavy 10" structural lag screws through the viga tops down into the corbels and wall framing.
Nail Aspen Latillas in 45° Herringbone
Nail 2" peeled aspen poles diagonally between vigas, reversing direction in alternating bays with finish brads.
Apply Natural Beeswax Finish
Rub vigas and latillas with natural beeswax and linseed oil to seal wood in warm honey amber tones.
Common Mistakes & Countermeasures
Avoid these costly errors that compromise aesthetics, ergonomics, and budget:
Installing Green (Wet) Freshly Cut Pine Vigas
Project Execution Checklist
Track your physical progress. Checkboxes persist automatically on this device:
Frequently Asked Questions
What is the difference between vigas and latillas?
Vigas are the massive, heavy primary structural round log beams (8" to 12" diameter) spanning across the room. Latillas are the small, thin secondary ceiling sapling poles (1.5" to 2.5" diameter) laid across the vigas to form the finished ceiling deck.


