
Achieve flawless shower niche tile layout by planning the tile grid BEFORE framing. Size the rough niche opening to match exact multiples of your tile size plus grout lines, ensuring the top, bottom, and side cuts land on full or half-tiles with zero 1-inch sliver cuts.
At a Glance: Key Takeaways
- Pre-Framing Tile Math: Calculate rough niche dimensions based on exact tile size + grout joints.
- Eliminate Sliver Cuts: Never allow tile cuts under 2 inches wide to border the niche perimeter.
- Schluter Jolly Edge Profiles: Sleek anodized aluminum profiles provide clean, modern 90-degree outer corner protection.
- Mitered Tile Edges: Precision 45-degree mitered porcelain edges create a monolithic continuous stone look.
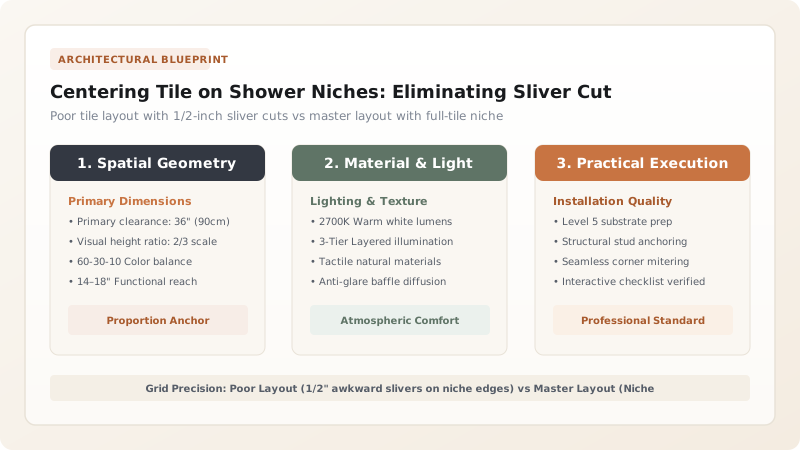
1. The Mathematics of Tile Modules & Grout Line Symmetry
In amateur tile jobs, the niche is framed at a random arbitrary height. When the tile setter works their way up the wall, a horizontal grout line lands 1/2 inch below the niche sill, forcing an ugly 1/2-inch sliver cut of tile around the niche perimeter.
Master tile contractors calculate the Tile Modular Unit (\(\text{Tile Height} + \text{Grout Line}\)). If using 3x12-inch subway tile with 1/16" grout (3.0625" module), the niche sill is framed at exactly 39.81 inches (13 full courses), ensuring a full, factory-finished tile edge forms the sill line.

Shower Niche Edge Finishing Profiles Comparison
Use this reference table to calculate exact physical dimensions, ratios, and specifications before purchasing:
| Edge Finish Style | Profile Material | Installation Complexity | Aesthetic Look |
|---|---|---|---|
| Schluter Jolly Metal Trim | Anodized Aluminum / Brass / Black | Moderate (Embedded in thin-set) | Clean, modern, crisp architectural line |
| Mitered 45° Tile Corners | Field tile cut at 45° angle | High (Requires wet saw miter jig) | Ultra-luxury seamless monolithic wrap |
| Traditional Ceramic Bullnose Tile | Curved glazed ceramic edge | Low (Standard matching trim) | Traditional classic (Matches subway tile) |
| Solid Slab Picture Frame Wrap | 3/4" Quartz / Marble slab border | High (Custom stone fabrication) | High-end luxury statement framing |
Porcelain Tile Glaze Chipping Constraints
Every successful decoration project must account for physical and environmental constraints:
Porcelain Tile Glaze Chipping on Mitered Niche Edges
Mitering glazed porcelain tiles to a razor-sharp 45-degree point causes chips; leave a 1/16" un-mitered flat 'feather lip' on the tile glaze edge and fill corner joint with color-matched epoxy grout.
How to Plan Tile Centering Around a Shower Niche
Execute this professional sequence to achieve flawless results without backtracking:
Calculate Tile Modular Size
Measure tile height and add grout spacer width (e.g. 3" tile + 1/8" grout = 3.125").
Calculate Exact Course Heights
Multiply module by course count to find perfect horizontal framing elevations.
Project Vertical Laser Centerline
Center vertical tile pattern on the niche or align niche border with full vertical tile.
Embed Schluter Jolly Profiles
Trowel thin-set and embed perforated wings of Jolly metal trim around outer niche edges.
Grout with Anti-Microbial Epoxy Grout
Fill all joints with 100% stain-proof epoxy grout (like Laticrete SpectraLOCK).
Common Mistakes & Countermeasures
Avoid these costly errors that compromise aesthetics, ergonomics, and budget:
Leaving Exposed Unfinished Raw Porcelain Tile Cuts on Niche Edges
Project Execution Checklist
Track your physical progress. Checkboxes persist automatically on this device:
Frequently Asked Questions
Can you use contrasting accent tile inside the back of the shower niche?
Yes! Lining the rear back wall of the niche with a contrasting mosaic tile (like marble herringbone or zellige tile) turns the niche into a beautiful decorative focal point.


