
Engineer a shower niche by framing a 14-inch wide by 24-inch tall opening between wall studs, positioning the bottom sill at 38 to 44 inches from the shower floor. Always install a solid quartz sill sloped 1/8-inch downward into the shower for positive drainage, centering surrounding tile to eliminate cut slivers.
At a Glance: Key Takeaways
- 14-Inch Stud Bay Width: Fits standard 16" on-center studs without cutting structural load-bearing framing.
- 1/8" Positive Shelf Slope: Bottom sill MUST slope 1/8-inch toward the shower to prevent stagnant standing puddles.
- Solid Quartz Sill: Solid stone slab eliminates grout lines on the bottom shelf where soap scum collects.
- Tile Grid Alignment: Position niche height so the bottom and top edges align with full, uncut tile courses.
In-Depth Guides in this Directory
Explore specialized subtopic blueprints, technical dimensions, and execution checklists:
Shower Niche Height & Sizing: 14" Stud Bays & 38-44" Elevations
Master shower niche sizing and height placement: 14-inch stud bay math, 38 to 44-inch standing elbow heights, 28-inch bathtub heights, and tall shampoo bottle clearances.
Niche Shelf Drainage Slopes: The 1/8" Forward Pitch Standard
Master shower niche water drainage engineering: the 1/8-inch forward pitch rule, preventing reverse slope mold, solid slab stone sills, and waterproof thin-set screeding.
Centering Tile on Shower Niches: Eliminating Sliver Cuts & Trim
Master tile layout grid planning around shower niches: eliminating 1-inch sliver cuts, full-tile framing symmetry, Jolly metal edge trim vs mitered tile, and laser layout math.
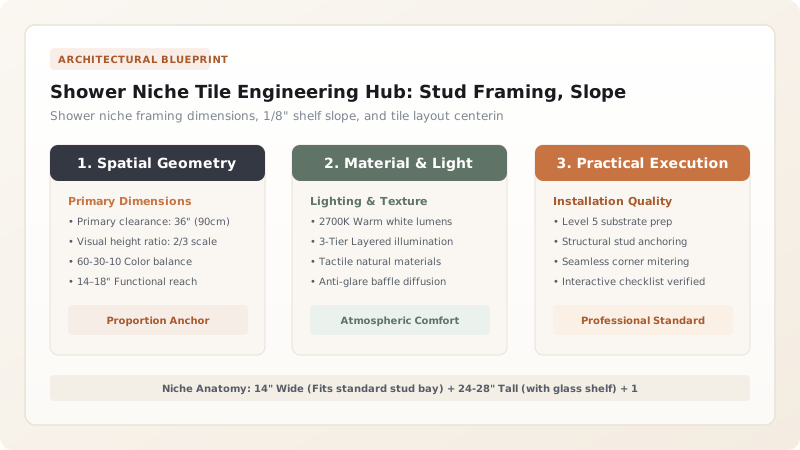
1. Hydrodynamics & The 1/8-Inch Positive Drainage Slope
The number one point of failure in shower construction is a flat or reverse-sloped shower niche sill. When water splashes into a level niche, surface tension traps water on the shelf. Within weeks, the bottom grout lines turn black with mold and slimy soap scum.
To guarantee permanent cleanliness, the bottom shelf must be installed with a strict 1/8-inch downward positive slope (approx. 2 degrees) toward the shower stall, paired with a solid 1-piece quartz or marble slab (zero grout joints).

Shower Niche Sizing & Framing Specifications
Use this reference table to calculate exact physical dimensions, ratios, and specifications before purchasing:
| Niche Format | Rough Framing Dimensions | Shelf Configuration | Stud Modification Needed |
|---|---|---|---|
| Single Stud Bay (Standard) | 14" W × 24" H × 3.5" D | 2 Tiers (1 Glass shelf) | Zero (Fits between 16" O.C. studs) |
| Wide Horizontal Double Bay | 28" - 32" W × 14" H × 3.5" D | Single wide open ledge | Requires header framing across 1 cut stud |
| Full-Height Vertical Column | 14" W × 48" H × 3.5" D | 3 Tiers (2 Glass shelves) | Zero (Fits between 16" O.C. studs) |
| Pre-Formed Waterproof Niche (Schluter) | 12" W × 20" H (Prefab foam) | Built-in foam shelf | Fast install; 100% pre-waterproofed |
Exterior Wall Insulation Freezing Constraints
Every successful decoration project must account for physical and environmental constraints:
Framing a Shower Niche on an Exterior Wall Freezing Pipes and Molding
Carving a niche into an exterior wall removes essential fiberglass insulation, causing the back of the niche to freeze in winter and condense black mold; strictly build shower niches on INTERIOR partition walls only.
How to Frame and Tile a Leak-Free Shower Niche
Execute this professional sequence to achieve flawless results without backtracking:
Frame 2x4 Horizontal Header & Sill
Screw 2x4 horizontal blocking between studs at 38" and 64" from shower floor.
Install Waterproof Backer Board
Line niche interior with 1/2" GoBoard or Wedi waterproof foam board.
Tape Seams with Waterproof Band
Apply waterproof sheet membrane (Schluter Kerdi-Band) over all inside 90-degree corners.
Set Solid Quartz Sill with 1/8" Slope
Trowel thin-set and press quartz sill, checking with torpedo level for 1/8" forward pitch.
Tile Walls Centered on Niche
Center surrounding wall tile pattern so full tiles frame the niche opening cleanly.
Common Mistakes & Countermeasures
Avoid these costly errors that compromise aesthetics, ergonomics, and budget:
Using Mosaic Tile with 20 Grout Joints on the Bottom Shelf
Project Execution Checklist
Track your physical progress. Checkboxes persist automatically on this device:
Frequently Asked Questions
What is the best height for a shower niche?
For walk-in showers, the bottom of the niche should be 38 to 44 inches from the floor (elbow height). If the shower has a combination bathtub, set the niche lower (28 to 32 inches) so it is reachable while seated in the tub.


