
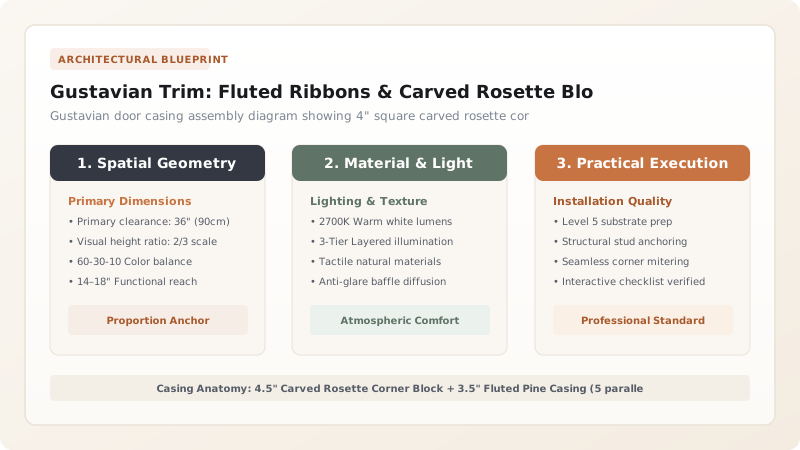
Build authentic Gustavian door and window casings by machining 3-1/2-inch wide pine casing featuring 5 parallel concave flutes. Butt the vertical and horizontal casings into 4-1/2-inch square hand-carved floral rosette corner blocks, resting the vertical jambs on 6-inch high beveled plinth blocks.
At a Glance: Key Takeaways
- 5-Flute Concave Ribbon Casing: Five parallel 3/8" semi-circular flutes cast rhythmic linear vertical shadows.
- Hand-Carved Floral Rosette Corner Blocks: Square 4.5" blocks featuring 8-petal rosettes or acanthus flower carvings.
- Elimination of 45-Degree Miter Joint Gapping: Square corner blocks allow square 90-degree butt joints that never open in winter.
- 6-Inch Beveled Plinth Blocks: Elevates wood casings above floor mop water and grounds baseboard transitions.
- Carved Laurel Leaf & Beaded Friezes: Intricate decorative relief bands running beneath ceiling crown moldings.
1. Classical Proportions: The 5-Flute Ribbon & Rosette Block System
In standard modern carpentry, door casings are joined with \(45^{\circ}\) miter joints that inevitably open up, crack, and gap as seasonal heating dries the wood.
Gustavian carpenters solved this by utilizing the Neoclassical Rosette Block System: vertical and horizontal 3-1/2" Fluted Casings (with 5 concave flutes) terminate into 4-1/2" Square Corner Rosette Blocks. The square \(90^{\circ}\) butt joints remain tight forever, regardless of humidity swings. Explore paint techniques in pale grey egg tempera paint recipes.

2. High Plinth Blocks & Laurel Garland Crown Friezes
At the floor transition, vertical fluted casings die cleanly into 6-inch Tall Beveled Plinth Blocks. This elevates the delicate fluting above floor scrubbing mops.
At the ceiling line, Gustavian rooms feature Carved Laurel Ribbon Friezes and Dentil Moldings. Learn floor treatments in potash lye scrubbed floors.
Gustavian Trim Components & Dimensions
Use this reference table to calculate exact physical dimensions, ratios, and specifications before purchasing:
| Trim Component | Standard Dimension | Carving Profile | Architectural Role |
|---|---|---|---|
| Fluted Door / Window Casing | 3.5" Wide × 3/4" Thick | 5 Parallel Concave Flutes | Linear frame around openings |
| Corner Rosette Block (Optimal) | 4.5" Square × 1.0" Thick | Hand-carved 8-petal floral star | Upper corner casing transition |
| Base Plinth Block | 4.0" Wide × 6.0" High × 1.0" Thick | Beveled top chamfer edge | Floor-to-baseboard transition |
| Laurel Ribbon Crown Frieze | 5.0" Wide × 3/4" Thick | Carved tied laurel leaf garland | Ceiling perimeter elegance |
Rosette Thickness Step Reveal Constraints
Every successful decoration project must account for physical and environmental constraints:
Corner Rosette Block Flush with Casing Creating Misaligned Seams
If the rosette block is the same thickness as the casing, any slight wall misalignment creates an ugly step; always machine the corner rosette block and plinth block 1/4" THICKER than the fluted casing (e.g. 1.0" rosette vs 3/4" casing) to create a crisp, purposeful 1/8" shadow reveal on all sides.
How to Machine, Carve, and Install Gustavian Trim
Execute this professional sequence to achieve flawless results without backtracking:
Mill 5-Flute Pine Casing Profiles
Run clear Scots pine boards through a molding shaper with a 5-flute concave cutter (3/8" flute width).
Dimension 1.0" Thick Square Rosette Blanks
Crosscut 4.5" × 4.5" square pine blocks planed to a full 1-inch thickness.
Hand-Carve Floral Rosette Motifs
Scribe circle, carve 8 radial petal troughs using #5 gouge, and hollow central button with #7 gouge.
Install 6" High Plinth Blocks at Base
Fasten plinth blocks plumb to floor framing using 2-1/2" finish nails and wood glue.
Install Rosette Corner Blocks at Door Tops
Fasten rosette blocks square to door jamb corners with 3/16" jamb reveal.
Cut and Butt Fluted Casings Tight
Square-cut vertical and horizontal fluted casings to length; butt flush between plinths and rosettes.
Common Mistakes & Countermeasures
Avoid these costly errors that compromise aesthetics, ergonomics, and budget:
Using Cheap Machine-Stamped Resin Rosettes Instead of Carved Wood
Project Execution Checklist
Track your physical progress. Checkboxes persist automatically on this device:
Frequently Asked Questions
Can you use fluted casings for baseboards in Gustavian decor?
No. Baseboards in Gustavian rooms are typically 6" to 8" tall flat boards capped with a small bead or ogee molding, allowing the vertical fluted door casings and plinths to stand out distinctly.


