
Polish Scagliola to a mirror shine by wet-grinding with natural sandstone to flatten the surface, then refining through 4 stages of natural volcanic pumice stone (240 to 800 grit) with clean water. Fill microscopic pinholes with tinted selenite slurry (*stuccatura*), buff with rottenstone powder (1500 grit), and hand-burnish with cold-pressed linseed oil and pure Carnauba wax.
At a Glance: Key Takeaways
- Seven Classical Polishing Stages: Sandstone \(\to\) Medium Pumice \(\to\) Grouting Slurry \(\to\) Fine Pumice \(\to\) Rottenstone \(\to\) Linseed Oil \(\to\) Carnauba Wax.
- Water Lubrication Physics: Continuous water flow cools the surface and floats away ground gypsum slurry, preventing surface gouging.
- The *Stuccatura* Slurry Grouting Phase: Applying fine liquid selenite slurry between polishing stages fills all microscopic air pinholes.
- Natural Rottenstone (*Tripoli Powder*): Microscopic decomposed limestone powder polishes gypsum crystals to high optical gloss.
- Hot Iron Wax Burnishing (*Lustratura*): Warming the carnauba wax with a heated brass iron melts wax deep into surface pores.
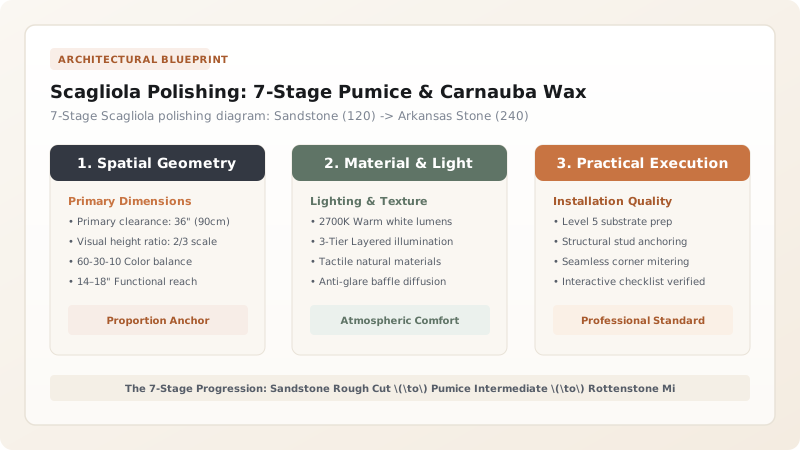
1. Abrasive Science: Sandstone Grinding & Volcanic Pumice Progression
Modern sandpaper degrades rapidly when wet-sanding Scagliola. Master craftsmen rely on Natural Volcanic Pumice Blocks (*Pietra Pomice di Lipari*) and Water.
The first pass with Coarse Sandstone (120 Grit) levels all dough seams dead-flat. Successive passes with Medium (400) and Fine (800) Pumice Stones eliminate sanding scratches while leaving the surface silky smooth. Learn dough creation in silk thread veining.

2. Pin-Hole Grouting (*Stuccatura*) & Carnauba Wax Burnishing
After initial grinding, microscopic pinholes appear where air was trapped in the dough. Artisans rub a Matching Tinted Plaster Slurry (*Stuccatura*) into the wet surface, let it cure, and regrind.
The final seal is achieved by rubbing Boiled Linseed Oil and Pure Carnauba Wax, creating a water-repellent, deep optical mirror finish. Review glue chemistry in hide glue binder science and explore Scagliola craftsmanship hub.
Scagliola 7-Stage Polishing Sequence
Use this reference table to calculate exact physical dimensions, ratios, and specifications before purchasing:
| Stage Number & Name | Abrasive / Material Used | Lubricant | Purpose & Surface State |
|---|---|---|---|
| Stage 1: Rough Leveling | Natural Sandstone Block (120 grit) | Copious Clean Water | Grind dough slices dead-flat |
| Stage 2: Medium Refining | Volcanic Pumice Stone (400 grit) | Clean Water | Erase coarse sandstone scratch lines |
| Stage 3: Stuccatura (Grouting) | Tinted Selenite Slurry | Hide Glue Water | Fill 100% of microscopic pinholes |
| Stage 4: Fine Pumice Stone | Fine Lipari Pumice (800 grit) | Clean Water | Smooth cured stuccatura flush |
| Stage 5: Rottenstone Buffing | Rottenstone (Tripoli 1500 grit) | Water / Light Oil | Develop high satin glow |
| Stage 6: Oil Saturation | Cold-Pressed Boiled Linseed Oil | Drop application | Deepen color richness and contrast |
| Stage 7: Carnauba Wax Buff | 100% Pure Brazilian Carnauba Wax | Wool felt pad | 100% Mirror-gloss protection |
Dry Sanding Friction Heat Damage Constraints
Every successful decoration project must account for physical and environmental constraints:
Using High-Speed Dry Rotary Sanders Scorching Selenite Gypsum and Melting Hide Glue
Dry mechanical sanders create friction heat above 150°F, melting the animal hide glue and turning the gypsum chalky white; NEVER dry-sand Scagliola; always hand-polish with continuous water lubrication or use low-speed (800 RPM) wet planetary polishers.
How to Polish Scagliola to a Flawless Mirror Gloss
Execute this professional sequence to achieve flawless results without backtracking:
Allow Scagliola Slab to Dry for 72 Hours
Verify plaster has cured rock-hard throughout its full depth before beginning wet polishing.
Level Slab with Coarse Sandstone and Water
Flood surface with water; grind with sandstone block in circular motions until completely level and flat.
Apply Stuccatura Slurry to Fill All Micro-Pinholes
Mix thin paste of selenite plaster, colletta, and matching pigment; rub firmly into all surface pores; let dry 24h.
Wet-Grind with 400 and 800-Grit Pumice Stones
Sand with volcanic pumice blocks under flowing water until stuccatura is flush and scratch-free.
Buff with Rottenstone Tripoli Powder on Felt Block
Sprinkle fine rottenstone powder; buff with dense wool felt block to bring out high satin reflective sheen.
Wipe with Pure Boiled Linseed Oil
Apply 5–10 drops of linseed oil; buff vigorously with soft cotton cloth to deepen mineral contrast.
Apply Carnauba Wax and Hand-Buff to Mirror Sheen
Apply thin coat of paste Carnauba wax; buff with dry sheepskin pad to achieve a crystal-clear mirror reflection.
Common Mistakes & Countermeasures
Avoid these costly errors that compromise aesthetics, ergonomics, and budget:
Skipping the Stuccatura Slurry Grouting Phase
Project Execution Checklist
Track your physical progress. Checkboxes persist automatically on this device:
Frequently Asked Questions
How do you clean and maintain polished Scagliola surfaces?
Dust regularly with a dry microfiber cloth. Every 2 to 3 years, apply a thin coat of pure natural Carnauba or beeswax and buff with a wool pad to restore the deep mirror reflection. Never use acidic or ammonia cleaners.


