
Install authentic Haussmann ceiling mouldings using traditional fibrous cast plaster (reinforced with natural jute hessian fibers). Fasten cornices with countersunk screws into wall studs and bed in wet casting plaster (*Plâtre de Paris*), blending joints seamlessly by hand with fine plaster and modeling tools.
At a Glance: Key Takeaways
- Fibrous Cast Plaster Standard: Pure casting plaster reinforced with jute canvas produces crisp, razor-sharp sculptural relief.
- Zero Visible Joints: Seamless plaster-to-plaster joint welding eliminates the ugly cracking associated with wood and foam trim.
- Acanthus & Egg-and-Dart Motifs: Classical Roman and French Renaissance botanical ornamentation.
- Ceiling Rosettes (*Rosaces*): Sculptural medallions (24" to 36" diameter) center chandeliers and conceal ceiling wiring boxes.
- 100% Fireproof & Dimensionally Stable: Mineral plaster will not shrink, expand, warp, or off-gas toxic fumes.
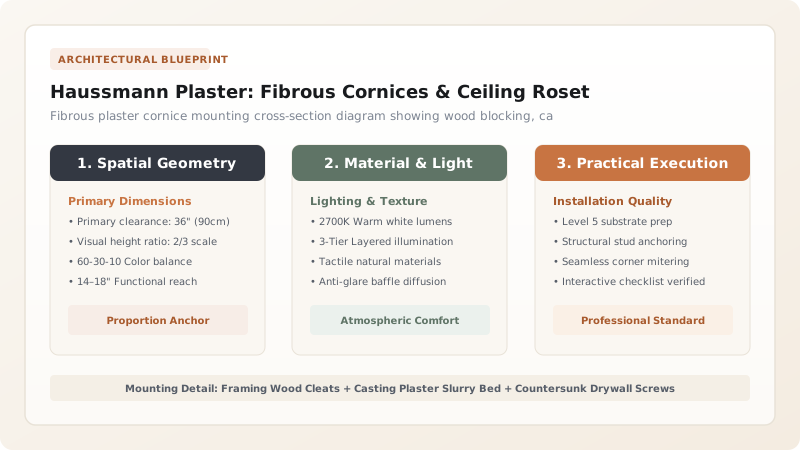
1. Material Science: Fibrous Cast Plaster vs Cheap Polystyrene Foam
Modern home improvement stores sell cheap expanded polystyrene (foam) or polyurethane foam crown mouldings. These imitations have rounded, muddy details, catch fire easily, and their plastic seams shrink and crack open after a single seasonal humidity change.
Traditional Fibrous Plaster (*Staff*), invented in Paris in 1856 by Alexandre Desachy, is cast from pure hemihydrate gypsum plaster reinforced with unspun jute hessian fibers. It produces jewel-like ornamental sharpness, bonds chemically into a monolithic seamless stone ring around the ceiling, and lasts for over 200 years.

Ceiling Moulding Materials & Detail Fidelity
Use this reference table to calculate exact physical dimensions, ratios, and specifications before purchasing:
| Moulding Material | Ornamental Detail Crispness | Joint Seamlessness | Lifespan & Fire Safety |
|---|---|---|---|
| Fibrous Cast Plaster / Staff (Optimal) | 100% Razor-Sharp Sculpture | 100% Seamless (Plaster welded) | 200+ Years / Class A1 Fireproof |
| Solid Wood Carved Moulding | High (Sharp wood grain) | Joints move seasonally (Hairline cracks) | 50+ Years / Combustible |
| Polyurethane High-Density Foam | Moderate (Slightly rounded edges) | Glued butt joints crack in winter | 15 - 20 Years / Releases toxic smoke |
| Polystyrene Foam (Cheap Toy) | POOR (Muddy, melted look) | Ugly visible joints | FAILS: Dents and yellows quickly |
Heavy Plaster Ceiling Pull-Down Weight Constraints
Every successful decoration project must account for physical and environmental constraints:
Heavy 30-lb Plaster Cornices Pulling Off Drywall Between Studs
Solid plaster cornices weigh 8 to 12 lbs per linear foot; drywall paper will shear under this weight; install continuous 2x2 wood nailer cleats behind the drywall or drive screws strictly into wall studs and ceiling joists every 16 inches.
How to Install and Blend Fibrous Plaster Cornices
Execute this professional sequence to achieve flawless results without backtracking:
Snap Chalk Lines on Wall and Ceiling
Mark exact top and bottom contact projection lines using a chalk reel.
Scrape Drywall to Provide Mechanical Tooth
Score drywall paper with a utility knife along the contact zone to ensure plaster adhesion.
Mix Casting Plaster Butter (*Wetting Plaster*)
Mix casting plaster to a thick creamy paste; butter the top and bottom back flanges of the cornice.
Press into Place and Screw into Studs
Push cornice firmly into chalk lines, driving countersunk drywall screws through pre-drilled holes into framing.
Weld Miters and Joints with Modeling Tool
Fill corner miters and screw holes with wet plaster, sculpting patterns continuous with a leaf spatula.
Common Mistakes & Countermeasures
Avoid these costly errors that compromise aesthetics, ergonomics, and budget:
Using Standard Acrylic Painter's Caulk on Plaster Cornice Joints
Project Execution Checklist
Track your physical progress. Checkboxes persist automatically on this device:
Frequently Asked Questions
How do you install a heavy plaster ceiling rosette around an electrical chandelier box?
Drill a 4-inch hole through the center of the rosette. Butter the back with casting plaster, screw through the rosette into ceiling joists with 4 countersunk screws, and fill the screw holes flush with casting plaster before hanging the chandelier.


