
Engineer heavy-duty floating kitchen shelves by lag-screwing a 1/4-inch thick solid steel bracket into at least two 2x4 wall studs using 5/16" × 3" structural screws. Support rods must measure 3/4-inch diameter and extend into the wood shelf by at least 70% of the total shelf depth.
At a Glance: Key Takeaways
- Cantilever Physics: A 12-inch shelf multiplies downward weight torque by 2x compared to a 6-inch shelf.
- 70% Rod Rule: Support rods must extend at least 70% of the shelf depth (e.g. 8" rod for a 12" shelf).
- Structural Fasteners: Use 5/16" × 3" GRK Rugged Structural Screws (never drywall toggle anchors).
- Boring Jig: Use an aligned drilling guide jig to ensure rod holes are bored dead-straight at 90 degrees.
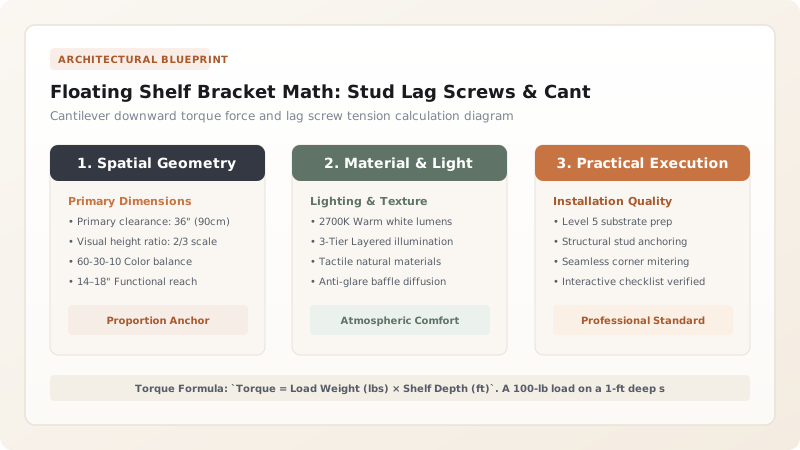
1. Cantilever Physics & Rotational Torque Mechanics
When you place an object on a floating shelf, the weight acts as a rotational lever arm around the bottom edge of the bracket. The formula for torque is: \(\tau = F \times d\) (Force multiplied by Distance from wall).
On a deep 12-inch shelf, a 50-pound stack of ceramic plates placed at the front edge exerts 50 foot-pounds of rotational pull on the top bracket screws. Standard drywall anchors will rip out instantly under this rotational tension. The top screws MUST anchor into solid 2x4 SPF framing lumber.

Shelf Depth vs Bracket Specifications & Weight Limits
Use this reference table to calculate exact physical dimensions, ratios, and specifications before purchasing:
| Shelf Depth | Support Rod Length | Rod Diameter Required | Max Safe Live Load (2 Studs) |
|---|---|---|---|
| 8-Inch Depth Shelf | 6.0" Solid Steel Rod | 1/2" (12mm) Solid Rod | 90 lbs Max Load |
| 10-Inch Depth Shelf | 7.5" Solid Steel Rod | 5/8" (16mm) Solid Rod | 130 lbs Max Load |
| 12-Inch Depth Shelf (Kitchen) | 8.5" - 9.0" Solid Steel Rod | 3/4" (19mm) Solid Rod | 160 lbs Max Load |
| 14-Inch Deep Mantle Shelf | 10.5" Solid Steel Rod | 3/4" (19mm) Heavy Rod | 200 lbs Max Load (3 Studs) |
Tile Backsplash Drilling Crack Constraints
Every successful decoration project must account for physical and environmental constraints:
Cracking Ceramic Tile Backsplash When Drilling for Stud Lag Screws
Drilling through tile into studs with a hammer drill shatters porcelain; strictly use a water-cooled Diamond Core Hole Saw bit at low speed to drill through tile, then drive lag screws into the wood studs behind.
How to Bore and Install Stud-Mounted Shelves
Execute this professional sequence to achieve flawless results without backtracking:
Map Studs with 3/16" Pilot Bit
Drill small pilot holes to find the exact center of each 1.5" wide wall stud.
Fasten Steel Backplate with Lag Screws
Drive two 5/16" × 3" structural screws per stud through bracket backplate.
Rout 1/4" Pocket in Shelf Back
Rout a 1/4" deep rectangular mortise on the shelf back so the bracket plate sits flush inside wood.
Bore 13/16" Holes with Guide Jig
Drill 9-inch deep holes using a 13/16" auger bit clamped in a self-centering jig.
Slide Shelf and Lock Set Screws
Push shelf onto steel rods and tighten underside hex set screws to lock in place.
Common Mistakes & Countermeasures
Avoid these costly errors that compromise aesthetics, ergonomics, and budget:
Freehand Drilling the Rod Holes with a Hand Drill
Project Execution Checklist
Track your physical progress. Checkboxes persist automatically on this device:
Frequently Asked Questions
Can you install floating kitchen shelves over existing drywall?
Yes! Modern 1/4-inch steel backplates can be screwed directly against drywall into studs. For the cleanest look, rout a 1/4" deep pocket in the back of the wood shelf to absorb the backplate thickness.


