
Apply Roman Clay plaster by using a flexible stainless steel Japanese or Venetian plaster trowel (or a 6-inch putty knife). Trowel two paper-thin coats (each under 1mm thick) in random, sweeping multi-directional arcs, letting the first coat dry 4 hours before applying the second suede coat.
At a Glance: Key Takeaways
- Ultra-Matte Suede Finish: Contains natural clay, marble dust, and minerals for an un-burnished, velvety texture.
- Paper-Thin 1mm Coats: Applied in two ultra-thin skim coats with a flexible stainless steel trowel.
- Multi-Directional Movement: Curved trowel sweeps create subtle tone-on-tone marbleized movement.
- Zero Sanding Required: The trowel blade smooths and compresses the clay flat during application.
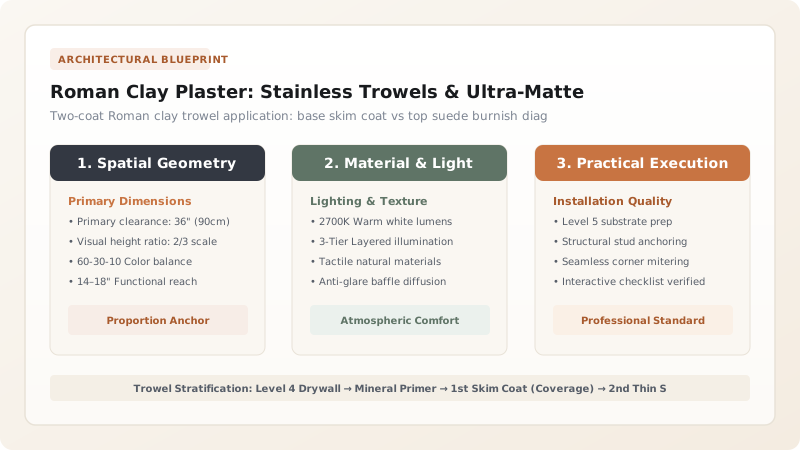
1. Material Rheology: Roman Clay vs Venetian Plaster
While traditional Venetian Plaster is formulated with slaked lime and burnished to a high-gloss, mirror-like polished stone shine, Roman Clay is formulated with natural clay and finely milled marble aggregate. It is designed specifically to produce a soft, non-reflective, ultra-matte suede finish.
Because the material is applied with a flexible stainless steel blade, the natural friction and pressure of the steel compresses the clay platelets, creating subtle, elegant variations in tone and depth without shiny reflections.

Roman Clay vs Venetian Plaster Comparison
Use this reference table to calculate exact physical dimensions, ratios, and specifications before purchasing:
| Plaster Type | Primary Binder | Finished Sheen | Application Complexity |
|---|---|---|---|
| Roman Clay Plaster (Portola) | Natural Clay + Marble Dust | 100% Dead-Matte (Suede feel) | Moderate (Very DIY friendly) |
| Traditional Venetian Plaster | Slaked Lime + Marble Slurry | High Gloss (Burnished mirror) | High (Requires master troweling) |
| Marmorino Plaster | Medium-Grit Lime + Sand | Satin / Semi-Polished | High (Stone-like texture) |
| Standard Drywall Mud Faux Finish | Gypsum / Synthetic vinyl | Flat Chalk (Prone to cracking) | Low (Lacks mineral depth) |
Trowel Blade Edge Gouging Constraints
Every successful decoration project must account for physical and environmental constraints:
Square Trowel Corners Gouging Dark Lines into Wet Clay
Sharp 90-degree steel trowel corners leave deep gouge lines across the wall; strictly use a 'Venetian Plaster Trowel with Rounded (Beveled) Corners' or sand your putty knife corners with 400-grit sandpaper.
How to Apply Roman Clay Plaster
Execute this professional sequence to achieve flawless results without backtracking:
Prep Drywall to Level 4 Finish
Ensure drywall is smooth, patched, and primed with high-grade acrylic primer.
Trowel First Thin Base Coat
Hold trowel at a 30-degree angle and spread a paper-thin base coat across the wall; let dry 4 hours.
Scrape Ridge High Spots
Gently glide clean trowel edge flat over wall to knock down any small ridges (no sanding).
Apply Second Thin Movement Coat
Trowel second coat in short, multi-directional overlapping arcs to create suede movement.
Apply Matte Topcoat Sealer
Wipe with Roman Clay Topcoat wipe-on sealer in powder rooms to resist water splashes.
Common Mistakes & Countermeasures
Avoid these costly errors that compromise aesthetics, ergonomics, and budget:
Applying Roman Clay Too Thick (Over 2mm Thick)
Project Execution Checklist
Track your physical progress. Checkboxes persist automatically on this device:
Frequently Asked Questions
Can Roman Clay be used in a bathroom?
Yes! Roman clay looks spectacular in bathrooms and powder rooms. For walls near sinks, apply two coats of clear matte Roman Clay Topcoat sealer to protect against water splashes.


